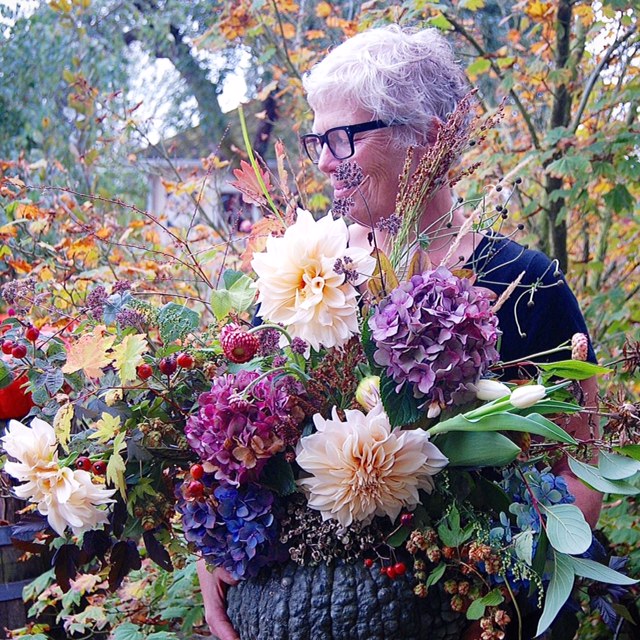
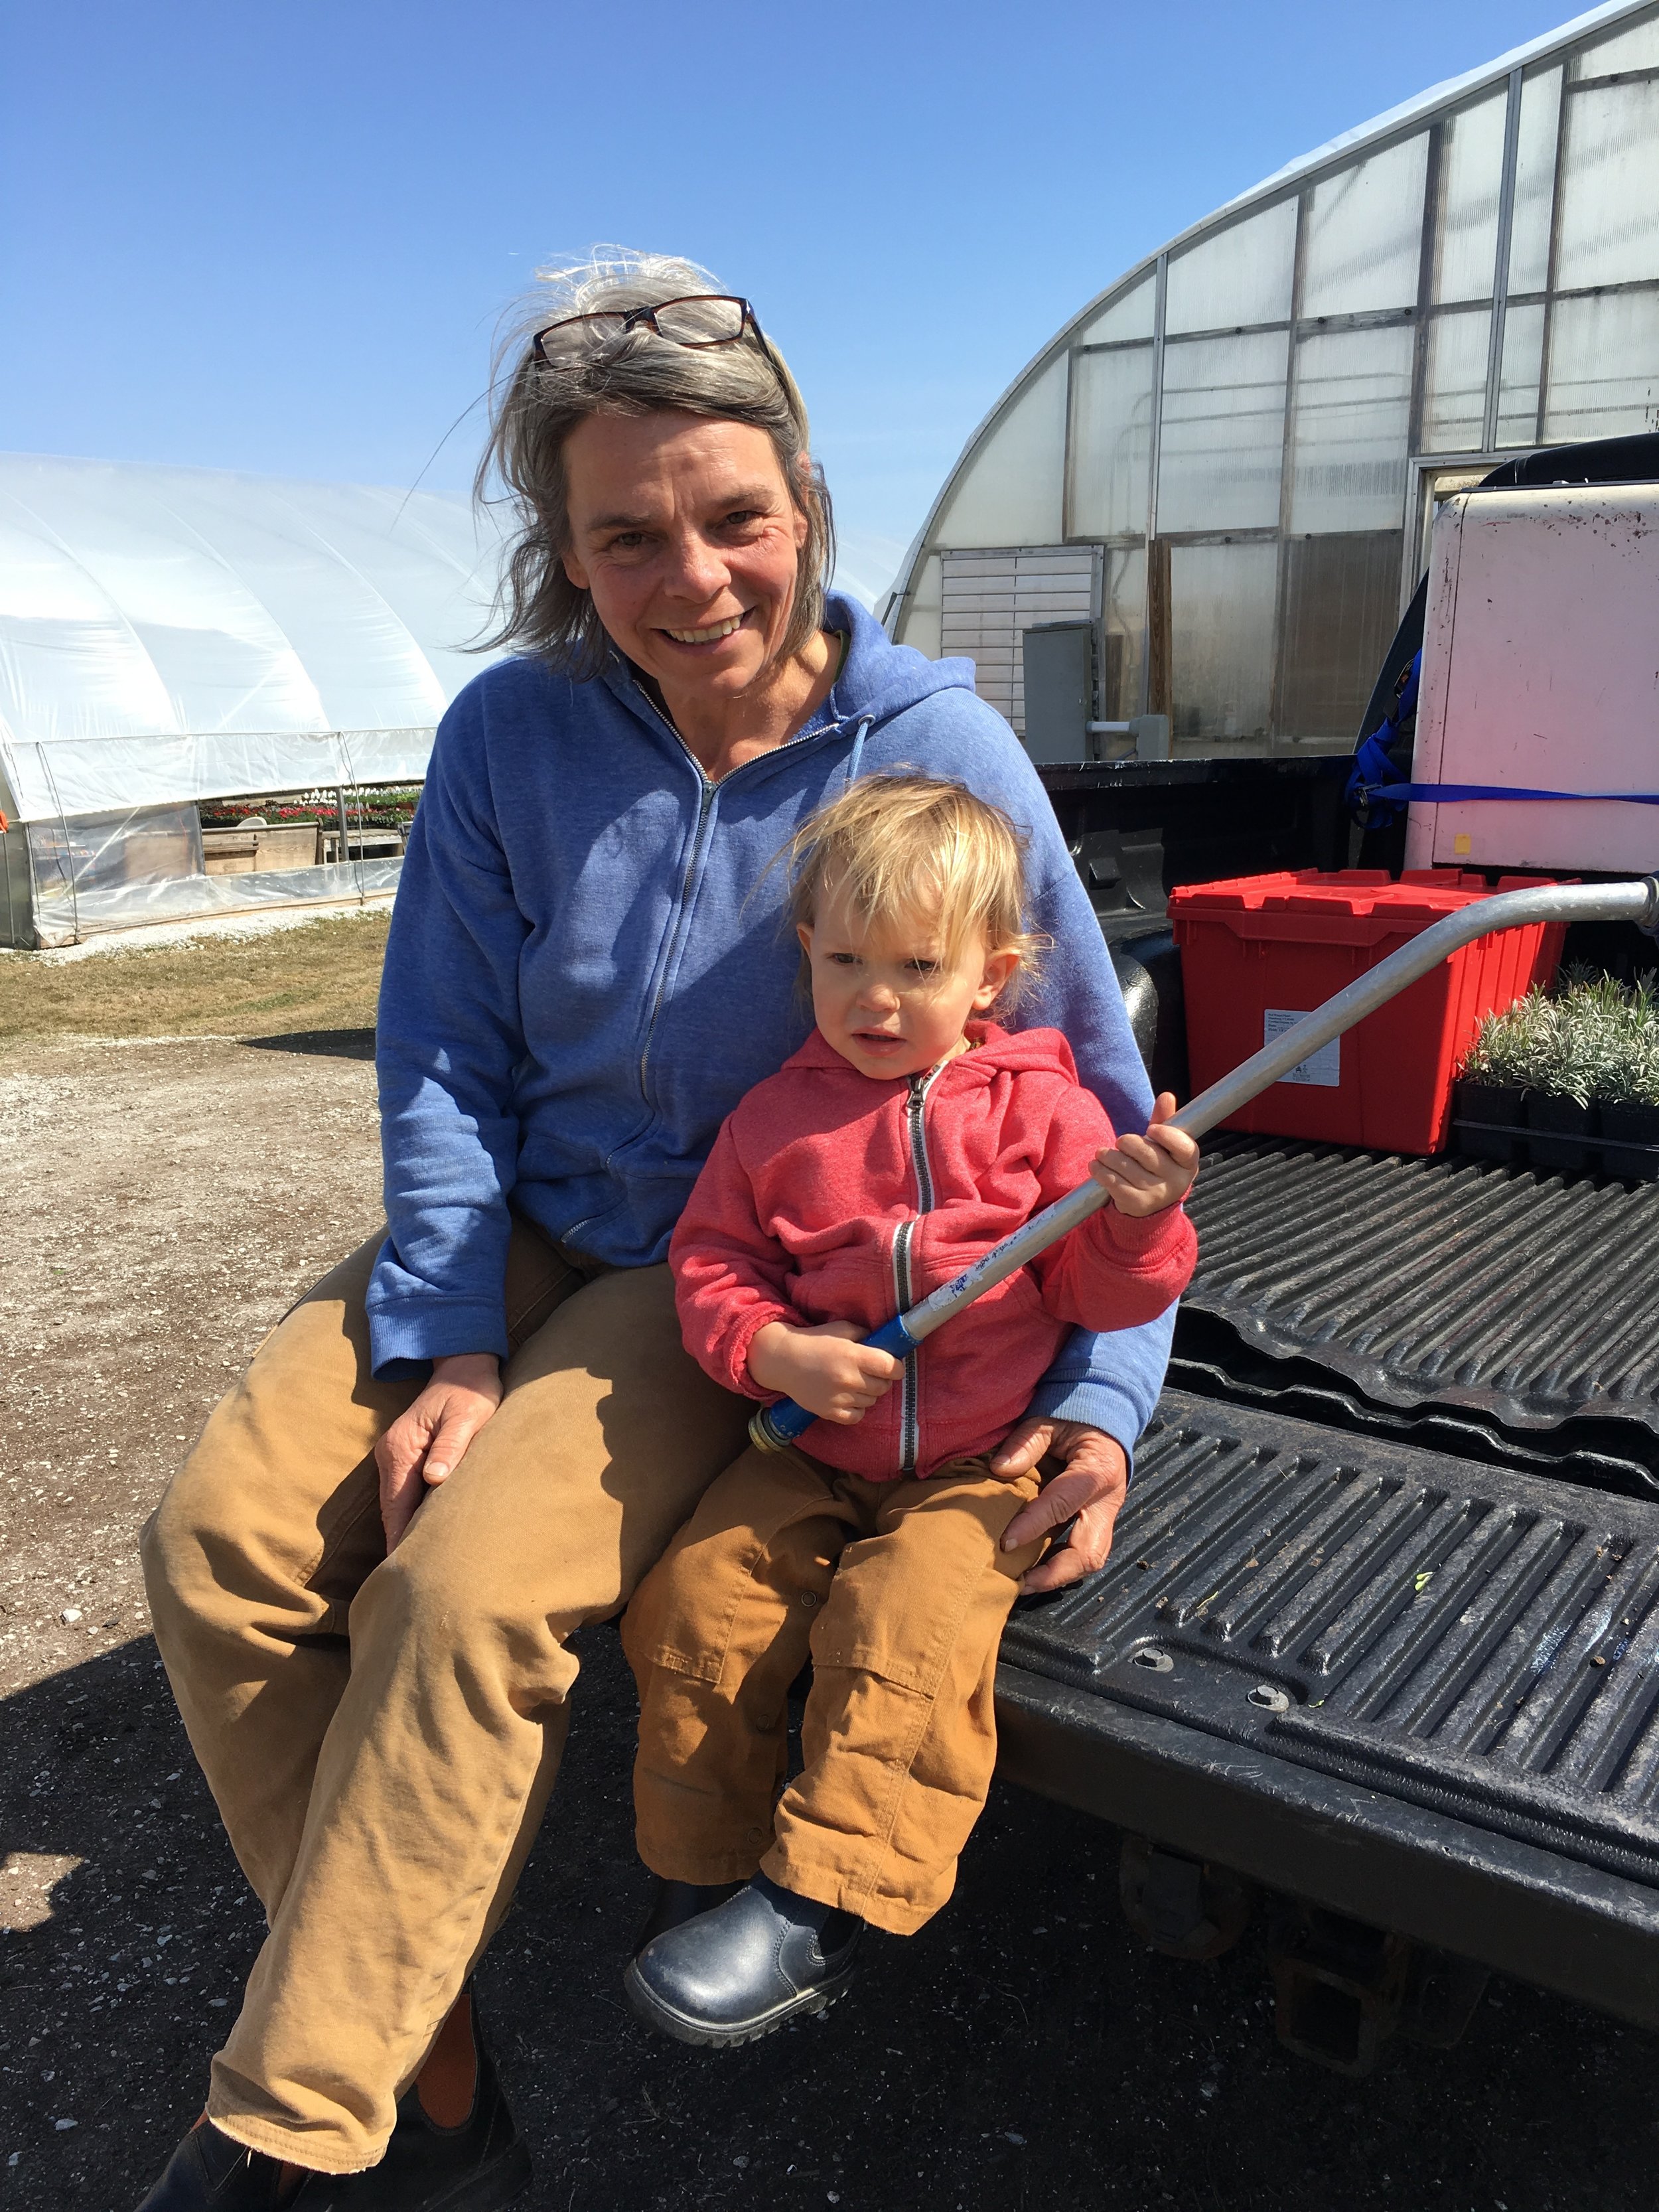
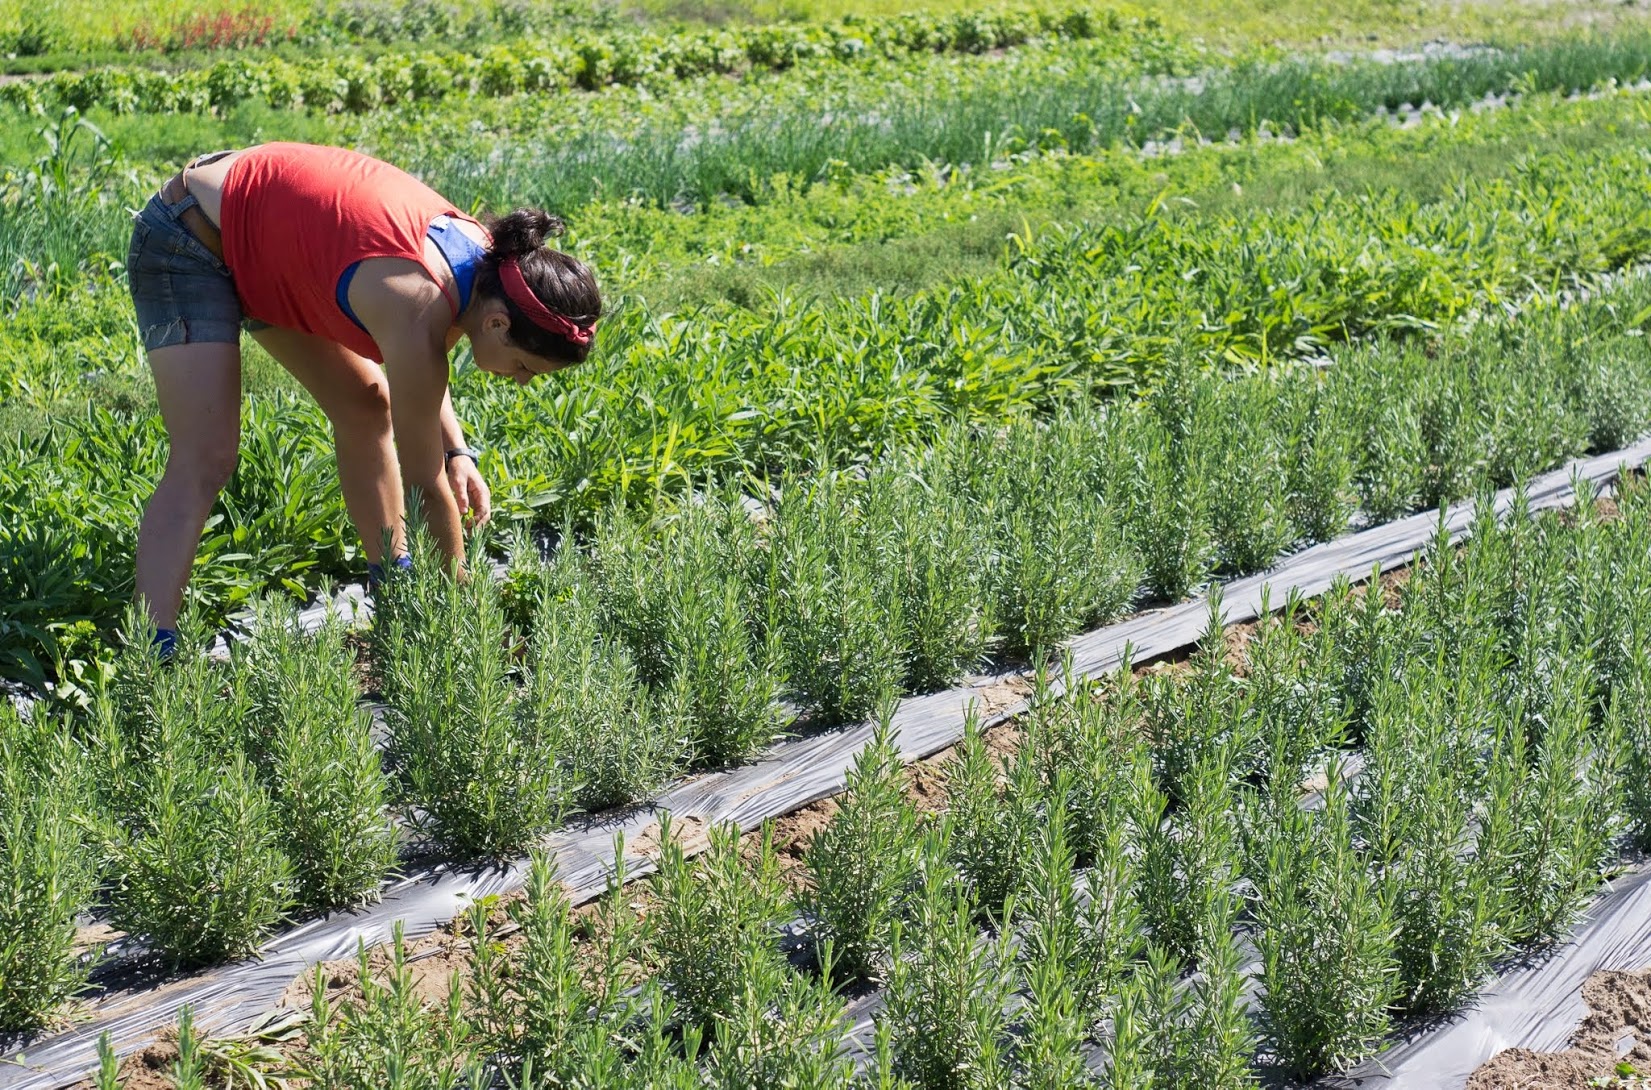
During our 10th anniversary season, we'll feature profiles of members of our amazing Red Wagon team. This week we interviewed Lily Belisle, our Retail Manager (above left).
How long have you been at Red Wagon Plants? How did you end up there and what keeps you there?
This is my sixth season at Red Wagon. I started working here because I’d grown up in Charlotte, Vermont and when I moved back here, I was looking for work that involved being outside. A friend of the family passed along the job posting. One of the application requirements was to write an essay about how you fell in love with gardening. I wrote my essay about my first landscaping job, in Washington State, and Julie liked it.
In Washington, I worked for a woman who had been a gardener her whole life, but now had some physical disabilities and needed help. She had been trained in Ikebana (the Japanese art of floral arrangement) and created flower plantings just for that. Her gardens were beautiful. I remember that she had a huge iris collection and would send me out to the garden to pick specific blooms for her arrangements. I’d go back and forth as she corrected me – not the one with the yellow throat, the one with the pink throat; or this one had too many bugs; things like that. I learned a lot.
What keeps me here is the combination of working with people and their gardens, and working in the Red Wagon community. There’s a lot of camaraderie and tons of talking about gardens all day with our customers. I love learning from all the people that come through Red Wagon. It leaves me feeling inspired.
What’s your role at Red Wagon?
I manage the retail part of the business. A big part of my job is keeping everything looking really nice – Julie and all of us at Red Wagon have high standards for how the plants and greenhouses look. We put a lot of time into creating displays and changing the look of things, often on a weekly basis. Another major part of my job is customer service, from helping brand-new gardeners to gardeners who are really experienced. I love it when I can suit everyone’s needs and find a perfect plant for every spot!
What are your favorite Red Wagon plants?
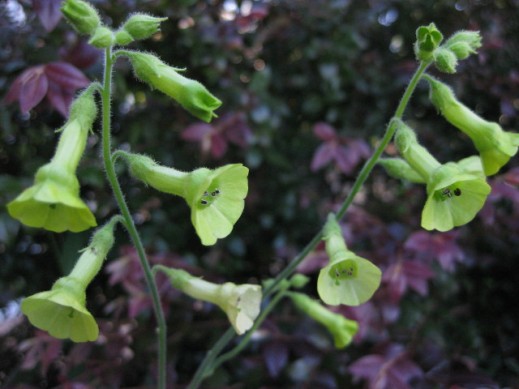
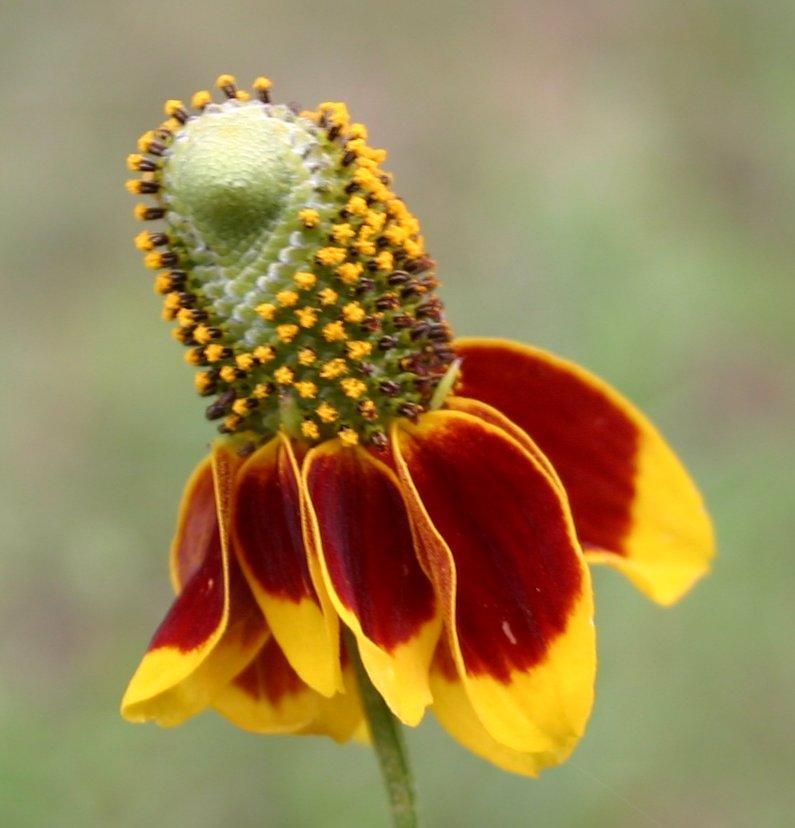
I’m an avid veggie gardener, and the way that I have a lot of fun in my vegetable garden is by including beneficial plants and medicinal herbs, from elderberries to angelica to borage, calendula and chamomile. These herbs are really easy to grow and, unlike traditional ornamental perennials, have a wild look and spirit that I find really inspiring. A lot of them are more weedy and self-seeding, which is fun for me. Plus, they provide habitat and food for beneficial insects. And I love the ancient lore and stories that go with medicinal herbs and their traditional uses.
What’s your home garden like?
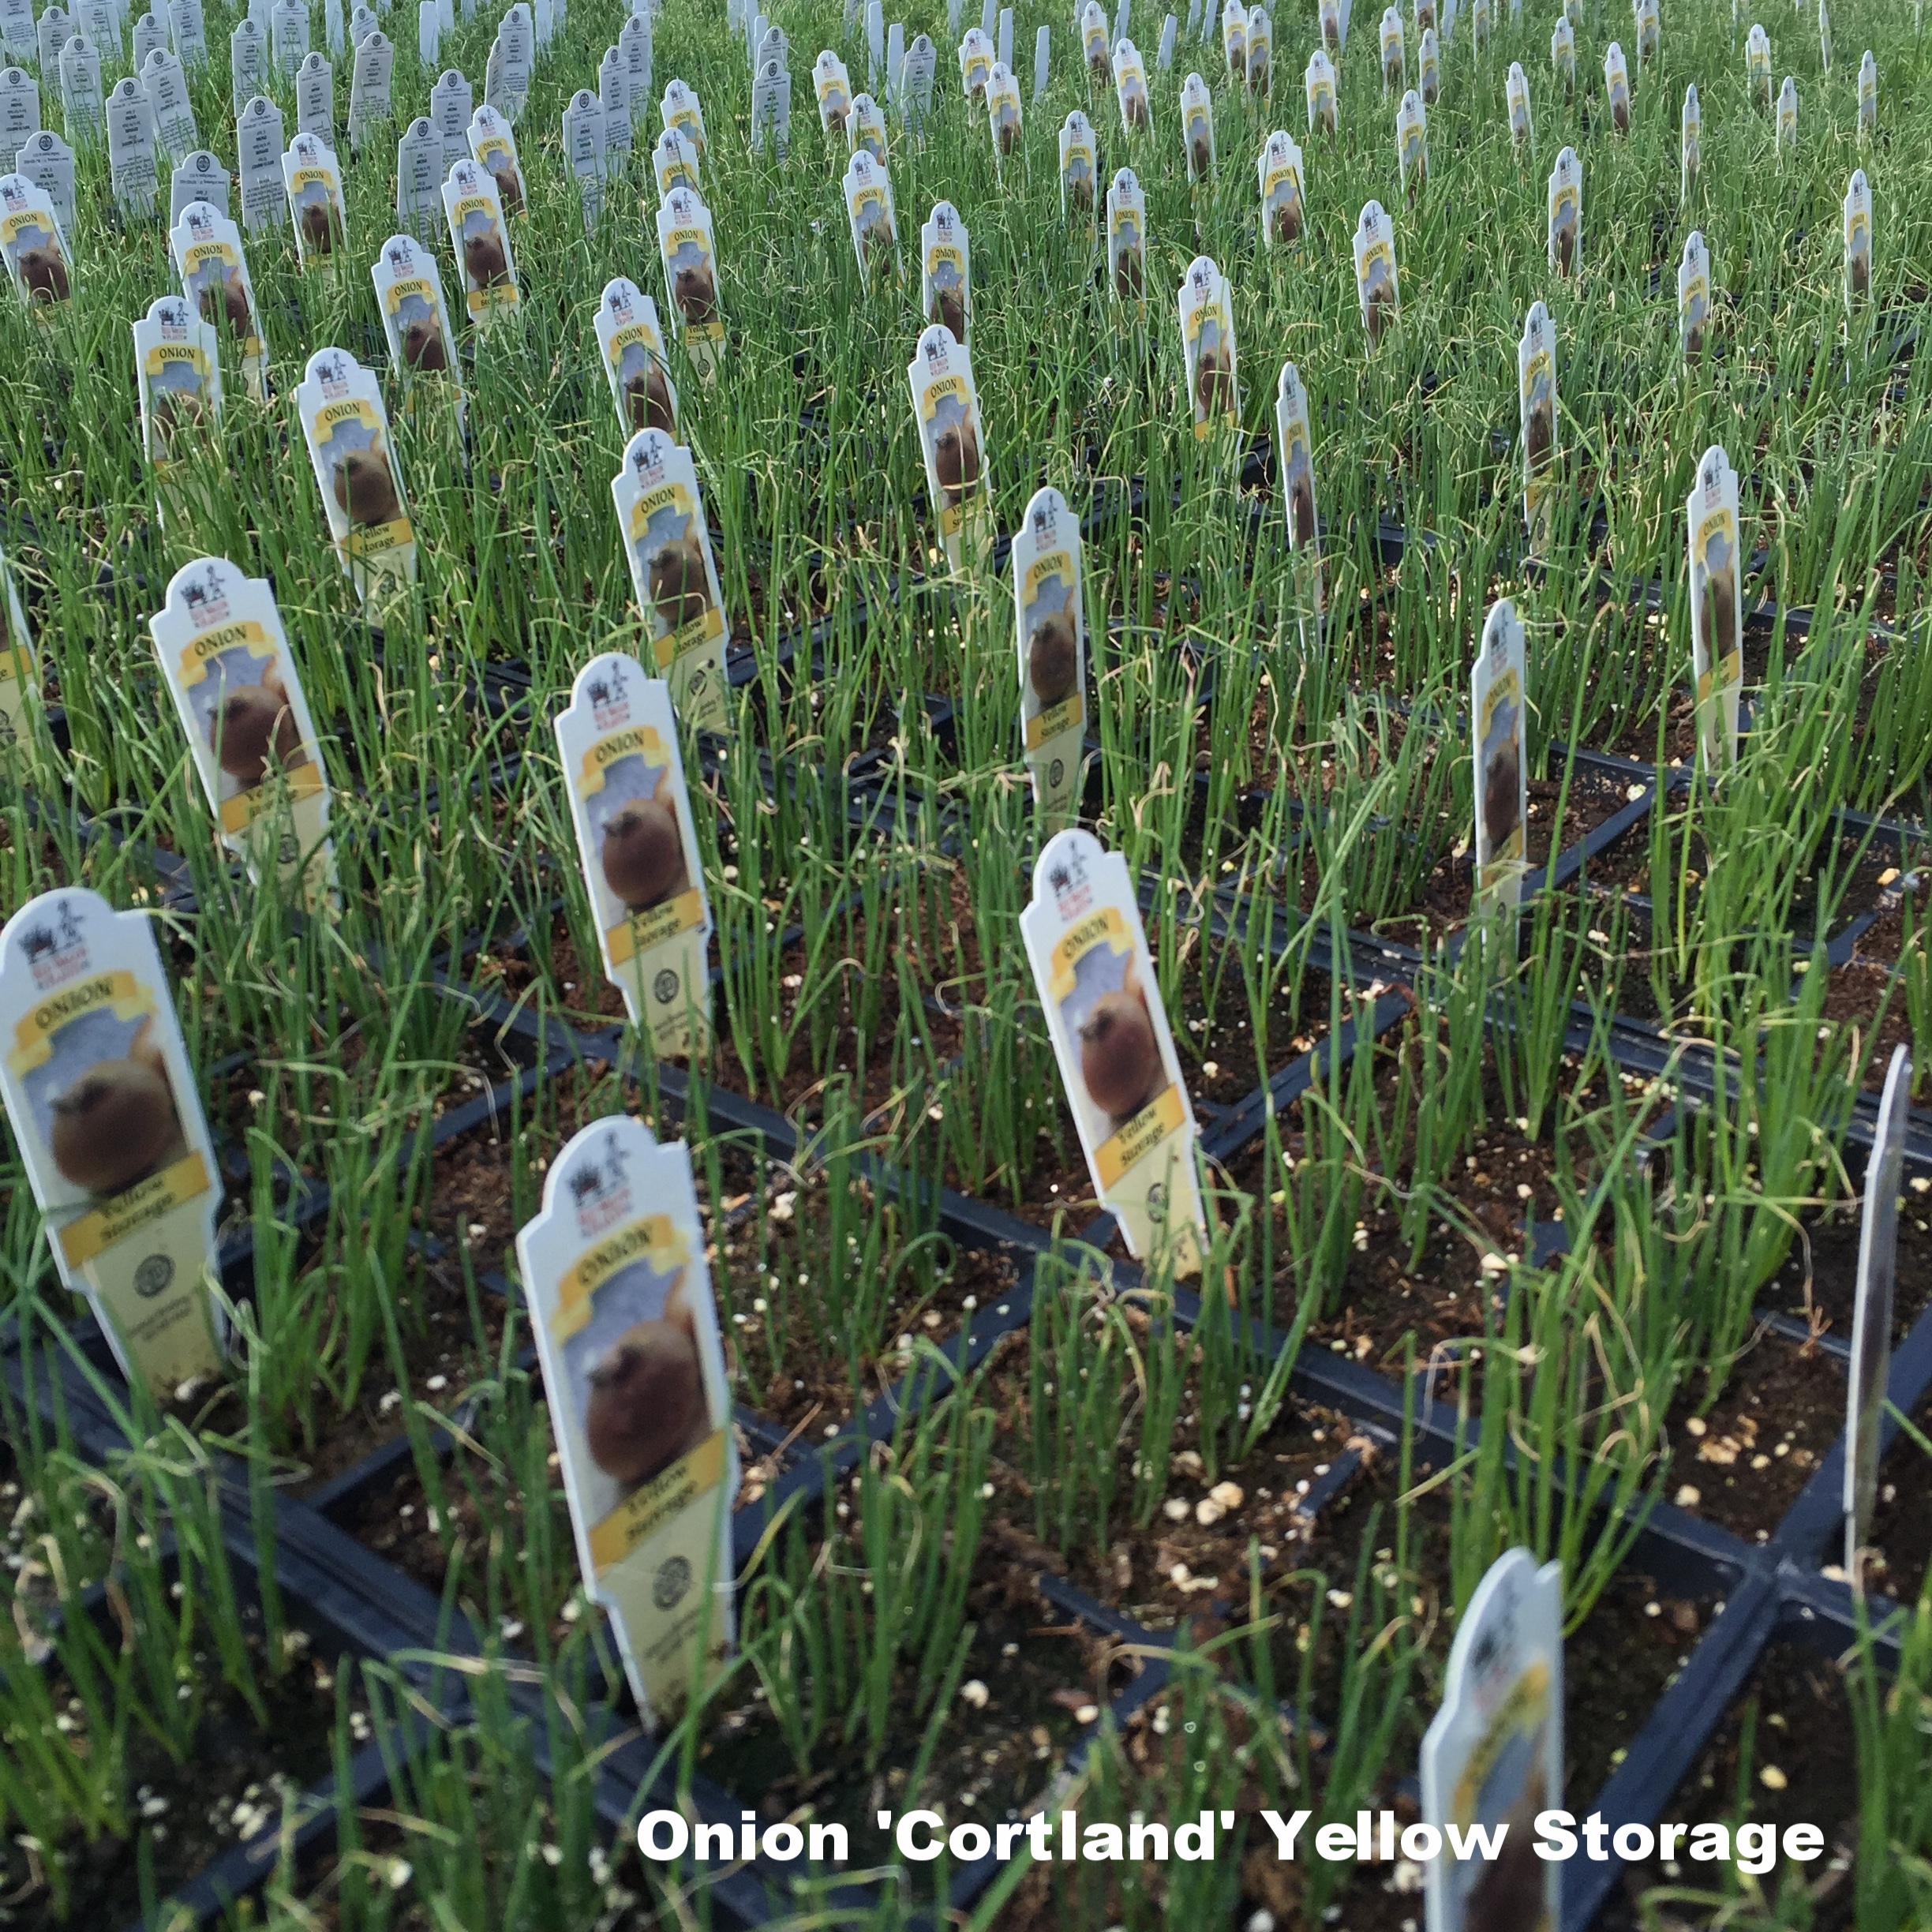
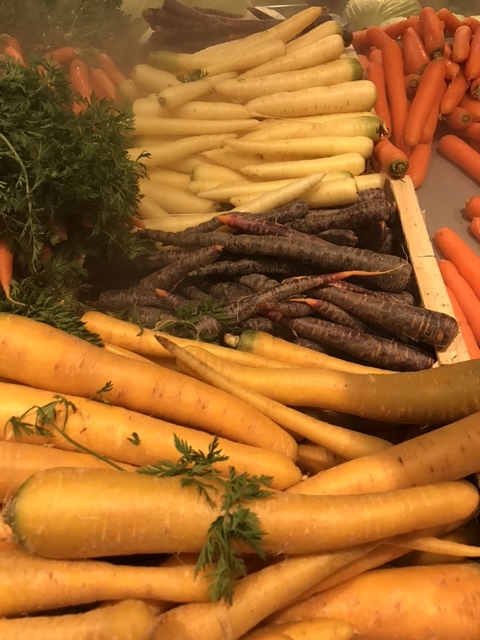
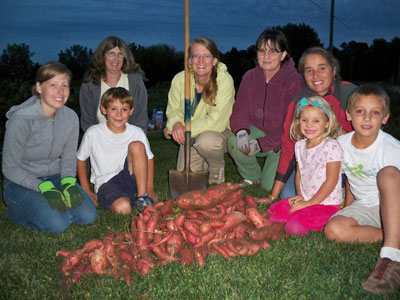
I garden with my mom at my parents’ house, in the garden that I grew up working in and where I learned how to garden. She and I have worked hard to expand things, and we now have a little greenhouse. I like to grow storage crops – onions, potatoes, carrots – and I’m also really passionate about beans (and climbing plants in general). I’ve been trying to experiment more with dry beans. So far, it’s been a bit of a novelty – I’ve only gotten a yield of a few cups of dry beans – but I’m keeping with it.
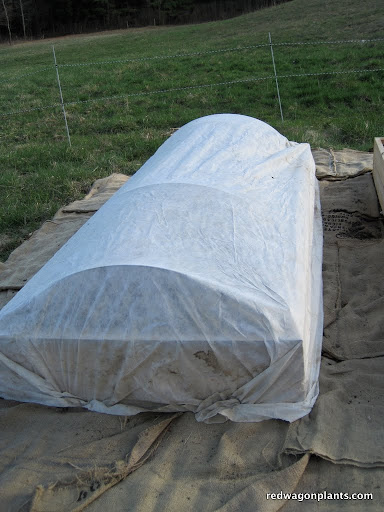
When it’s time to store my onions, potatoes and carrots, I have a little closet within my garage that keeps things cool enough.
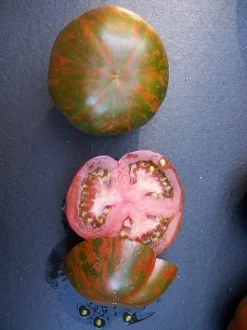
I grow lots of tomatoes, and I like making hot sauce, so I grow hot peppers. One of my favorites is the lemon drop pepper, which we started growing at Red Wagon this year. It’s a small, bright yellow pepper, index finger size and pretty spicy. Each plant produces tons of peppers. I also really like serrano del sol and jalapenos. I grow a mix of peppers for my hot sauce because I like it to taste peppery, not just hot. It’s also got carrot puree, ginger and lime and people ask me for the recipe all the time!
Here’s Lily’s recipe for her favorite hot sauce. She uses a recipe from Tart and Sweet: 101 Canning and Pickling Recipes for the Modern Kitchen by Jessie Knadler and Kelly Geary.
Carrot Habanero Hot Sauce
Yields 4 12-ounce jars
1 ½ pounds carrots, peeled and sliced into ¼-inch coins
1 large onion, roughly chopped
1 ¼ cups water
2 tablespoons lemon juice
2 tablespoons kosher salt
3 tablespoons minced garlic
2 tablespoons finely grated fresh ginger
4 habanero peppers, seeded and chopped
2 jalapeno peppers, seeded and chopped
5 cups white vinegar
Grated zest and juice of 1 lime
Ground black pepper to taste
Combine carrots, onion, water, lemon juice, salt, and garlic in a medium nonreactive pot over medium-high heat. Cook until the carrots are very soft, about 25 minutes. Add a tablespoon or two of water if the mixture gets too dry.
Once the carrots are soft, add the hot peppers and cook for 5 minutes. Add the vinegar and lime zest and juice. Blend the mixture in the pot with an immersion blender or transfer in batches to a standing blender or food processor. Blend until smooth. Pour into a large container, cover, and refrigerate overnight to let the flavors combine.
The next day, blend the sauce again. Set a fine-mesh strainer over a bowl. Pour the mixture through the strainer, using a rubber spatula to press the liquid through. Discard any remaining chunky bits. Wipe off the spatula and scrape the underside of the strainer as well to get every last bit of sauce. Return the sauce to a pot and simmer until it’s thick and glossy, about 25 minutes.
Ladle the sauce into hot jars, leaving ¼ inch headspace. Check for air bubbles, wipe the rims, and seal. Process for 10 minutes, adjusting for elevation.