red wagon plants

Fermented Fresh Salsa

by Guest blogger, herbalist, and RWP Staffer, Sophie Cassel

This is a salsa you make to eat fresh and eat in the fridge, not canned for storage.

This is a salsa you make to eat fresh and eat in the fridge, not canned for storage.

Ask anyone in my house or social circle what the big culinary wonder was last summer, and they’ll all tell you: “Fermented salsa!”. Far removed from the cooked salsa in jars, fermented salsa is like a tangy, juicy version of the popular pico de gallo type of dip. This was a technique I learned about years ago on a homestead in Maine, but started preparing last summer when faced with a constant glut of tomatoes and absolutely no desire to turn the oven on for canning.

By mid-August, I was making a half- to whole-gallon of fermented salsa per week, and we were eating it just as fast. It makes a great snack and is a tasty conversation starter when brought to backyard cookouts. Suddenly, adding fermented foods to your diet is as easy as breaking out the tortilla chips! It also makes the best topping for tacos and grilled meats. 

Below is the basic recipe. I change the proportions a little each time, based on what I have ripening in my garden or on the kitchen counter at that moment, and how much I could fit into the half-gallon jar. 

Ingredients:

  • 2-3 lbs ripe tomatoes 

  • 1 small onion

  • 1-3 cloves of garlic

  • 2-3 bell peppers

  • Hot peppers of your choice (I like my salsa more mild, so I use 1 jalapeno or 2 hungarian hot wax peppers, but the sky's the limit!)

  • Cilantro (stems included), or a mix of cilantro, pepiche, and papalo leaves

  • Salt to taste

Method:

  • Finely chop all ingredients into similar sizes and layer into a half-gallon mason jar. Add salt and taste; it should be just shy of “too salty”. Stir well (a long-handled cocktail stirrer works well), and cover loosely with the jar lid. Place jar on a plate to catch any overflow during fermentation, and leave on your kitchen counter. 

  • Shake jar (with lid tight) 2-3 times per day, loosening the lid to allow for gas to escape through the course of the day. You will start to see bubbles rising to the surface, but shaking ensures that all ingredients stay below the liquid.

  • After a day or two, taste to evaluate how the tanginess is developing. Depending on weather, it could take anywhere from 2-5 days to achieve desired levels of fermented flavor. You get to decide when you think it’s ready!

  • Eat immediately, or funnel into smaller jars and store in the fridge. It will store indefinitely, slowly building its fermented flavor, but good luck getting it to last long enough!

  • Note: If your tomatoes are really juicy, you may want to strain some of the excess liquid when transferring to storage jars. This fermented tomato juice is a refreshing drink, and makes a great addition to gazpacho or cocktails! 

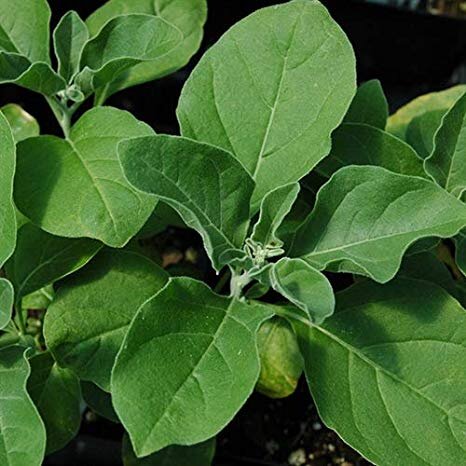
Ashwagandha, aka Winter Cherry or Indian Ginseng, Withania somnifera, Solanaceae

ashwaganda.jpg

If you’ve been tracking the various “wellness” industries in the past few years, or even just perused the supplement section at your local grocery store, you’ve likely noticed the name of Withania somnifera, commonly called ashwagandha or winter cherry. A powerful herb popularly used in Indian Ayurvedic medicine (among other medicinal traditions of southeast Asia and Africa), ashwagandha root has become something of a darling in the West, used in expensive skincare regimes and “biohacking” diets that pledge eternal life to the devoted. As a member of the class of herbs known as “adaptogens”, ashwagandha has been traditionally used to help with sleep, build adrenal reserves, and improve overall vitality. However, like any exotic remedy, there are very real concerns around the sustainability and ethical production of plants grown far away once an unprecedented demand for them has been created. 

Lucky for us, ashwagandha is a fun and relatively simple herb to grow in the home garden, and its very real health benefits provide an opportunity to easily upgrade your medicine chest. A member of the Solanaceae family, ashwagandha shares some characteristics with other family members like eggplants and peppers. It produces husk-enclosed fruits that look like tiny tomatillos, and appreciates plenty of heat and sunshine. However, ashwagandha is adapted to grow in sandy, dry conditions, and doesn’t need much in the way of water or fertility, just sweet, well-draining soil. Ashwagandha is prized for its long, tough roots, so well-worked soil is imperative to good root growth. The plants should be started indoors or purchased from a nursery (like Red Wagon) to give you a jump start on the season, and only transplanted outside or into a greenhouse once the soil has fully warmed up. I like to space my plants about a foot apart, which provides room for root growth but allows the plants to support each other once they reach their mature height of two to three feet tall.

Ashwagandha grows well alongside Tulsi or other sturdy mint family members like lemon balm, especially those that don’t mind a little shade cast by the ashwagandha leaves. I’ve planted calendula around my plants as well, but the calendula can become a bit leggy if they’re spaced too closely together. The same beetles that like to snack on tomatillo plants (called tomatillo beetles or three-lined potato beetles) will attempt to feast on your ashwagandha leaves. Check the leaves regularly for the tell-tale orange eggs, and if necessary put on some gloves and squash the mating adults and larvae when you see them. Even with a fair amount of leaf damage, the ashwagandha plants will soldier on, but I think it makes for better medicine when the plants are lovingly defended. While the flowers are fairly drab, the husked fruits make for a beautiful backdrop as they turn red in early fall.

Ashwagandha and Tulsi have similar cultural needs: they are warm-climate perennial plants that really thrive as annuals in our short northern summers. Plant ashwagandha in early June, and watch it take off through the whole summer, right up until frost. Harvest by loosening the soil and pulling the whole plant up, making sure not to break the roots in the process. Roots should be sprayed clean and chopped up immediately (a sharp pair of pruners will do the job). The first year I grew ashwagandha, I pulled up a plant and neglected to chop it up for a couple days. That was four years ago, and I still have that same root hanging as an ornament in my house- it grew so rock-hard that processing quickly became an impossible task. Once the roots have been chopped, you have a few options. You can use them whole (added to chai blends or tinctured in vodka), or you can further powder the root and add it to everything from drinks to baked goods. 

Honestly, the first time I smelled fresh ashwagandha root, I thought it smelled like a swimming pool. Since falling in love with its gentle, nourishing qualities, I now associate the smell with the plant’s own charisma. Once dried, the smell is reduced, and you’re left with a potent medicinal herb that carries the extra benefits of being locally grown and lovingly harvested.

Many of the constituents in ashwagandha are best extracted in a bit of fat, so I usually simmer it in a bit of milk or coconut oil when preparing it. Below is a simple recipe for hot chocolate. Try drinking before bedtime to ease into a restful sleep, or as a midday boost without added caffeine! And of course, always talk with your health care practitioner about any herbs or supplements you’re regularly utilizing.

Ashwagandha Hot Cocoa:

  • Ashwagandha root, chopped and dried

  • Cocoa powder

  • Dark chocolate chunks

  • Milk (cow or non-dairy, but make sure it has some fat in it)

  • Cinnamon

  • Sweetener of your choice (I like maple syrup)

    • Toss a handful of chocolate chunks into a saucepan, cover with water, and stir while simmering, until chocolate has thoroughly melted into the water. 

    • Add ashwagandha root (about a tablespoon per serving) and simmer for 5-10 minutes.

    • Add cocoa powder, milk, and cinnamon, and continue to cook on low heat for another 5-10 minutes.

    • Add sweetener to taste, strain out ashwagandha, and serve! The cooked roots can be reused a couple of times before composting. 

Resources:

Ashwagandha monograph: https://www.herbrally.com/monographs/ashwagandha 

Cech, Richo. Making Plant Medicine. Herbal Reads, 2000

Fennel, Foeniculum vulgare, Apiaceae family

by Sophie Cassel, guest blogger, herbalist, and Red Wagon team member

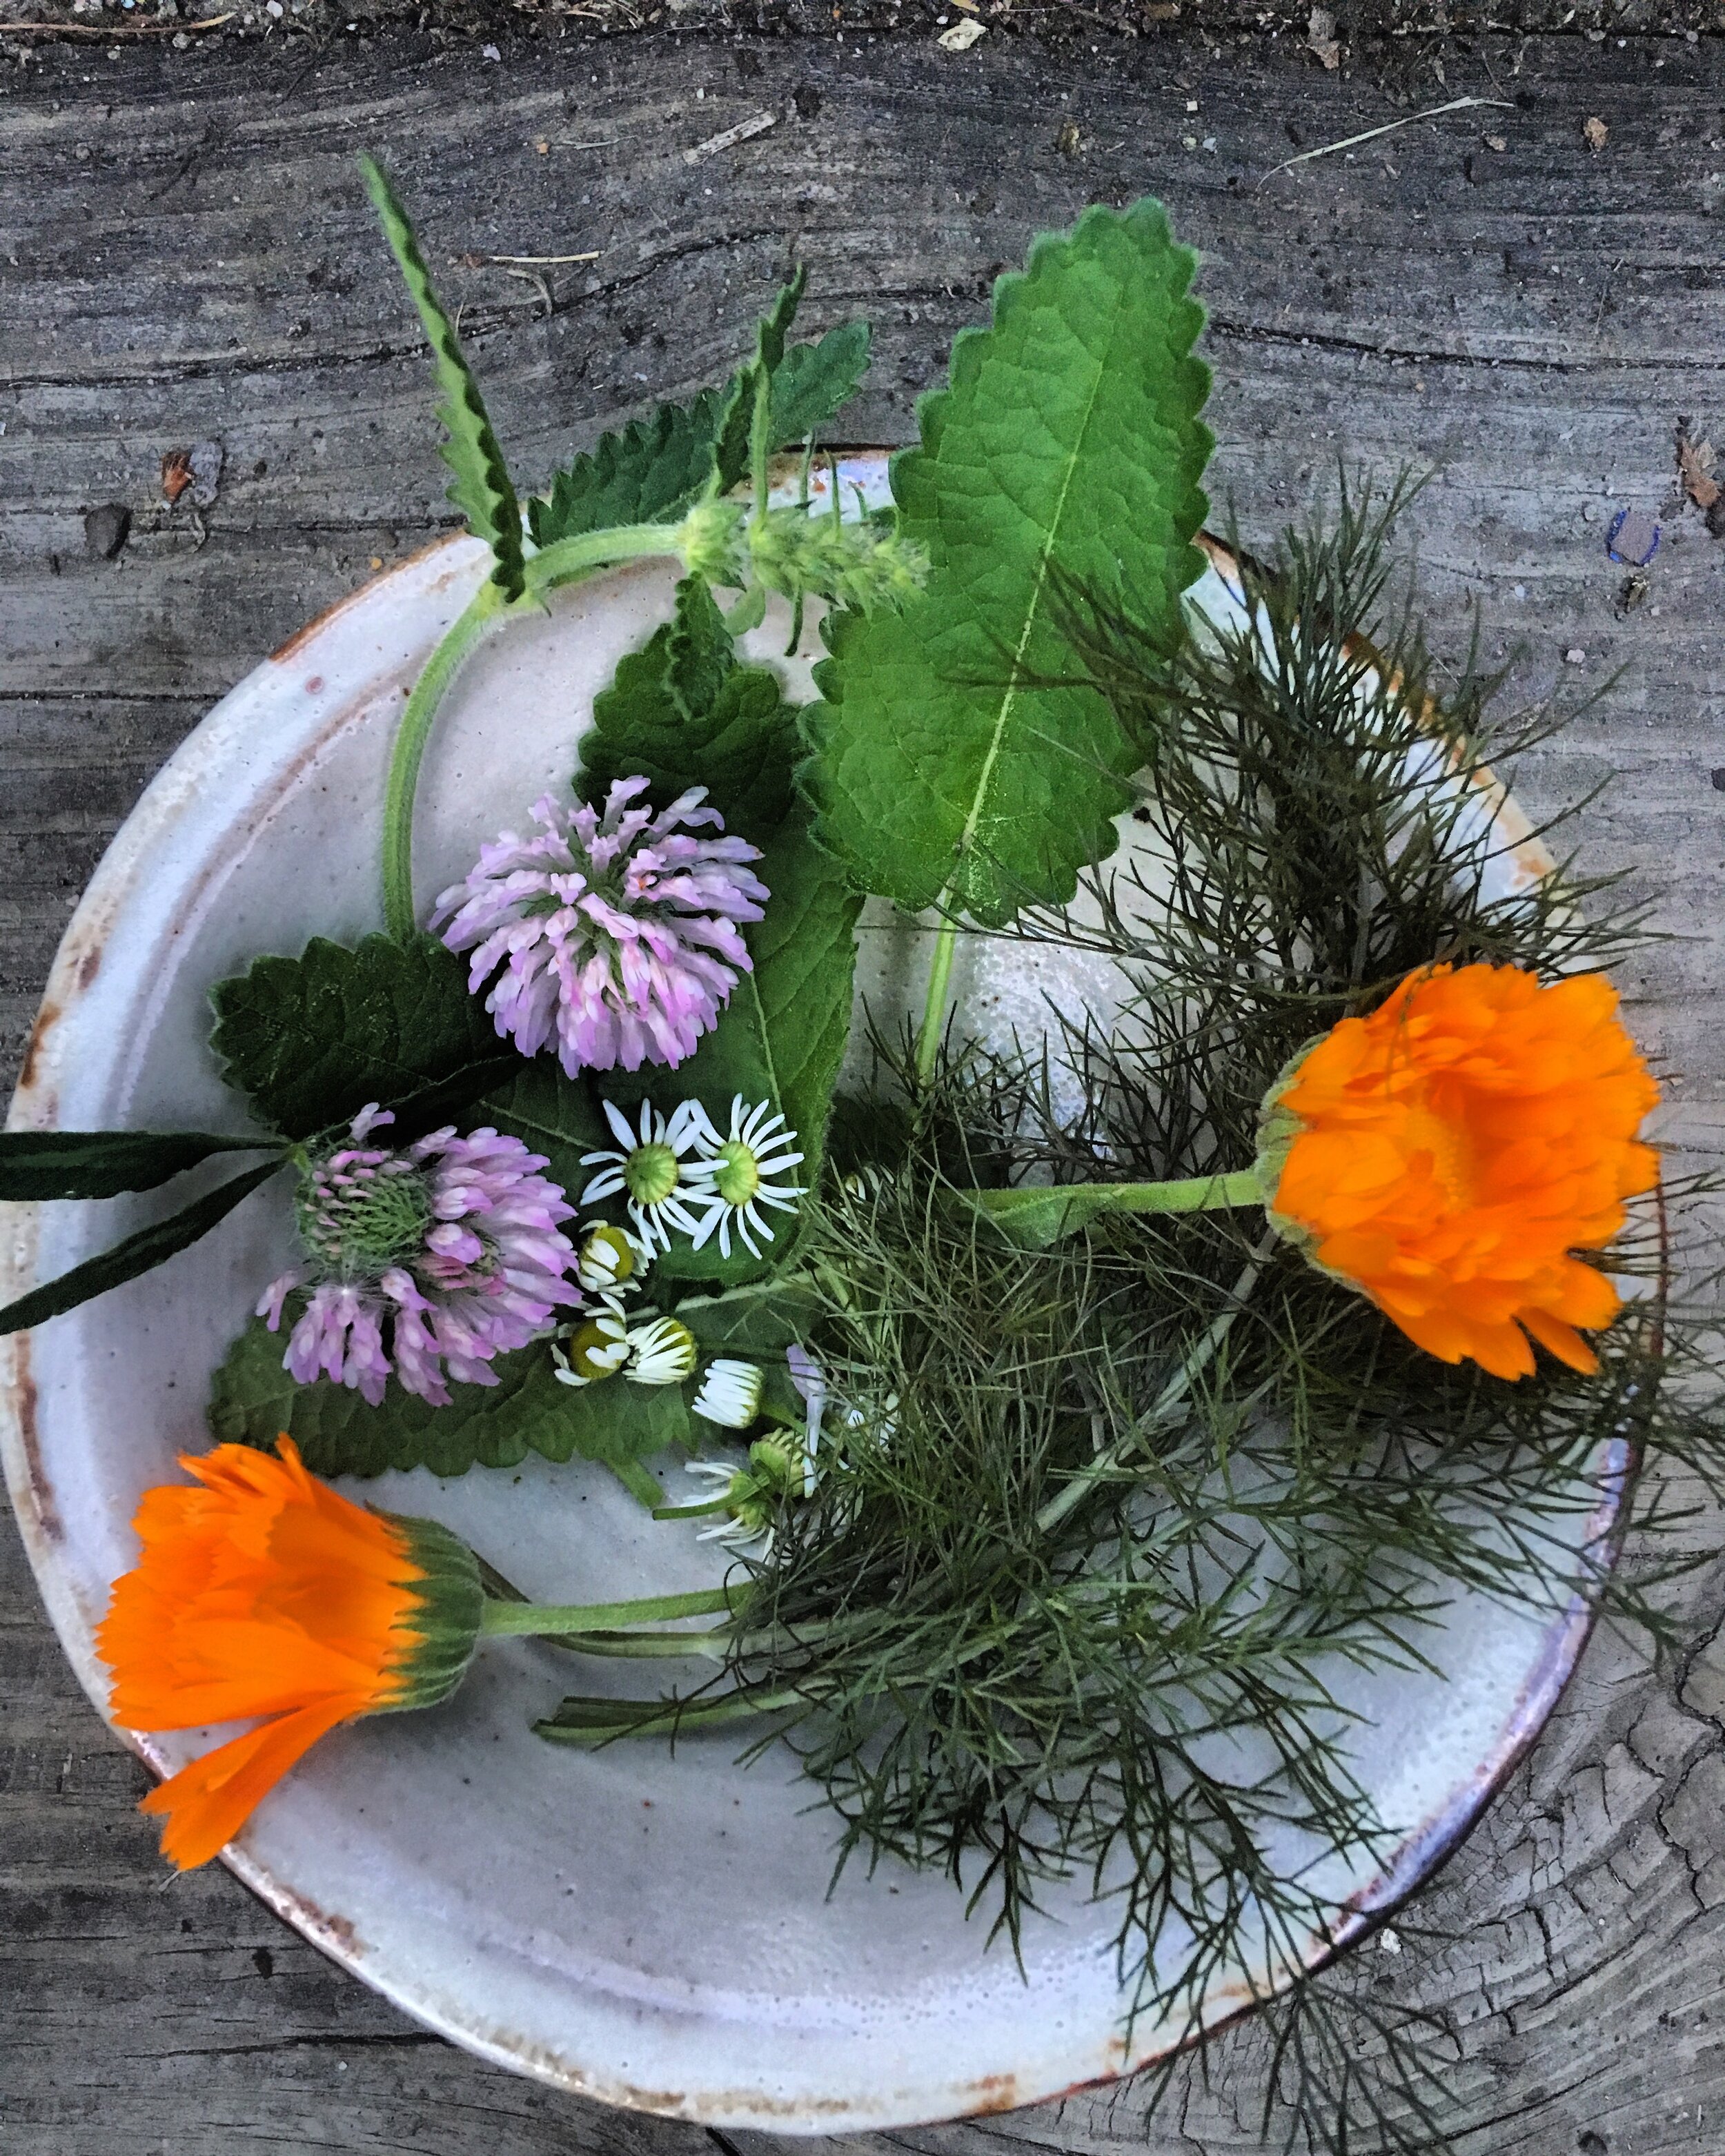
fennel.jpg

With these plant profiles, my hope is to inspire gardeners to consider growing and using some of the lesser known herbs that Red Wagon propagates, both for their beauty in the garden and their myriad uses in the kitchen and medicine cabinet. Fennel definitely fits the bill here. At Red Wagon, we grow two varieties of Foeniculum vulgare- bulb fennel, which is grown as a vegetable and also known as Florence fennel, and bronze leaf fennel, which is grown as an ornamental and culinary herb with potent medicinal uses. 

If people are unfamiliar with bulb fennel in the garden or on the table, they are usually even less aware of bronze leaf fennel, but both of these varieties deserve a spot in the garden. In terms of medicinal usage, we’ll focus on bronze leaf fennel, which is actually quite a bit easier to grow than its bulbous relative, offering interest and uses throughout the growing season.

But first, we should acknowledge the long and celebrated history of fennel across cultures and healing modalities. The emperor Charlemagne reportedly required the cultivation of fennel on all imperial farms, and ever since Holy Roman conquerors introduced their favorite herbs to Anglo-Saxon Europe, western herbalists have extolled the virtues of this plant. My first introduction to fennel seeds, as a digestif following a rich Indian meal, points to its trusted use in Indian Ayurvedic medicine as well. In Longfellow’s 1842 poem “The Goblet of Life”, he too references the plant’s historic values:

Above the lowly plants it towers,

The fennel, with its yellow flowers,

And in an earlier age than ours

Was gifted with the wondrous powers,

   Lost vision to restore. 

It gave new strength, and fearless mood;

And gladiators, fierce and rude,

Mingled it in their daily food;

And he who battled and subdued,

   A wreath of fennel wore. 


Even if you’re not planning on going into battle or restoring sight to the blind this summer, fennel still deserves a place of honor in your herb garden. These days, it is chiefly used in all manner of digestive complaints like cramping, bloating, and that weighty feeling that comes after eating something that may not sit well. Like many of its cousins in the Apiaceae or Umbelliferae family (i.e. dill, coriander) fennel is considered carminative, meaning it helps to relieve gas and bloating. I have also seen this work in a similar way to alleviate the cramping that comes with premenstrual symptoms. Traditionally, the seeds of the plant have been the most trusted part for medicinal use, the feathery fronds and flowers also make an excellent tea or addition to salads and fresh summer dishes. 

From a gardener’s perspective, bronze leaf fennel is much easier to grow than its finicky vegetal sibling, bulb fennel. While bulb fennel requires consistent adequate moisture, fertility, and mulch,  bronze leaf fennel can thrive in a wider variety of soils and tolerates dry conditions. Sow or transplant once the ground has warmed, and offer plenty of sunshine, although some afternoon shade doesn’t seem to slow this plant down much. It can grow up to 2 feet high before flowering, and looks wonderful as a backdrop supporting other sturdy flowers, such as calendula or marigolds. 

Once the fronds have begun shooting skyward, you can harvest the leaves continuously for culinary use and bouquets, but make sure to let some go to flower. Insects (including swallowtails) adore the flowers, and as the they mature you can delight in the flavor of the slowly ripening seeds. Be sure to harvest dried seed before frost, unless you’d prefer a garden full of bronze leaf fennel in subsequent years because they self-seed generously. But with its copious culinary and medicinal uses, that wouldn’t really be such a bad thing. 

Using fennel for medicine is as easy as popping a pinch of the seeds in your mouth following a rich meal. I like to toast them a little before using to bring out their aroma and offer a pleasant crunch, and you can also fry the seeds in a small amount of honey to candy them and increase palatability. They also brew into a lovely tisane, steeped for 10 minutes in hot water (bonus points for your belly if you add some chamomile flowers to the brew). Fennel is very safe, and has been used for colicky babies as well as to promote lactation following birth. Fresh (or freshly dried) fennel is often considered decently palatable even to folks who have an aversion to the sticky-sweet taste of anise, another Apiaceae cousin of the plant.

Let this be the year you let fennel into your garden, your kitchen, and your heart!


References:

Ken Adams and Dan Drost, Fennel in the Garden, March 2012. https://digitalcommons.usu.edu/cgi/viewcontent.cgi?referer=https://www.google.com/&httpsredir=1&article=1267&context=extension_curall

Longfellow, H.W. Ballads and Other Poems, 1842. Found at https://www.hwlongfellow.org/poems_poem.php?pid=75 

Rohde, Eleanour Sinclair. The Old English Herbals. Originally published 1922: Longmans, Green and Co.


Grieve, M. A Modern Herbal. Originally published 1931: Harcourt, Brace & Co.

How to Get Your Soil Tested

Here's one of our most popular posts from the archives. If you are a new gardener or gardening in a new spot, it's well worth it to get your soil tested to ensure happy plants and bountiful harvests. 

I've always thought that getting your soil tested was going to be somehow difficult and arcane.   But I've had some challenges growing things since moving here (namely like a non-blooming hydrangea).  So since Julie said it's a good idea, I've decided to give it a try. I visited the UVM Extension Service website.

And downloaded this form to fill out.

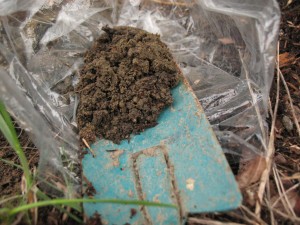
And scooped some dirt into a bag.

Julie adds:

It's best to take samples from multiple places, digging in the first 6" of soil, mix up the various handfuls of soilin a bucket, and select your soil test sample from this mixture. It gives the soil test people a better idea of the overall make-up of your soil. Make sure the bucket and spade are very, very clean.

skillet garden 024
skillet garden 024

Tomorrow I'll send the dirt and $18 to UVM.  And in 10 - 14 days I'll get back a recommendation of what I should add to my soil to grow what what we're planning.

In the meantime, I'm watching as the plants blossom, and unfurl, and grow.

skillet garden 013
skillet garden 013

Beautiful RWP pansy.

skillet garden 012
skillet garden 012

The last day of last year's inedible sorrel.  Tomorrow I'm ripping it out to make room for the currant bushes when they come, and will throw the leaves into a Greek-flavored braise I'm making.