The following is a hand out that accompanied a workshop I presented at the NOFA conference Feb 12, 2012. -Julie

An abundant harvest in a small space can seem like a challenge, but by understanding a few concepts, you can make the most of your small garden so that it meets your needs and brings you joy. Observing plants is the best way to develop garden awareness; making good choices is the best way to avoid “garden guilt.”
Abundant harvests have to do with efficiency:
- The efficiency of the plant taking up nutrients
- The efficiency of the amount of time it takes for the plant to mature.
- The efficiency of minimized waste.
- The efficiency of using your space to its maximum potential.
These are not hard and fast rules, but can be applied at your discretion in any area of the garden you would like to improve. These ideas can work for the spontaneous or lazy gardener (like me) or for the hyper-planner who maps it all out on graph paper ahead of time (like my neighbor). Think of it as cooking without a recipe - once you know a few techniques and concepts, you can explore and have decent results most of the time. And there is no such thing as garden failure - it is just a lesson waiting to be learned.
The big factors:
- Soil - texture, nutrients, compost, fertilizer
- Shape - raised bed, containers, or “in ground”, bed prep
- Water - drip, overhead, by hand, on timers, etc
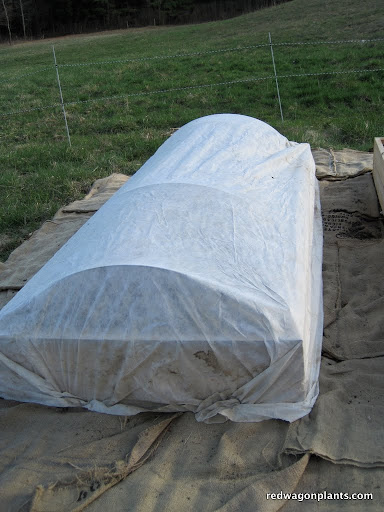
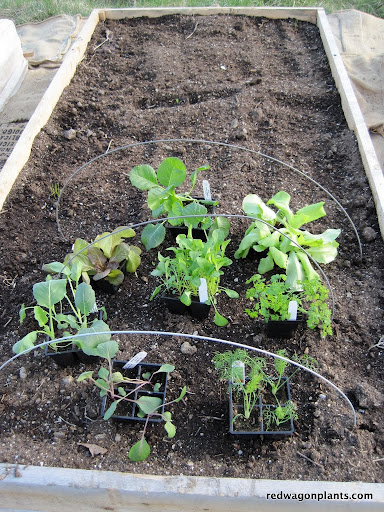
- Cultivation - weeds, mulching, pests and diseases, season extension, spacing and timing, succession planting, shape of plants
- Harvest - understanding life cycle of plants, post-harvest handling, when to try for multiple harvest or when to cut your losses, cleaning up plant debris.
Soil should be loose and rich and deep.
In a container it should be a pre-mixed potting soil, not garden soil. If the container is large (1 gallon or more) it should have some drainage material in the bottom. Many things work well for this - styrofoam packing peanuts, crushed up plastic pots, gravel, etc. If a pot is very lare (3 gallons or more) the drainage material can be a little deeper, up to the bottom third of the pot. It is a good idea to cover the drainage material with a piece of burlap, an old pillow case, or some other type of screen or fabric to keep the soil from washing down into the material that should remain porous.
In a raised bed, it can be a combination of materials including pre-made finished compost, leaf mold (rotted leaves - make a pile in the fall, it’s good to go in the bottom of the raised bed in the spring), peat moss, rotted manure/bedding (a good source is horse farms), garden soil, sand and pre-mixed top soil / compost combinations. The key is to have a mixture of ingredients to re-create the complexity of a living soil system.
In the garden, the soil should be worked deeply with a 4 or 5 pronged fork, and loosed by hand or with a hoe. Even if you use a rototiller in the garden, the plants will benefit from having the soil loosened more deeply than where the rototiller tines reach. It is a good idea to shovel out the paths of the garden and put the extra soil onto the beds. This essentially makes a raised bed and will allow the roots to grow quickly and deeply in their search for food.
Nutrients can come from compost, granular fertilizer, “Compost Plus” and/or mineral inputs. It is a good idea to get a soil test in your in-ground garden or raised bed. If you are using materials in the raised bed that you know are of good quality, you can skip this, but if your plants look deficient during the growing months, you may opt to do a test after all. Applying granular fertilizer or “Compost Plus” is best done after the plants have had a chance to grow out - either a month or so after seeding or two weeks or so after transplanting.
Water is best done through drip irrigation - either soaker hoses or drip tape. A good source of drip tape is Dripworks. Next best watering choice is by hand since you can aim the hose nozzle at the soil, and not get the foliage wet. Third best choice (and not a good one, sorry) is overhead sprinklers: they require less of your time and labor, but they get the foliage wet. Two reasons to avoid getting the foliage wet with overhead irrigation (sprinklers and incorrect hand watering):
- it rots the plants, and disease can set in. Dry plants tend to be healthier plants.
- the plants take up water with their roots, not their leaves. You waste a lot of water and the leaves act as a nice umbrella for the roots, making it wasteful. You have to water more than necessary for the roots to actually start drinking. Getting the plants wet and watering the garden are two different things, and it is best not to confuse them.
Watering is best done in the morning - it gives the plants a chance to dry off before night time and supports their busy daytime growth. Watering at the end of the day is not recommended since disease spreads most during humid summer nights. You can water the garden during the middle of the day, and the plants will still have time to dry off by sunset.
Cultivation is simply the act of caring for plants. In larger scale farming, to “cultivate” means to scuff up the soil in such a way that you are removing weeds, usually involving a tractor and some sort of implement. Here we use the term “cultivate” in a broader sense meaning a general discussion of the cultural requirements of common garden plants. The “cultural requirements” of a plant are all the things that a plant needs from humans in order to thrive. For example, the site, the water, the tilth or texture of the soil, the space and the nutrients are all a part of a plant’s cultural needs. To understand what a plant needs, you have to look at these factors:
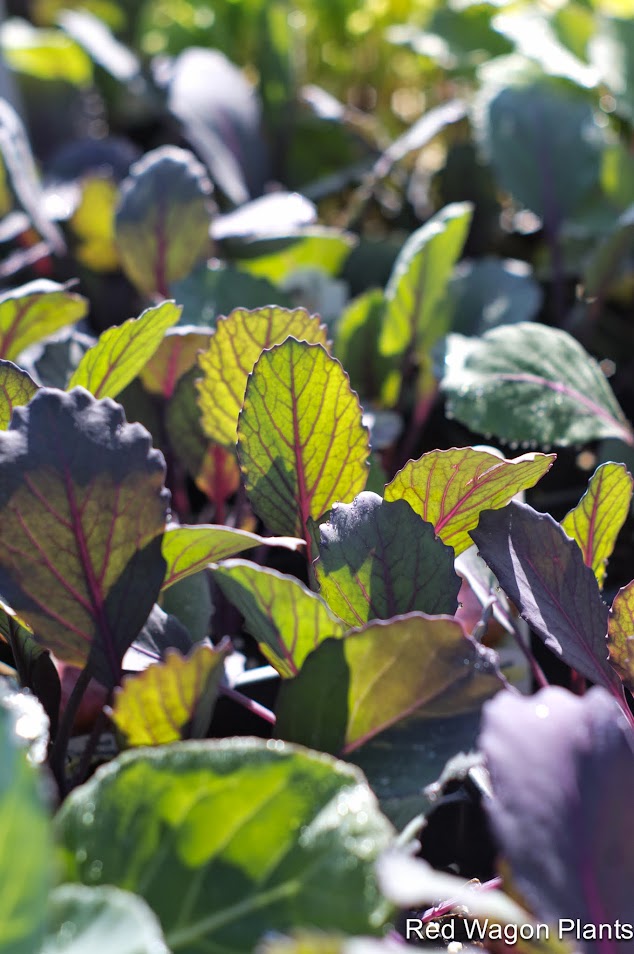
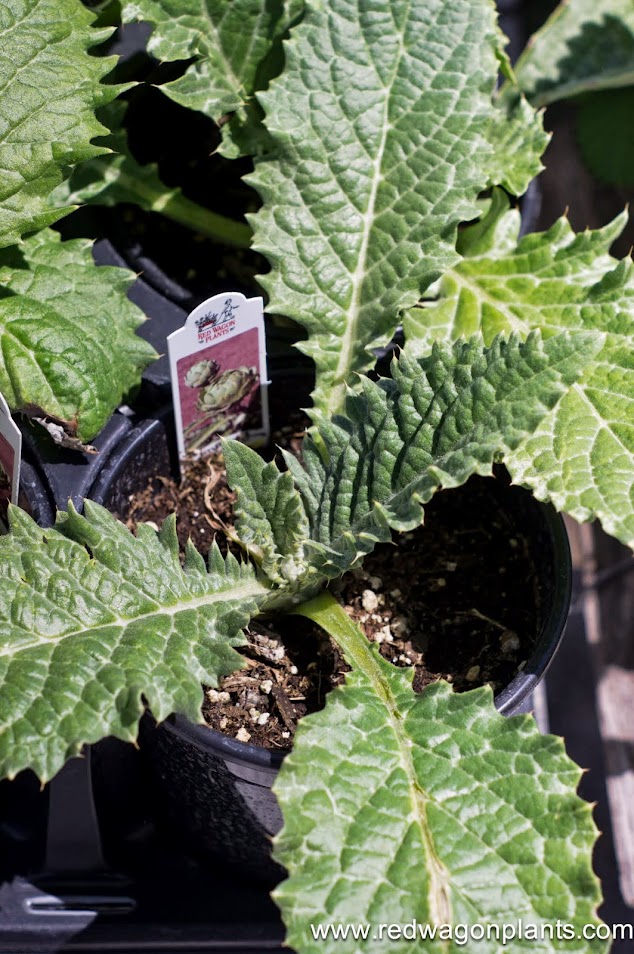
- what is it’s shape? Shape of plants, physiological structure, and type of cells that make up the roots and the foliage all give you clues to what the plant needs. Thin fibrous roots dry out more than thick, tuberous roots (think of an onion plant vs. a tomato plant). Waxy, shiny leaves are more drought tolerant than matte, thin leaves (think of a succulent like aloe vs.a leafy plant like lettuce). Large plants with broad leaves have very different requirements than skinny tall plants (think brcocolli vs onion). The canopy a plant creates is also a clue - plants with a small canopy (onions, celery, leeks) do not cast much of a shadow. This makes them very vulnerable to weeds. Plants that create a large canopy (squashes, cabbages, broccoli, eggplant) cast a large shadow which slows down weed growth. Understanding the shape or growth habit of a plant also helps you maximize the potential of your small garden.
- A tall, vining plant can be trellised.
- A low growing, sprawling plant can be planted on the edge where it spills onto a lawn.
- A tall, skinny plant can be tucked into tight spots.
- A pretty, decorative plant can be planted in the flower bed.
- how hungry is it? Plants that need a lot of fertility are often referred to as “heavy feeders”. One common point amongst most heavy feeders is their life span. A baby lettuce plant that is in the ground for 20 days is going to be a light feeder. A giant, prize winning pumpkin in the ground for 130 days is going to be a heavy feeder. Plants that produce fruit such as tomatoes, zucchini, squash, peppers and eggplant are best fed when in a vegetative state (all green leaf growth, earlier in the first 45 days of transplanting); once those plants are in their fruiting state, it is best to lay off the fertilizer or compost which support green growth, not fruit growth. The plant has only so much energy, and if it is putting it into leaf growth, it won’t also put it into fruit growth. It is a balancing act since the green growth needs to happen quickly and in a lush manner in the earlier part of the season in order to support healthy fruiting in the latter part of the season.
- how thirsty is it? As in the discussion of shape, a plant’s water needs have to do with its structure, but also with weather and soil type. A garden in sandy soil will always need more water than a garden in clay soils. You can look for cues of thirstiness in a plant and water just as needed. These clues include very slight curling of leaves, a blue-like hue that creeps in (this is very sublte), or a very subtle droop in the way flowers are angled. This type of “reading the garden” takes some observation to understand, but gardening is a lifetime project with countless places to learn. Fruiting vegetables tend to taste better with less water. Leafy vegetables tend to taste better with more water. It is entirely possible to water tomatoes only once every two weeks, even in a drought, and get very tasty fruit. If you did that with lettuce, it would be bitter at best, but more likely it would simply be dead.
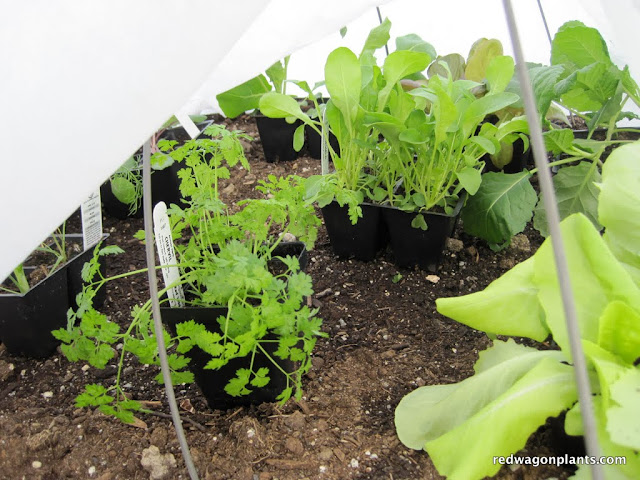
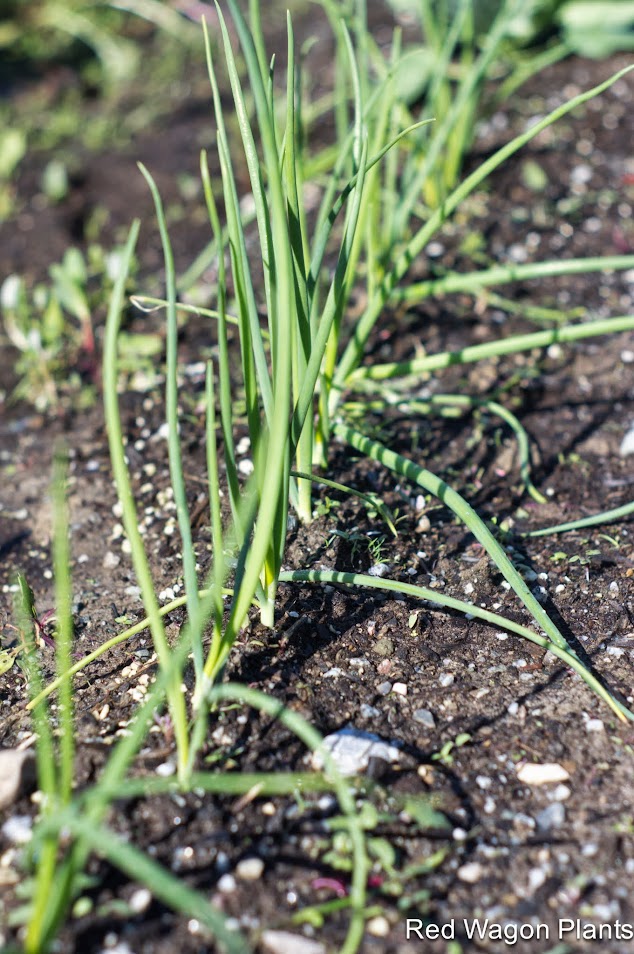
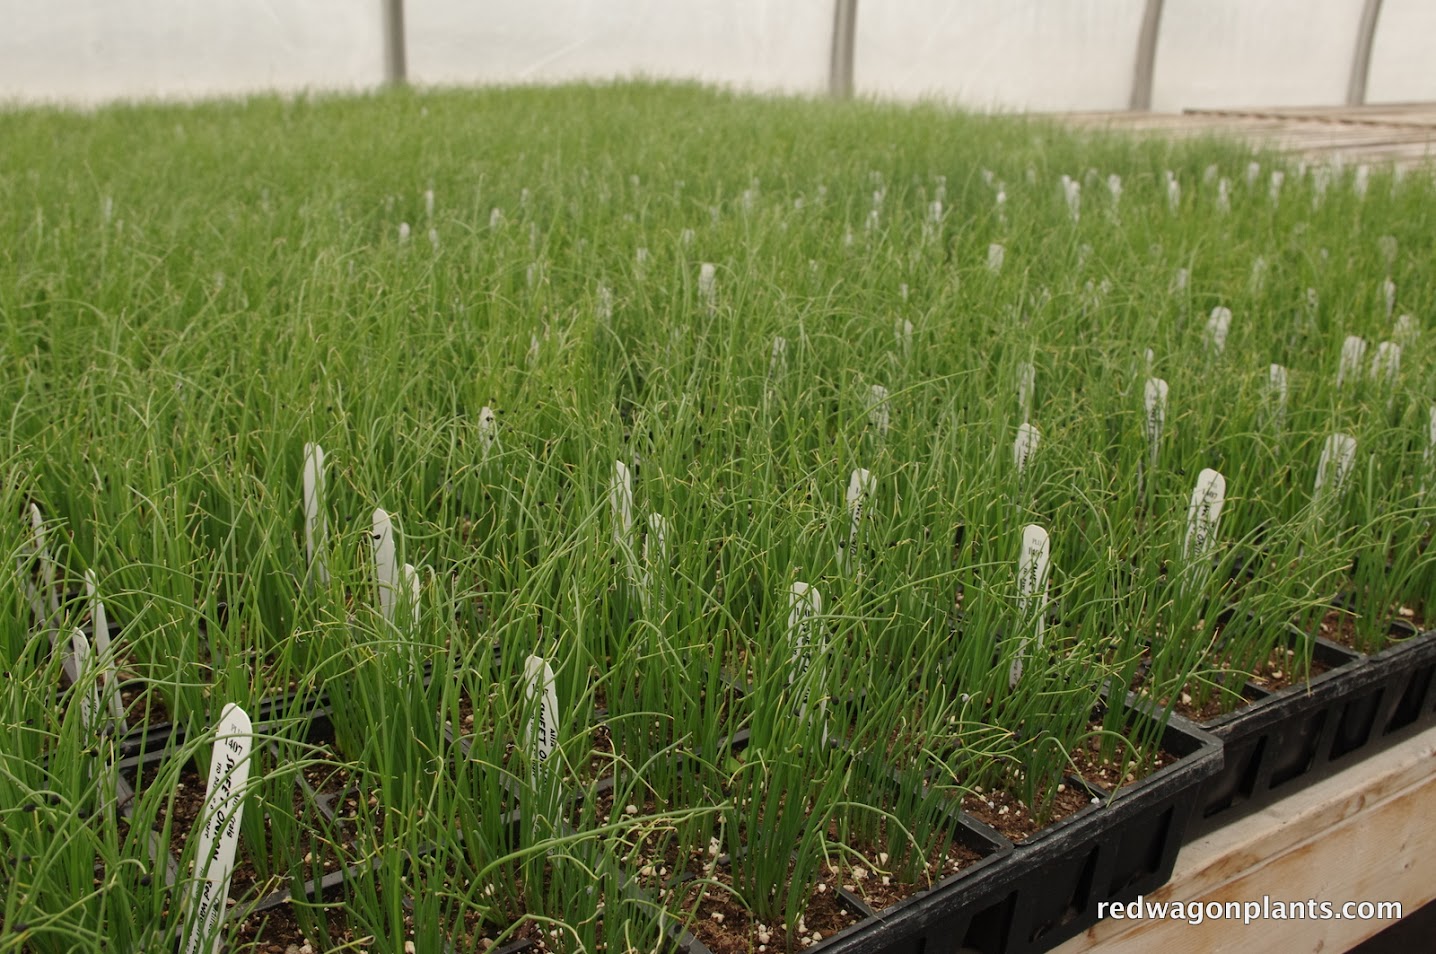
- how well does it share? A plant that knows how to share light, water, and nutrients with its neighbors is a plant that does well in small spaces. Radishes are a good example. They can be sown alongside just about any other crop, and they do quite well because of their short life span, lower light requirements, and broader leaves that shade out weeds. Radishes can share. Other examples of plants that cooperate nicely: arugula, baby lettuce, scallions (they are skinny and can go in nooks), cilantro, curly parsley or smaller varieties of Italian parsley, strawberries and wild strawberries, and pansies. Notice....with the exception of scallions, all these plants are low growing, have broad leaves that create a canopy that shades out weeds, and can tolerate a bit of shade that might be thrown by a neighboring canopy.
- how well does it compete? Plants that compete well are plants that are not easily thwarted by dry conditions, weedy conditions, temperature extremes, or low nutrition. You can always increase your harvest and increase your efficiency by knowing which plants have these characteristics. It basically allows you to prioritize garden tasks -you can make the less competitive plants a priority, and save the more tolerant, tough plants for a day when you have a little more time. Working smarter in the garden can increase the harvest, and save you some “garden guilt”, just by knowing when to say “it’s okay if that is weedy, it can wait until the weekend.”
Succession planting is another way to increase your yields. This is the act of planting multiple generations of plants so that you have a continuous harvest. The trick with succession planting is to know a few numbers
- the date of the average last frost in spring
- the date of the average first frost in fall
- the amount of time it takes for a plant to be harvestable (a.k.a. “days to maturity)
and two cultural factors:
- is the crop frost tolerant or not?
- is it a “multiple harvest” crop or a one time harvest?
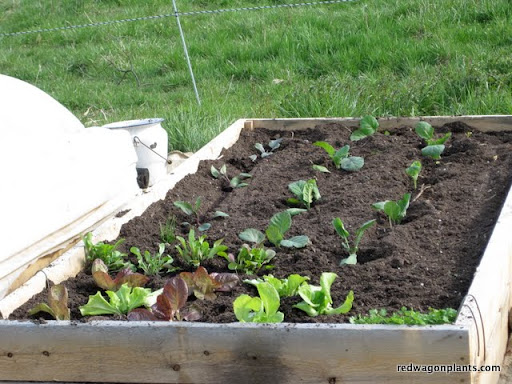
Once you know these numbers and the frost tolerance of a plant, you can make some simple calculations based on your season length to determine how many generations of a particular plant you can grow. For example, head lettuce has about a 40 day life cycle from transplant time to harvest time, and it can tolerate a light frost. This means you can start transplanting it in early May (in Burlington, average last frost is last week of May) or so, and you can repeat the planting of it every week or so, until early September. (in Burlington, average first frost is first week of October). Head lettuce is something you harvest only once, so if you want a nice head of lettuce every two days or so, you would plant 4 heads of lettuce a week, every week from early May to early September. This will give you a continuous harvest from early June until mid-October.
If you are the kind of gardener who “puts in the garden” on Memorial Day and then you never replant, it is likely that you have a big glut of produce at certain times, and then none that is fresh and good at other times. By planting multiple generations of plants, you insure high yields and great flavor. A patch of bush green beans only produces good quality beans for about 2 to 3 weeks. After a while, the beans are tough and sparse on the plant. If you replant a new patch every couple of weeks, you will always have high-yielding, tasty beans. Abundant harvest happen on healthy plants at their prime, and gardens in small spaces require a certain amount of decision making. You always have a choice to pull out tired plants and to replant with new seeds or plants - this is often the most efficient way to have better yields.
Mulch is a great way to keep weeds at bay, and to keep moisture near the root zone. It can also build soils, heat the soil, or cool the soil - all depending on your goal and what the plant needs. You can mulch paths and/or growing beds. Raised beds that are constructed out of wood can also be mulched and the paths around the raised beds can be mulched to minimize lawn mowing if you would like. If you use materials that naturally break down such as paper, cardboard, burlap bags, straw or bark, the mulched paths can become mini compost piles. By layering in materials that block out weeds, you are creating a layer of organic matter that will decompose over the course of a year and can then be shovelled onto the growing beds the following spring. Some mulch materials carry weed seeds so beware. They can still be used effectively in the garden, but best as a layer that is covered up with another barrier such as cardboard or burlap. As it breaks down and heats up over time, the weed seeds lose their viability and will not be a problem the following year. Plastic mulches heat the soil and are great for the heat-loving, fruiting crops.
Harvest and post-harvest handling are other factors that affect the yield in your garden. Being able to plan or predict when you harvest a crop depends on your knowing the life cycle or days to maturity of that crop. It is entirely possible, to plan a garden harvest around certain dates or to plan for having no harvest during vacation times. An abundant harvest is one that happens when you want it. An unwanted harvest is a hassle - you have to get your neighbors to help, or find volunteers for a school garden, etc. Sometimes that works, but it is possible to minimize unwanted work, and under-appreciated produce by timing the plantings and knowing how much to plant of each crop. There are many charts on the internet that can help you gauge the garden harvest and how much to plant of each crop and when. Johnny’s Selected Seeds has some wonderful on-line tools, as does our own Red Wagon Plants website.
Post-harvest handling includes everything from time of day you harvest, how you pack it into your basket or boxes, and how you store it. Morning is generally the best time to harvest since the field heat has not had too much time to affect the leafy green plants. Fruiting plants can be harvest later in the day. Again, this is a place where you can make a choice by harvesting the right plant at the right time of day. If you only have a few minutes to harvest in the morning, do the leafy greens. The fruiting plants can usually wait until later in the day or even a couple of days.
Once a plant is cut or picked, it is best to wash it and refrigerate it right away. Again, this is related to an abundant harvest because anything that improves quality reduces waste. Lettuce that is wilted and dirty in the bottom of the fridge drawer is just not as appealing as lettuce that is crisp, clean and ready to eat. A small garden is not a productive garden if what you harvest ends up under-utilized. A good trick is to harvest the lettuce, and when you get in the house, soak it in a basin or large bowl of cold water right away. This takes out the field heat, the leaves absorb some water making them more crisp, and the dirt drops down to the bottom. Lift the leaves out, re-soak once or twice depending on the amount of dirt, and then spin the leaves in a lettuce spinner or by layering between some clean towels. Lettuce treated this way is sure to get eaten, promise!
Plants like broccoli, beans, and tomatoes produce more the more they are harvested. Broccoli will generally make one big head, and then produce what is called side shoots all summer long. These shoots are the perfect size for cooking or eating raw and the more you remember to cut them, the more the plant will produce. Often a broccoli plant that goes into the garden in late April will continue to produce side shoots into mid-December - talk about a high yield!
Most fruiting plants (tomatoes, cucumbers, squash, peppers and eggplant) will also produce more the more they are picked. These do not need immediate refrigeration, and tomatoes and basil should never go in the fridge. A basket full of cukes and zukes can stay on the counter until a time later in the day when you have had a chance to make room in the fridge or have time to make pickles,etc.
Again, a high yield can be a burden or a blessing, depending on how it fits into your life. With a little planning, a very small garden such as a 4’ x 8’ raised bed can include 2 tomato plants, a cucumber plant and a season’s worth of greens. This is often plenty for a single person or a couple. Abundant harvesting is about making choices that lead to efficiency and no waste., beauty and no guilt. If you use your minimal space for vegetables that you will not use, then the space is wasted, if instead that small space is regularly turned over with fresh plants, and old plants are removed, then you will have a high yield of well loved produce. It is always a better choice to remove the garden debris (think bolted lettuce, cabbage stumps, woody radishes) than to let it limp along, tempting disease and pests.
Some good sources of information
- Our website has an extensive list of resources in the “Garden Journal”
- Johnny’s Selected Seeds, High Mowing Seeds, Territorial Seeds, Seed Savers Exchange and Botanical Interests are all reputable seed companies with lots of educational materials on their websites and in their catalogs. These are great sources of free information.
- Cornell Extension has a website for home gardeners that is very helpful
- Elliot Coleman’s books are geared towards vegetable farmers but have very clear explanations of succession planting, timing and spacing
- Barbara Damrosch, The Garden Primer is my favorite all around basic gardening book
- UVM Extension offers soil tests, a plant pathology lab, and a pest identification lab
- Burlington Permaculture
- Charlie Nardozzi offers a garden coaching program and gives weekly talks on VPR about gardening.
- Friends of Burlington Gardens offers support to school gardens, community gardeners, and anyone interested in learning how to grow food. They offer a season long course at Ethan Allen Homestead that provides brand new gardeners all the support necessary to achieve success in their first year.
.

