growing tomatoes

In the Garden this week

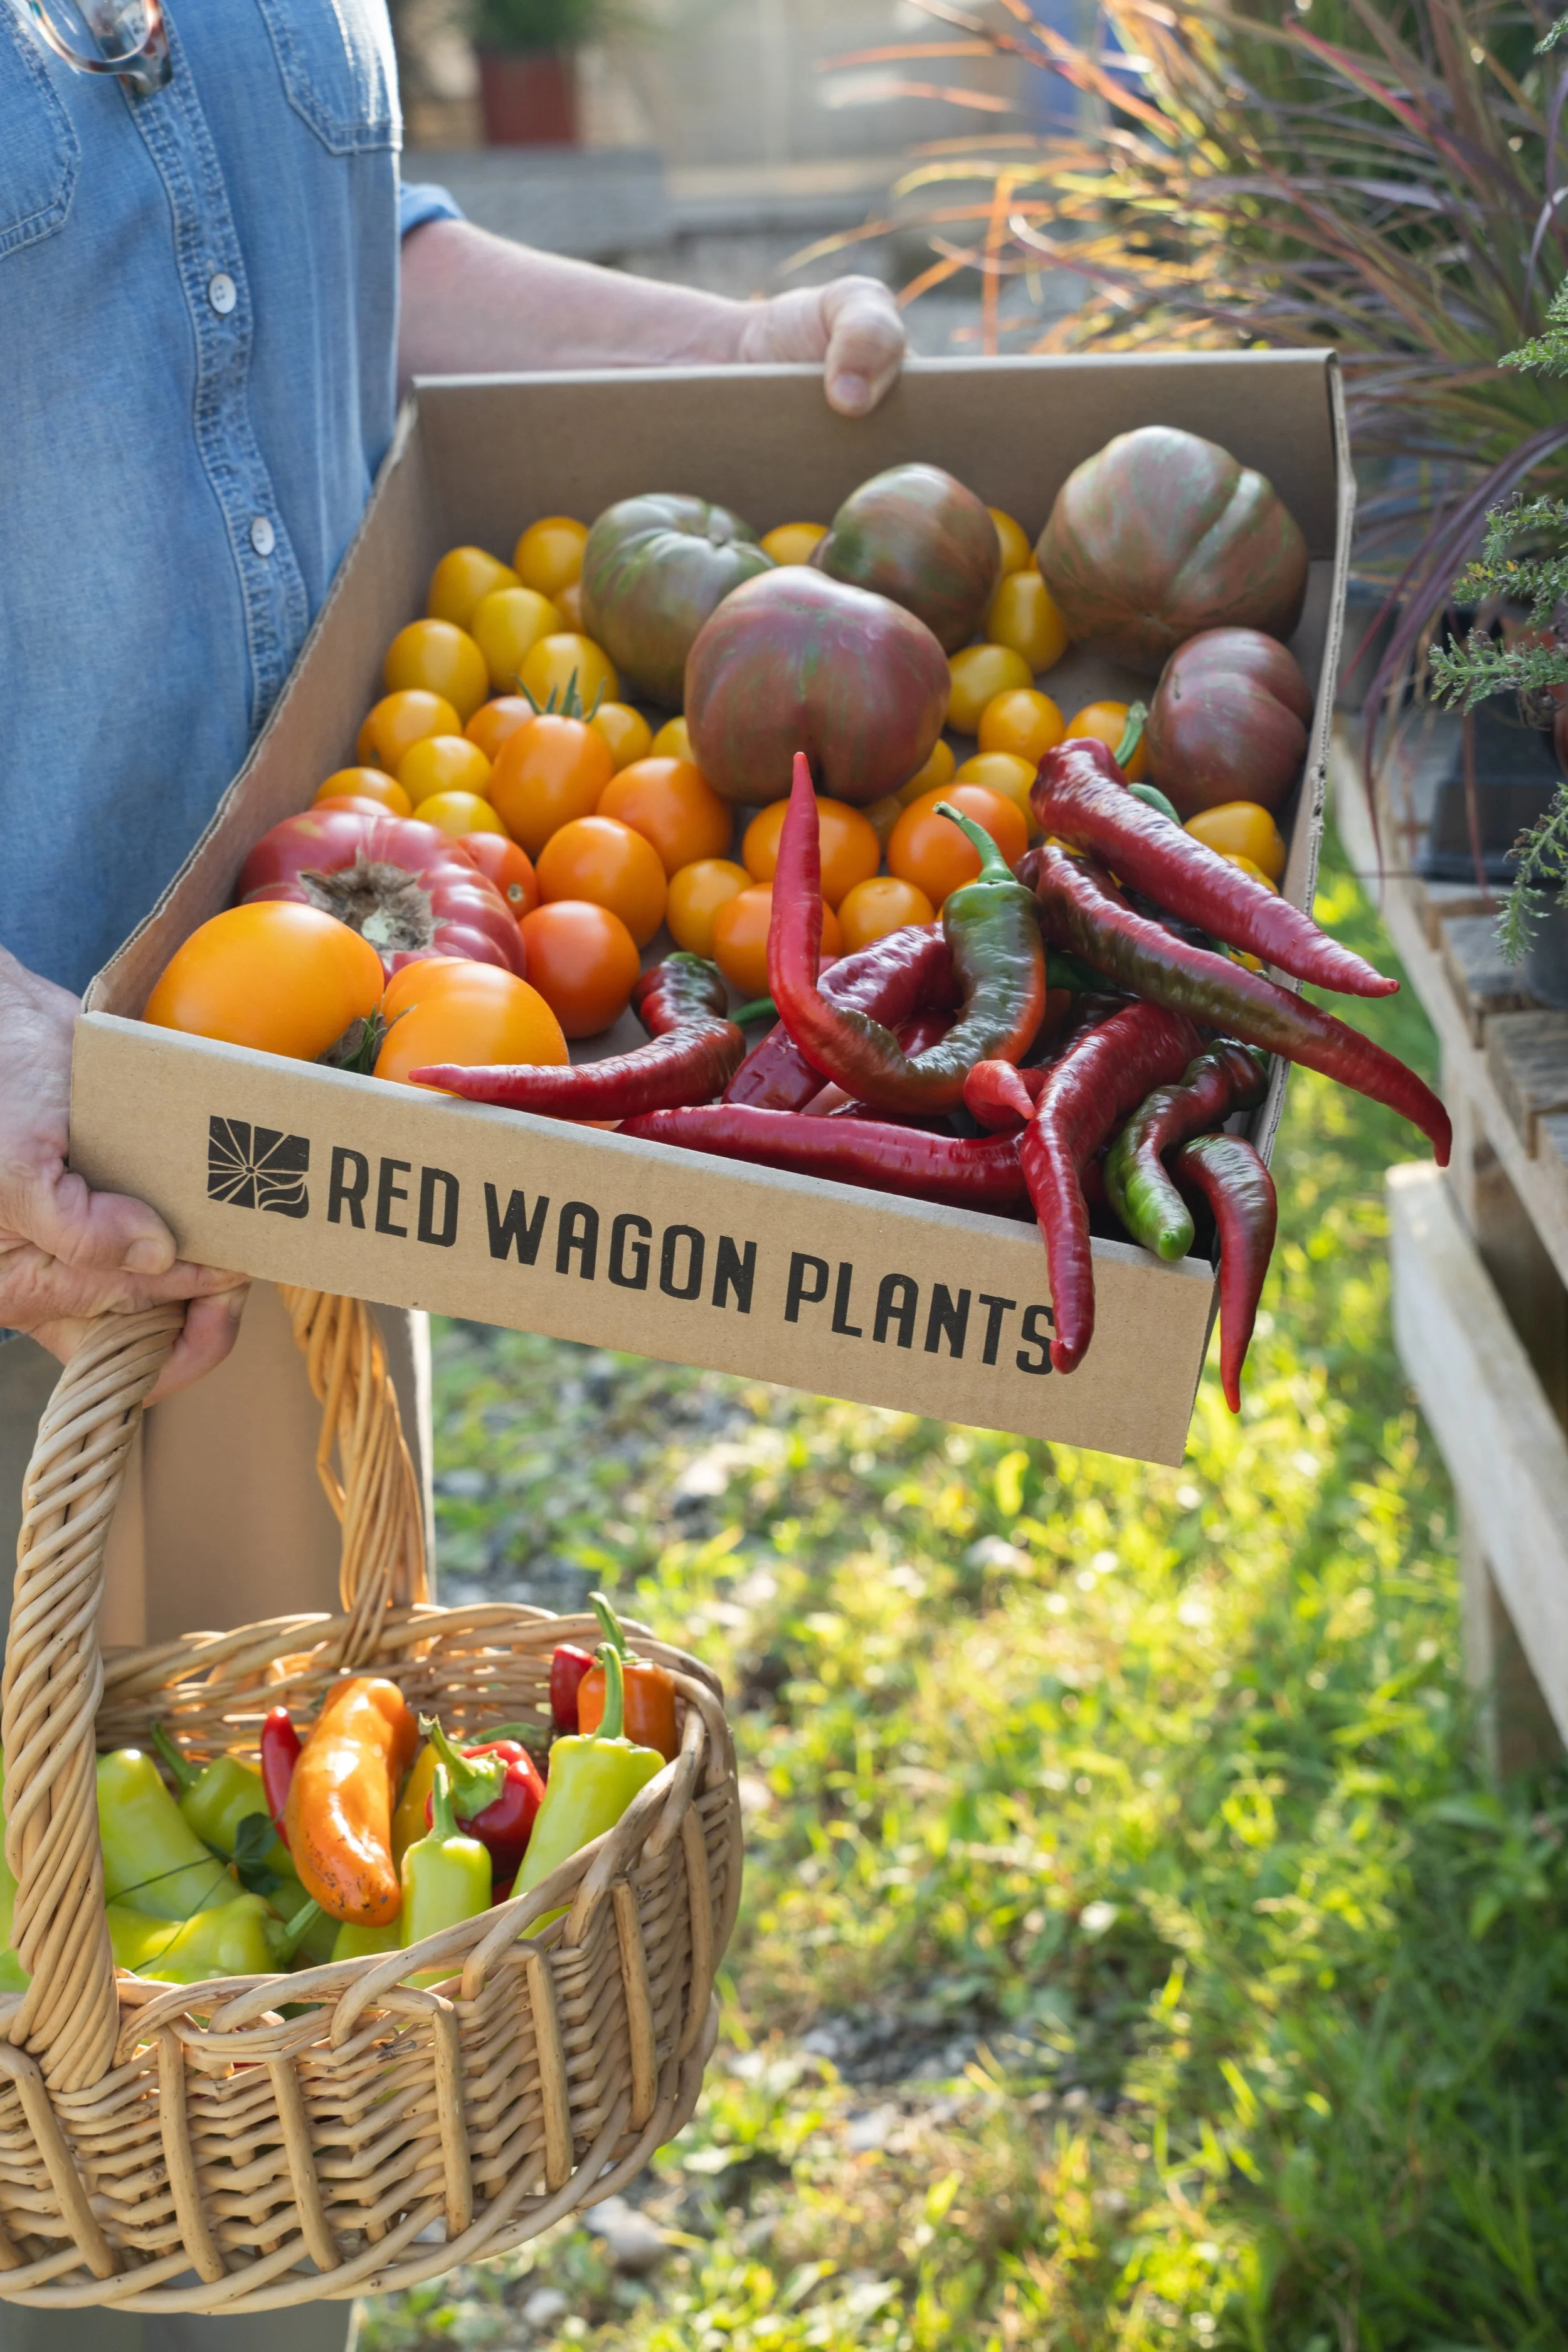
In the basket - Hungarian Hot Wax peppers. In the box - Jimmy Nardello peppers, Esterina cherry tomato (the little yellow ones), Clementine tomato (small orange ones), not sure what the big yellow tomato is, Prudens’ Purple tomato and Berkeley Pink Tie Dyed tomato (the ones on top that are pink with greenish stripes). Now you know some of our favorite varieties!

They’re here! Tomato, pepper and eggplant seedlings are now for sale in the Plant Shop. It has been a very cool spring, so we have waited until now to protect the tender fruiting plants. It is still too early to plant them into the ground, but now is a good time to take home your favorites and harden them off and get to know them a bit. The soil needs to be 50 F which takes about a week of night time temperatures being in the 50’s. Test your soil temperature at about 4” deep (a digital meat thermometer works). Maybe the end of next week will be a good time to plant. In the meantime, prep your beds by adding compost, and making sure the soil is loose and weed-free.

Please note: We don’t have every single variety available at the same time, but we will rotate through all of them as the different generations mature. If there’s a plant that is dear to your heart and you don’t see it on your first visit, we are happy to take your name and number and give you a call when it’s ready.

Just getting started, or want to try something new?

Tomatoes, fragrant and fresh-off-the-vine, are one of the best parts of summer. Don’t be afraid to baby these heat-loving crops - they will pay you back with greater growth and yields in later on.

We suggest trying out a few varieties of different kinds (determinate, indeterminate and cherry) in order to have a harvest that spans the season. Plant your tomatoes at least 3 feet apart to allow for adequate air flow. Here is a post on our blog where you can learn about different categories of tomatoes, and see our recommended tomato planting strategy. When they do grow (often taller than expected!), here are our favorite methods of tomato pruning and trellising that could do wonders for the health and productivity of your plants.

Peppers and eggplant also enjoy being transplanted once the soil warms up. One planting is usually plenty, but again, an assortment of varieties will keep the harvest varied, staggered and interesting. We carry many different sweet and hot peppers, and Asian, Italian, heirloom, full-sized and mini eggplants. This could be the year you discover a new favorite. For newer gardeners, we recommend Lunchbox pepper and Hansel eggplant. They both produce small fruit and are easy to grow and very abundant.

Three ways to trellis and prune tomato plants

Staff garden cherry tomatoes grown with a string and clip method in a greenhouse

First of all: Why trellis and prune tomato plants? Many gardeners let their tomatoes grow without ever trimming a branch or adding any support. This may produce some great fruit, but here are a few reasons why I recommend trellising and pruning your tomato plants:

Ease of harvest - Trellised and pruned tomato plants make for easier harvest. Easier access to the fruit also means you’re less likely to damage the plants when reaching in to get a ripe tomato. Less damage means less diseases and you’re less likely to miss ripe fruit that is hidden behind overgrown foliage.

Disease prevention - Good airflow, through spacing of plants, and pruning away some branches and leaves, is the best prevention for fungal diseases. Other diseases spread when leaves come in contact with soil, so keeping your tomato plants up off the ground and trimming the lower leaves will greatly reduce this from happening.

More fruit that ripens - You can force a tomato plant to put its energy into ripening existing fruit by removing some of its foliage. This is especially helpful at the end of the season. Three to four weeks before the first expected frost, I clip the head off of my tomato plants, so they will put their energy into turning the last fruits red.

The Cage

This is the most common way to keep tomato plants upright in a home garden. Typically the cages used are too short for tomatoes and better suited for pepper plants. It can be a good option if you have limited garden space and are only growing a few tomato plants. Find the tallest cage possible, ideally 5 ft or more. The sturdier the wires, the better. Square folding cages are made of sturdier wire and won’t fall over easily. They are also more expensive.

Set up your cage right after planting your tomato starts in the ground, this way you’re less likely to damage the plant. Push the bottom wires as far down into the soil as possible.

Since tomato cages are rather short, I aim for a branched plant or choose determinate varieties that won’t grow as tall. I prune all leaves and suckers from the bottom of the plant up until right beneath the lowest flower cluster. Once that fruit is harvested, I continue pruning leaves up to the next flower cluster, always working my way from the bottom up. Always leave some foliage to shade the fruit to prevent sunscald. When the plant gets very dense inside the cage, I prune out some weaker suckers and leaves that are pointing inward. Anything that looks diseased or discolored is always my first choice for cutting off.

Basket Weave

This is a great method if you are planning to have a row of tomato plants. You could use it with as few as 2 plants and up to the full length of your garden. Mark your tomato planting holes in a straight line about 18 inches apart. Then drive a 8 ft t-post (or other tall, sturdy stake) between every 2 or 3 plants and at the ends of the row. Anchor the outer posts so they won’t pull towards each other under the weight of the plants. I usually add two shorter stakes at an outward angle to the end posts. Once your structure is in place, plant the tomatoes. When they are about a foot tall, I start weaving. Attach one end of your string to one of the end posts and start weaving between the plants: Right of the first plant, left of the second and so on. When you reach a post, loop the string tightly around it. When you reach the other end of your row, tie a knot to the last post, run the string between anchor and last post a few times and tie it off. Now do the same with an opposite weave. Each plant will now be held up by string on either side. I weave every 6-10 inches, which is about once a week. Take leaves out as described with the cages. I usually thin each plant to 6-8 strong leaders and remove all other suckers. This creates a kind of espalier look where all fruit is easy to reach and there is lots of airflow.

String and Clip

My wild veggie garden on August 1st 2021 with tomatoes trellised along front of house

The easiest pruning and harvesting will be achieved with a string and clip set-up. I grow tomatoes along the south side of my house and attach the strings with hooks to the overhang of the roof. This picture was taken August 1st - Tomatoes get tall if you let them! 

If you have a greenhouse, this is a great method. Or you can build a frame of 2x4s as was done in our display garden last year. As with any of these methods, you want to sink the posts as deep in the ground as possible. I have grown tomatoes in pots on a patio and attached their strings to a nearby building. The string doesn’t have to be perfectly vertical either, you’ll just want to anchor the bottom of the string in the ground, so any wind won’t tear the plant out. In our display garden set-up we ran a horizontal string a few inches above the ground between the wooden frame and attached the trellising strings to it. You could use tent stakes or tie the string to a stick and poke it into the ground.

Next you’ll need tomato clips. These are made of plastic and can be used for many years until they break. They clip tightly to the string and then encircle the stem of the tomato plant without strangling it. I recommend clipping every 10-12 inches, beneath a leaf. Don’t place them directly under a cluster of flowers/fruit as the weight of the plant could eventually snap them off. 

If you don’t have tomato clips, you could tie a piece of string tightly to your supporting string and then loosely around the tomato stem.

Pruning with this method is pretty straightforward: Each vertical string gets one leader. This means you’ll prune off all side branches. You can grow two leaders per plant, but they each need their own support string. Let your freshly planted tomatoes grow for a bit before you choose the strongest side branch as a second leader. Typically it will be the branch right beneath the lowest set of flowers.

The string and clip method can also be used for cucumbers!

Cucumbers in a greenhouse using string and clip method

Pruning best practices

  • Tomatoes are very susceptible to fungal diseases that can be spread from one plant to the next through your hands or tools. Avoid pruning and harvesting when the plants are wet as water can be a great vector for diseases. 

  • Use sharp clean snips when pruning. Don’t touch the wounds and avoid tearing off branches as the large open wounds created can be entry points for diseases. Start with the healthiest plants and prune diseased plants last. You can also disinfect your snips between plants or after each pruning session. A bleach solution or alcohol works great for this.

  • When watering, direct your hose at the base of the plant, not the foliage itself. Mulching can be a good way to prevent water from splashing soil onto the bottom leaves when watering or from rain.

  • Some diseases live in the soil and can overwinter there. I recommend a good clean up of all tomato plant material at the end of the season to minimize future disease issues.

I prune and trellis once every week. All it takes is a few minutes per plant. If you have never done anything to your tomato plants but are curious to try, start with one plant and see how it compares to the others.

This post was written by Kat Consler, RWP’s tomato pruning genius.