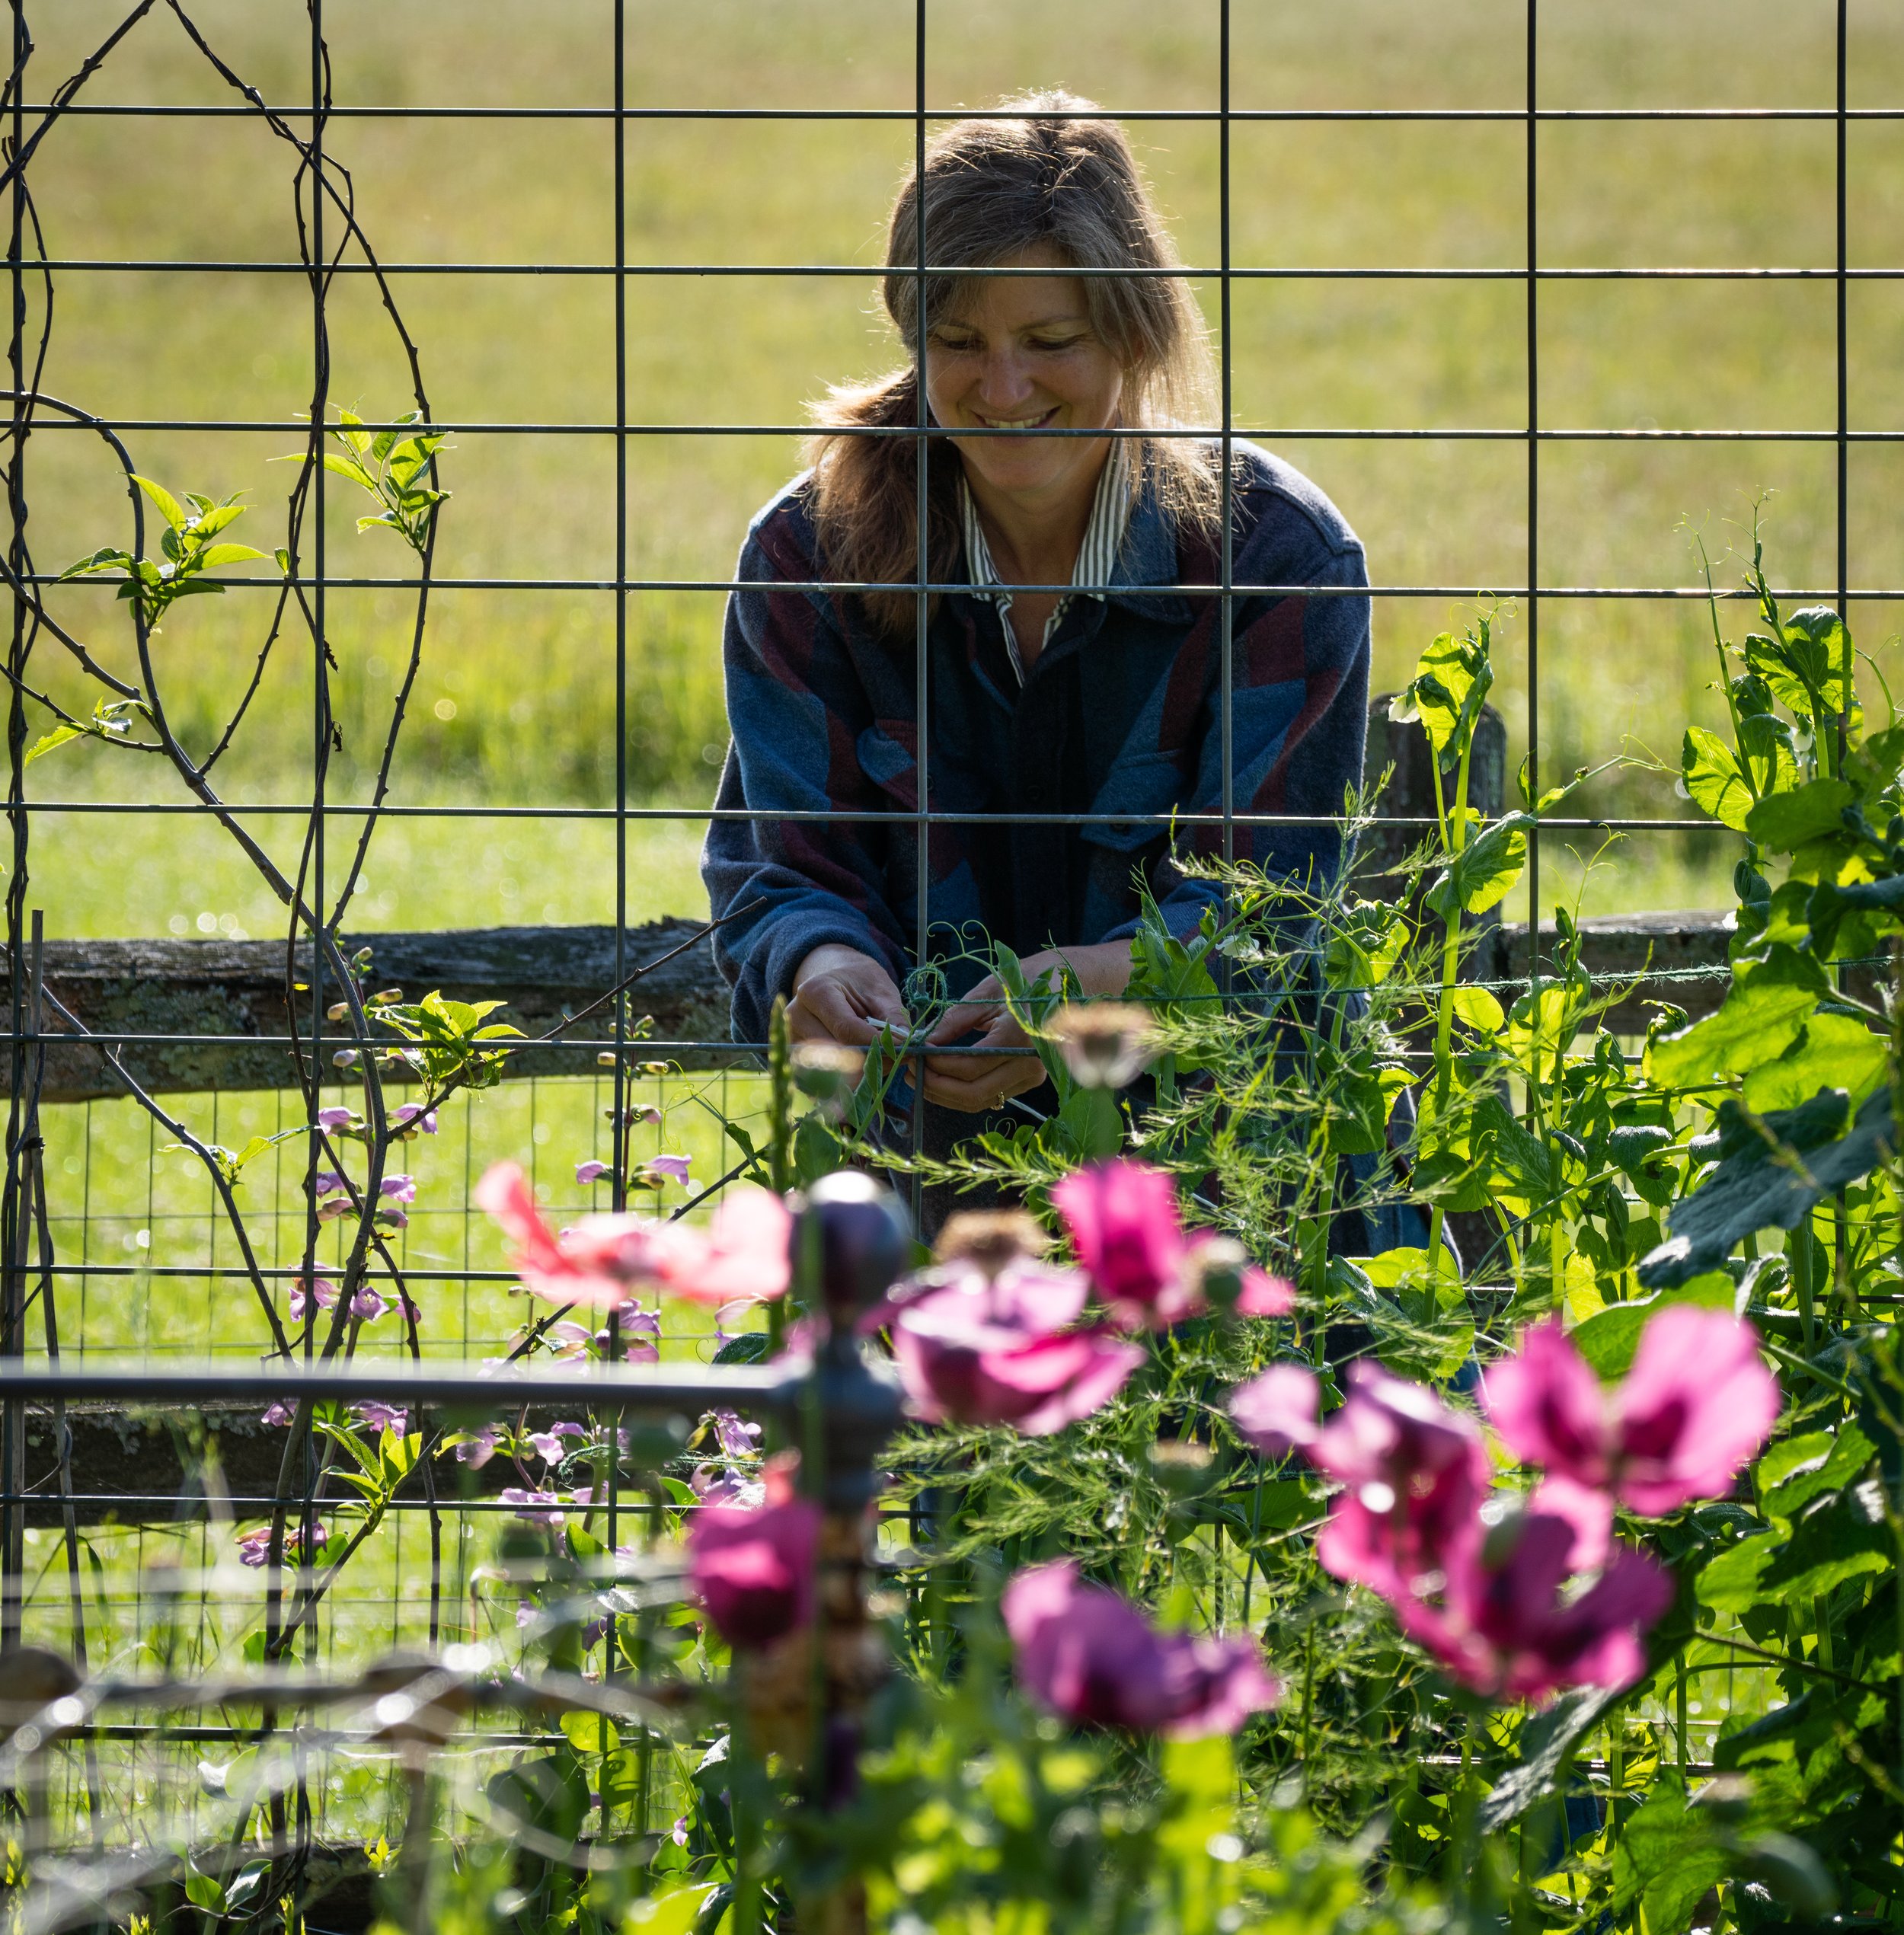
In the Garden, Early June Edition
The weather has turned just enough towards warmth and my schedule has turned just enough towards leisure that I can now find time to do my own gardening projects. Early June is when I get to planting all the containers around our house and the heat loving crops in the raised beds and greenhouses at Red Wagon. I have had lots of help this year, from Sara, Rachel and Uli which has been most welcome and fun.
Here is what is new in the greenhouses that I am finding fun and exciting.
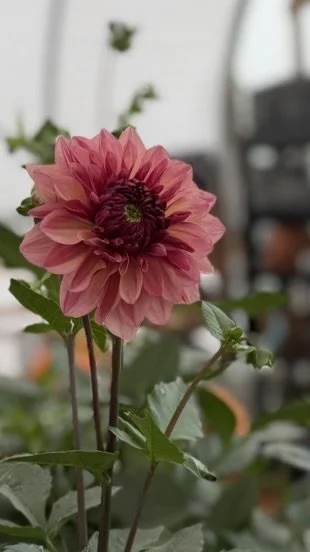
Huge Dahlias in big pots
New Guinea Impatiens for shady spots
Perennials for naturalized, native meadow plantings grown from seed that Chad has collected from his own meadow plantings.
Fun herbs like a frilly Parsley called ‘Minuette’, Culantro which tastes like a stronger cousin of cilantro but it does not bolt and it is a cool looking plant; Curry Leaf which is very ornamental with a tight, silver, thread-like appearance; dwarf sage which would be adorable in a tiny clay pot on a patio table.
Our current generation of zinnias includes my favorites, Oklahoma Salmon and Aztec Sunset
New generations of broccoli, lettuce, chard, melons, cucumbers, summer squashes and winter squashes.
This week’s hot tip - if you are looking for some budget perennials to fill in some spots or make a new bed, look at the herb selection in the plant shop. Anise hyssop, regular hyssop, oregano, thyme, sage, lavender, chamomile, garlic chives, lemon bergamot are all great additions to a perennial garden. They don’t need to stay in the herb garden. There are also some really fun annual herbs that self-seed and add a great splash texture, fragrance and color to all kinds of gardens. These include bronze leaf fennel, chervil, cilantro, dill, chamomile, and summer savory. Let them flower for some airy and delicate edible blossoms and let them make seed so that they will come back next year.
Happy gardening!
Julie
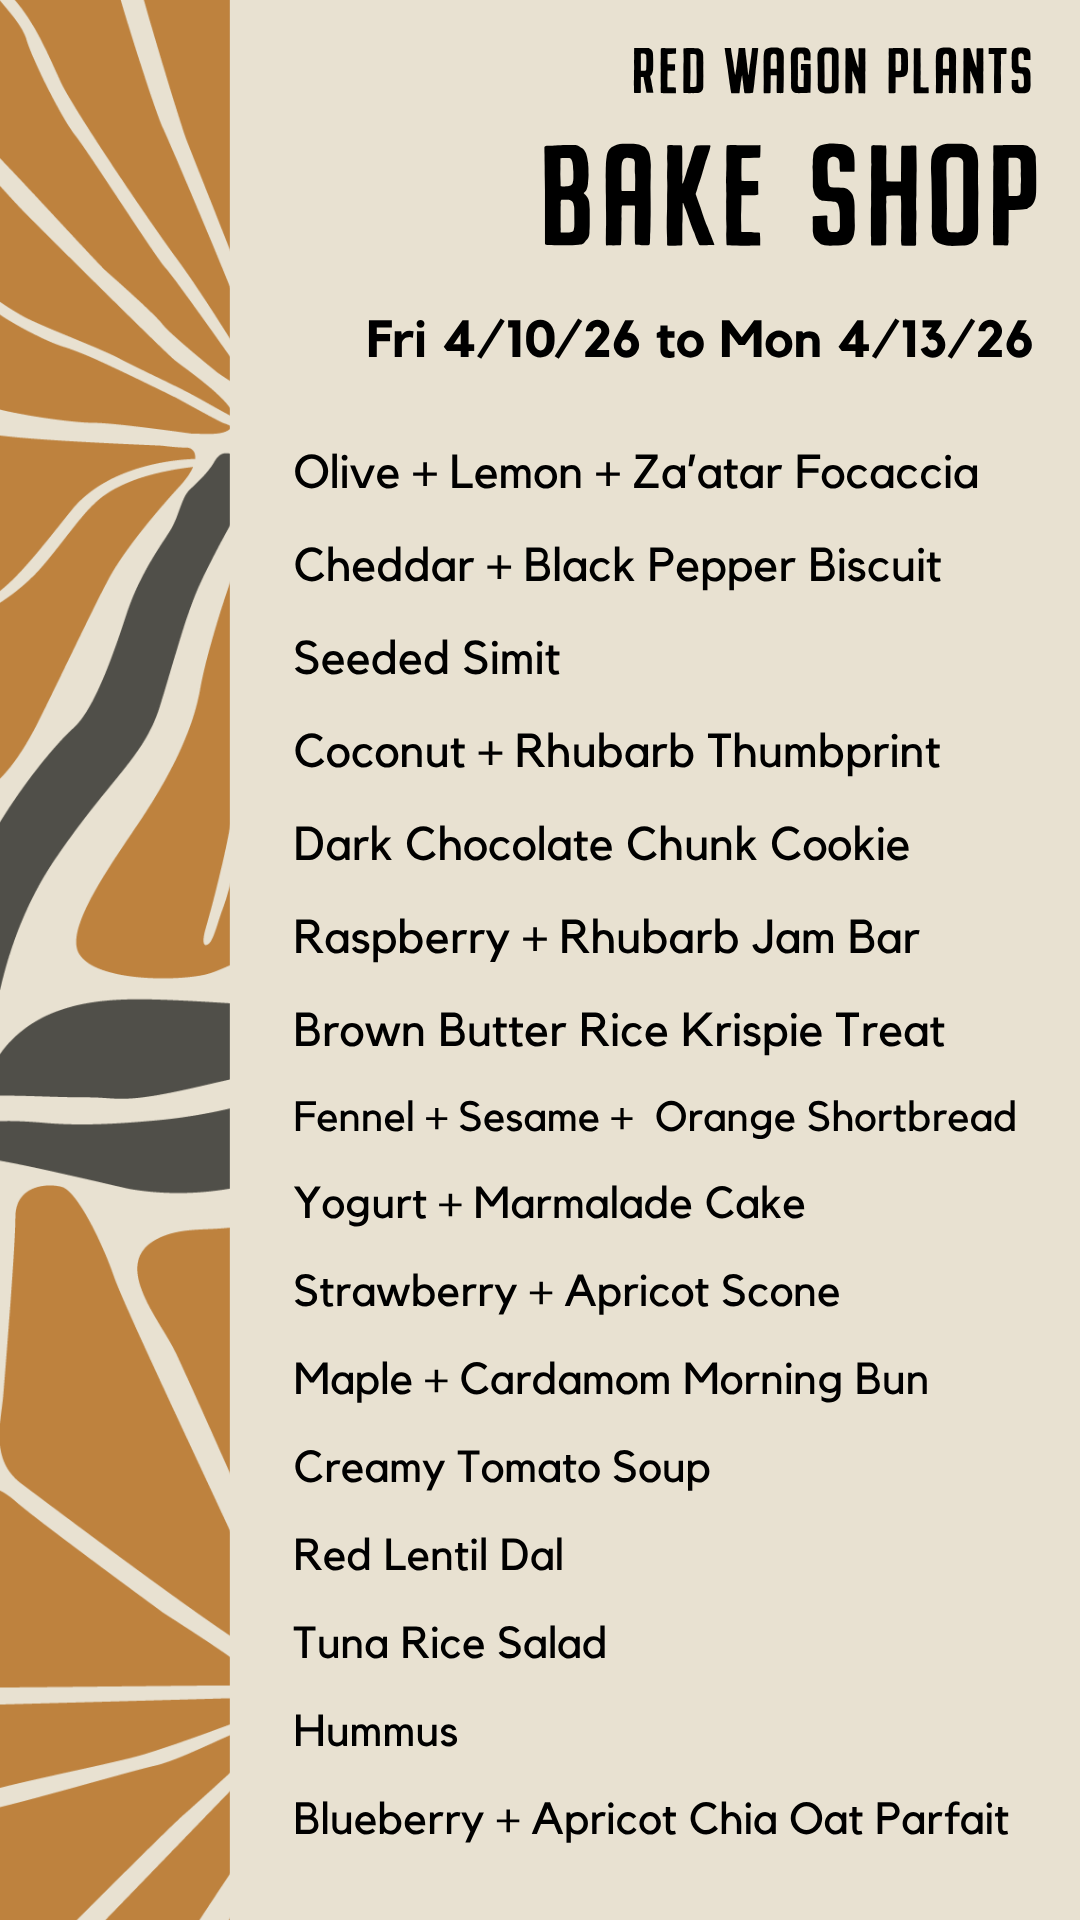
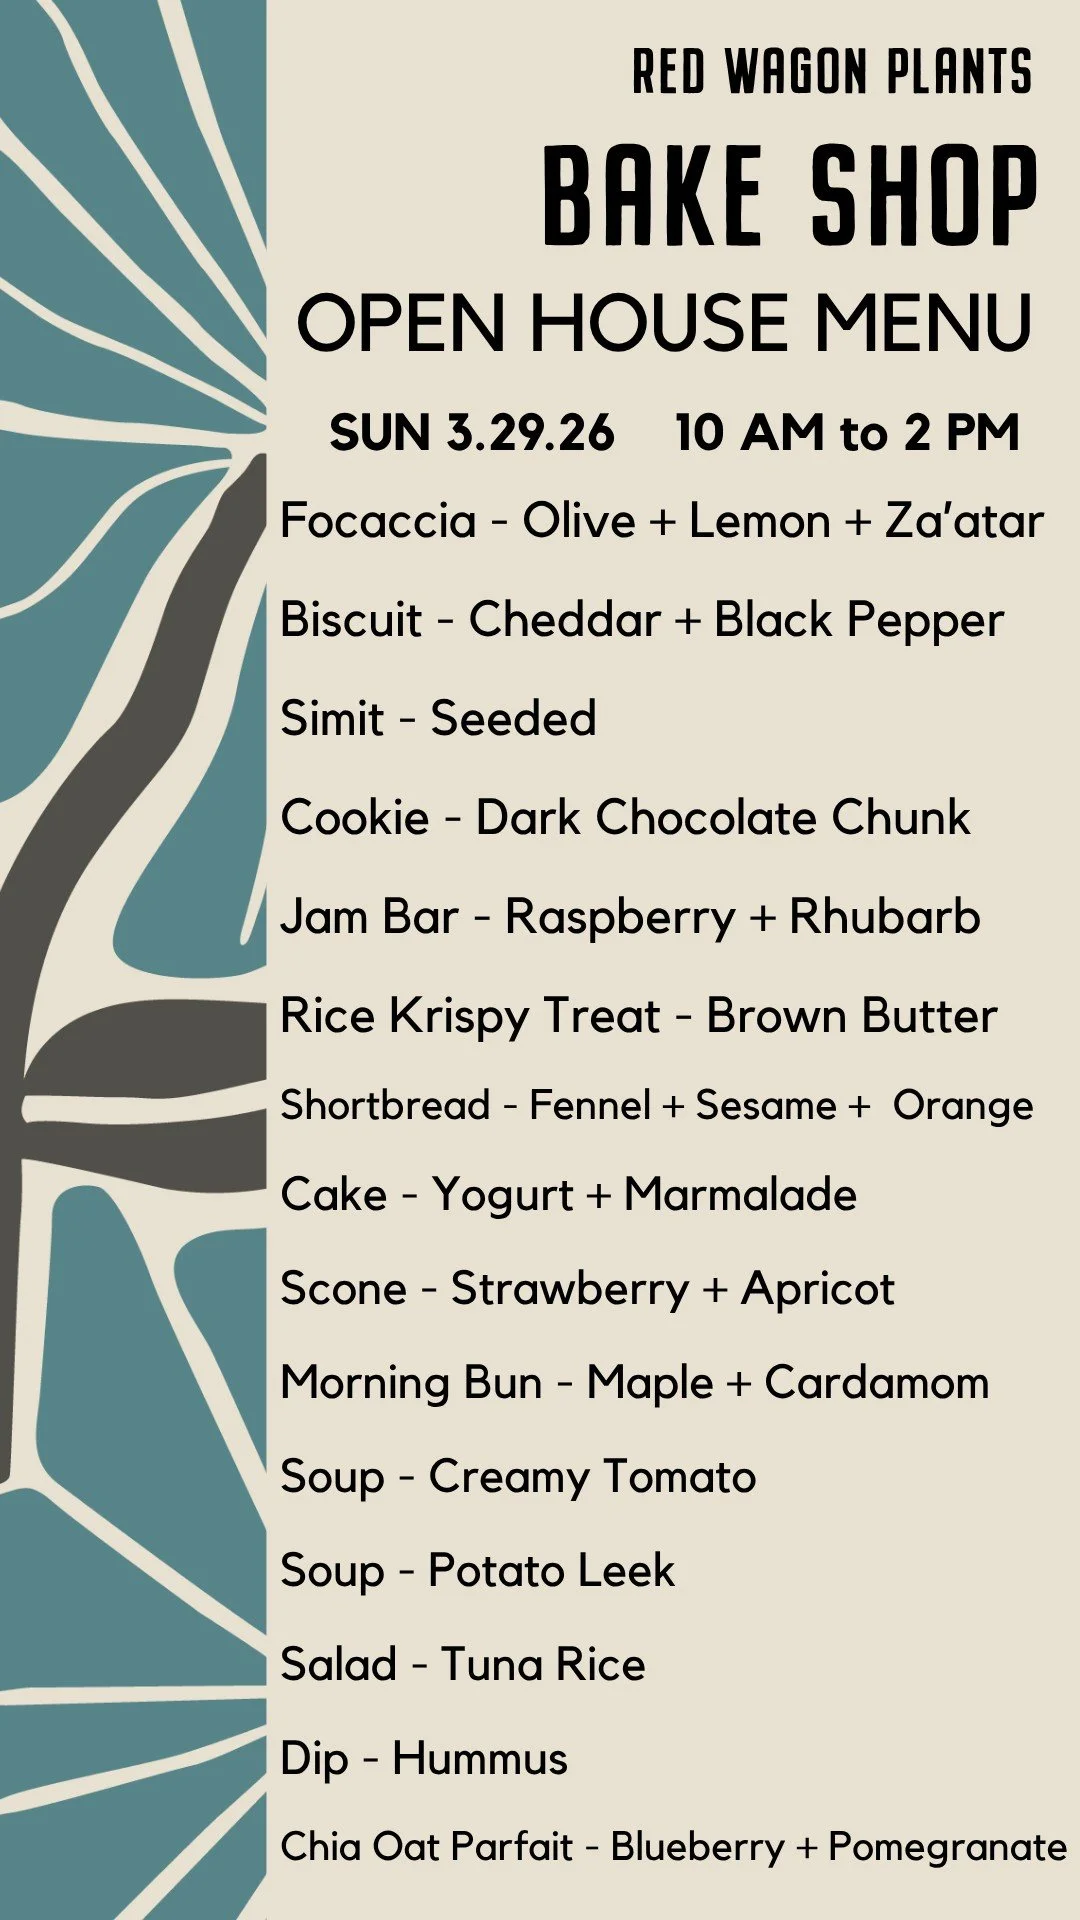
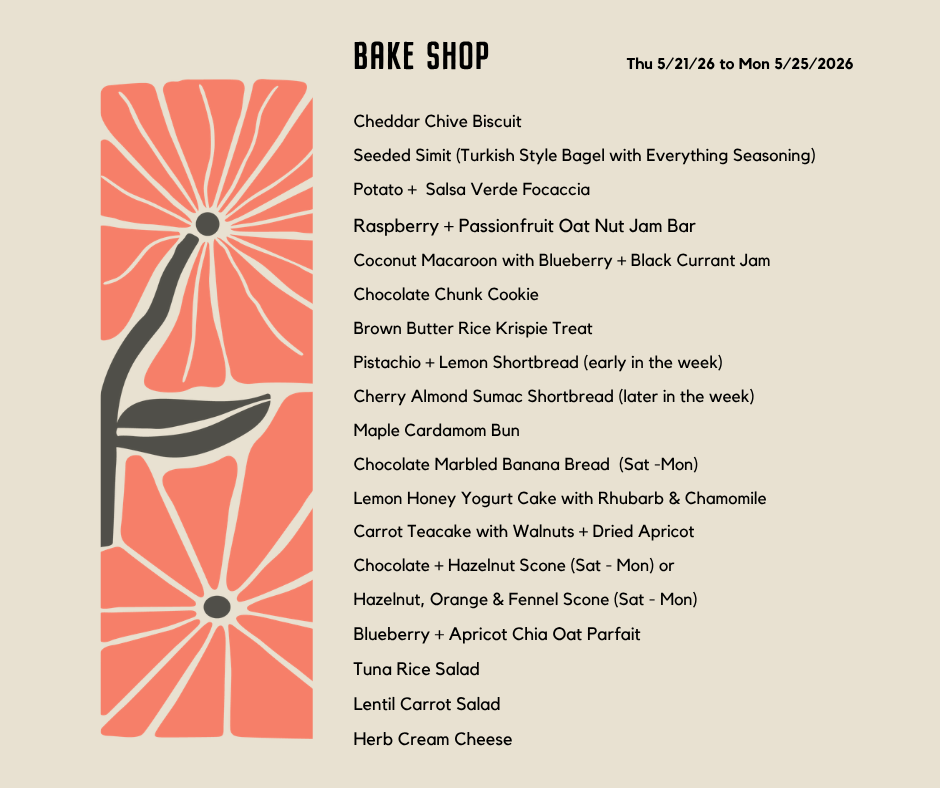
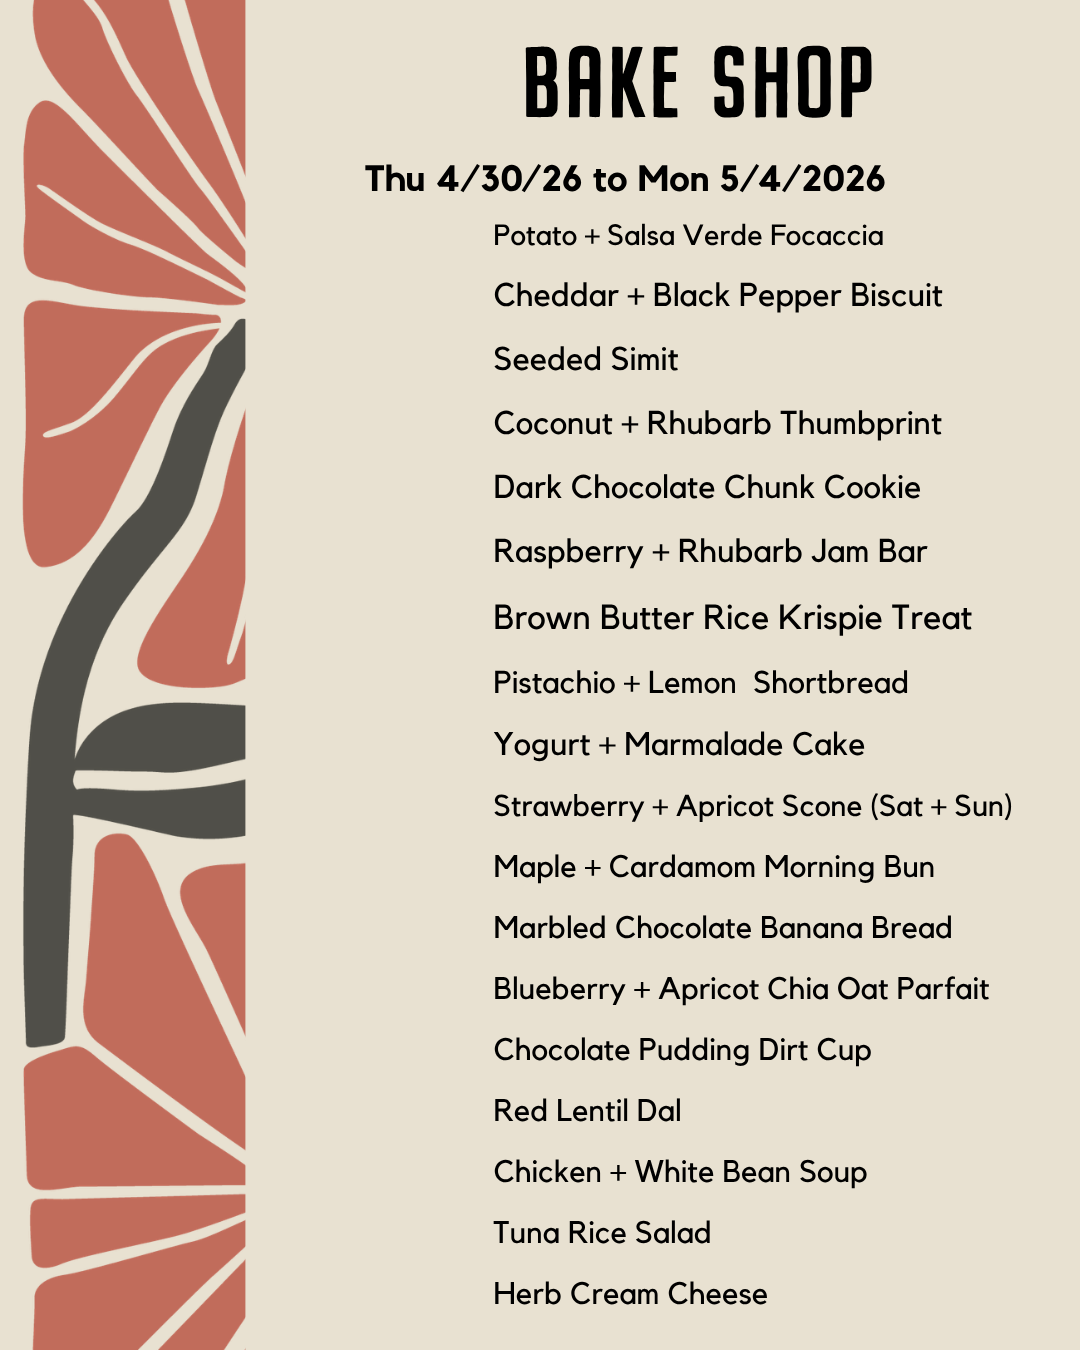
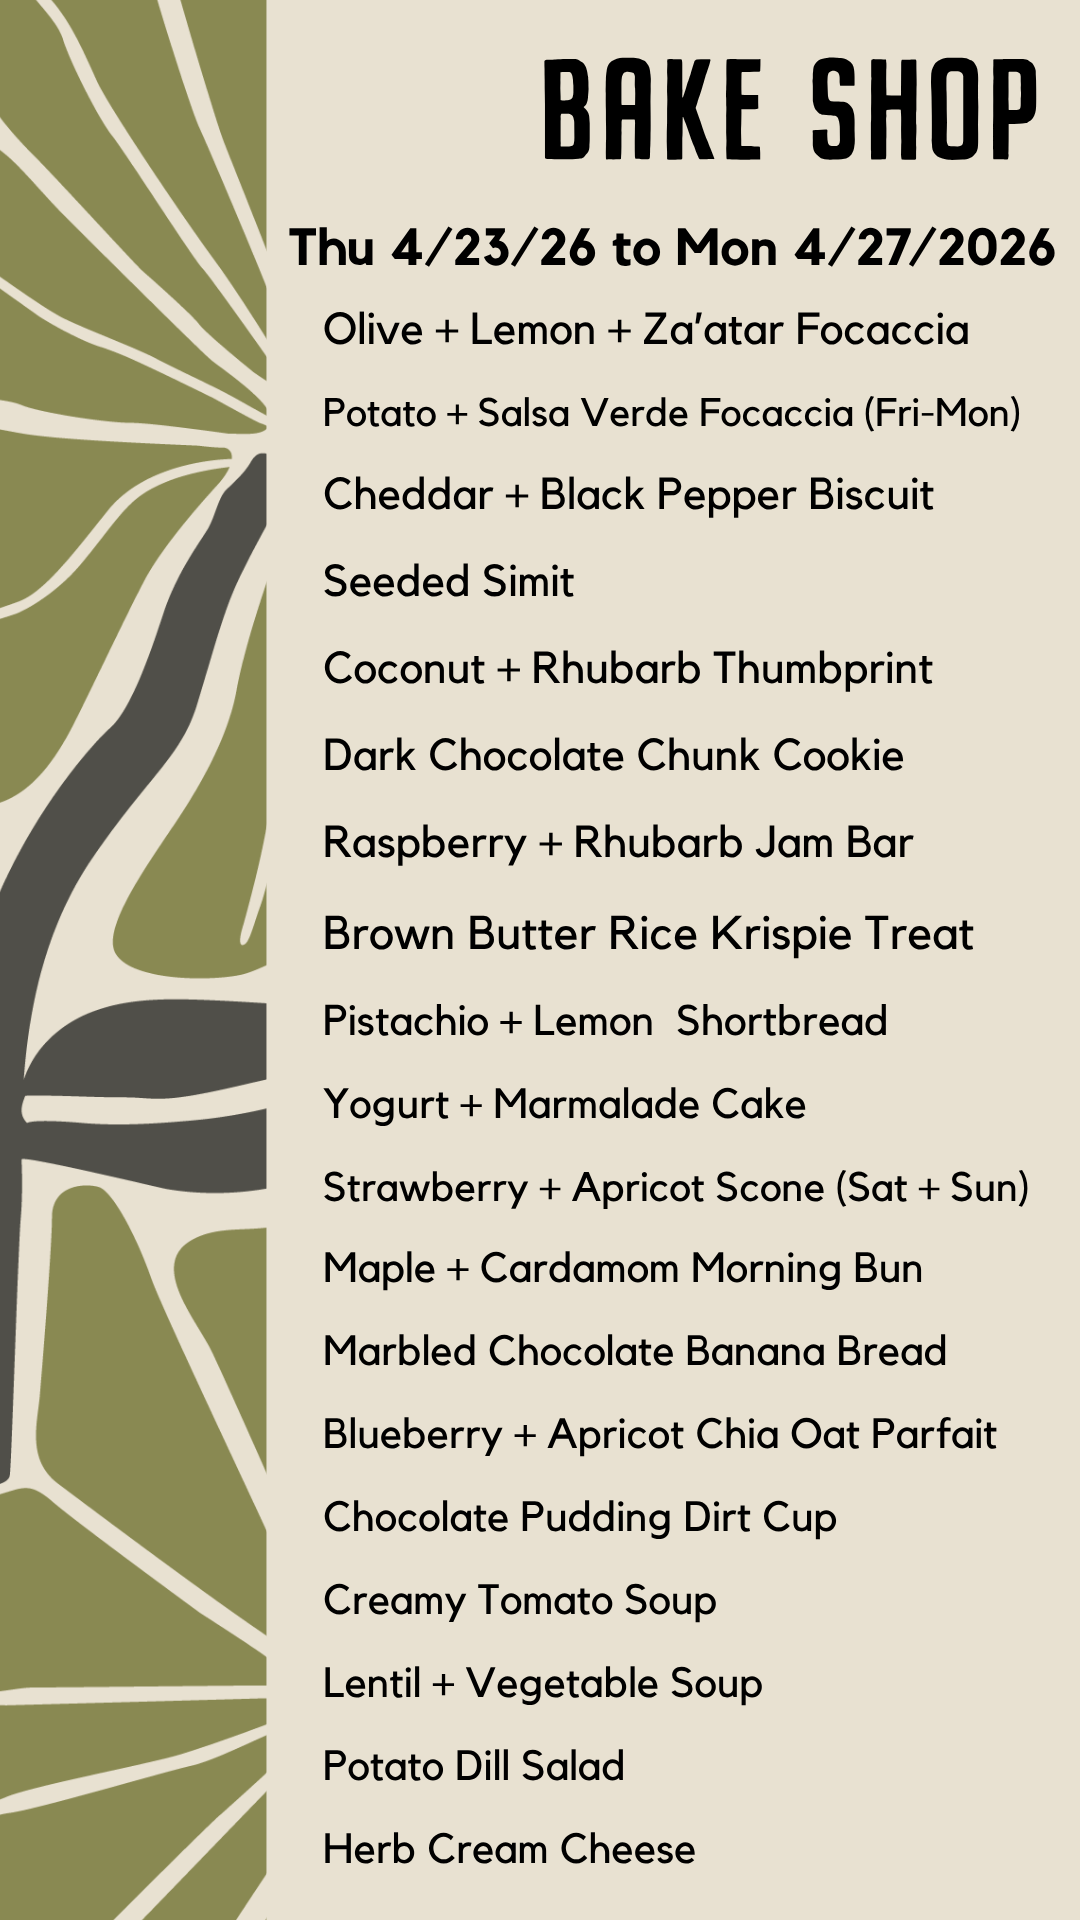
Bake Shop Menu this Week

It has been the best possible 16 years with Lily!
I have been procrastinating writing about this for 8 months, since last October, when Lily Belisle told me that she would be leaving at the end of the 2026 busy season, and that her 16 year career at Red Wagon would be coming to an end. Lily has been managing our retail operation for most of our 20 years, and deserves so much of the credit for what makes Red Wagon so special. She has been the steady hand that keeps us consistent, organized, beautiful and welcoming. She has trained countless people to excel at customer service; she has worked through heat, hail, cold, and sheer exhaustion season after season. Lily’s passion for gardening and plants comes through every day while patiently answering countless customer questions, taking great care of the plants in our displays and keeping the inventory moving at a break neck speed.
Alongside all of that hard work, Lily has been my ballast. The person that keeps everyone steady when the ideas spin out of control or the vision extends past reality a little too much. My tendency is to always push for more, and Lily has helped me remember over and over that days off are important, time in our own gardens is valuable (literally and metaphorically) and that there is deep beauty in living a balanced life. She has taught me to take time to look for those moments in the garden that are fleeting vignettes when the bloom, the light, and the neighboring plants all work together to achieve a fleeting sense of balance and harmony.
She forgives errors by calling them “whoopsies” and moving on.
Lily will be leaving at the end of June, but hopefully we can have her come back for the occasional watering shift, or potting up strawberries in March when the wind is howling and time in the greenhouse with friends feels extra special. We will miss you so much, Lily! Thank you for a glorious and special run. It has been a true pleasure and an honor to build this business with you.
With heavy hearts but many good wishes for the future, we love you, Lily!
- Julie
Bake Shop Menu this Week

Blueberries for June
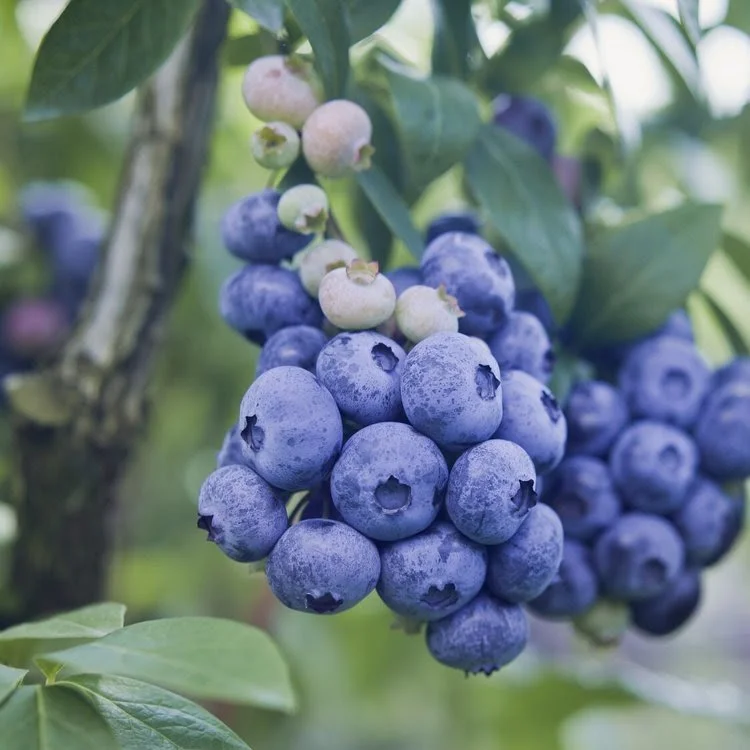
Growing blueberries in your own back yard can be very rewarding, and a collection of blueberry bushes makes for a great Father’s Day gift that will keep on giving for years to come.
Here are a few things to pay attention to when planning your new blueberry patch:
Cross-pollination: Like many other backyard fruits, you will need to plant at least two varieties to get good cross-pollination and fruit set. Following is a list of varieties that we carry or have carried in the past. Personally, my favorites are ‘Northland’ for their exceptional flavor reminiscent of wild blueberries and ‘Bluecrop’ for their large clusters that make for easy picking.
Your soil pH: Select a sunny site in your garden and then get your soil tested! Blueberries will only thrive in acidic soil and most garden soils will need to be amended with a soil acidifier. This is the same product you would use for hydrangeas.
Spacing: Give your blueberry bushes enough elbow room. Depending on the varieties chosen, this will be 4-6 feet of space between the plants. Check the tag on the plants you purchase to know their mature size and recommended spacing.
Take your time: Blueberry bushes can be planted any time of year but will require good watering (mulching helps!) and weeding especially in the first few seasons. As tempting as it is to let your berry bushes fruit as soon as possible, it is recommended to remove all flowers in the first year. This way your plants can put all their energy into growing a healthy root system. That will in turn give them more energy to bear more fruit the next season. Patience pays off.
For more growing and maintenance tips, please refer to this handy growing guide or come by in our greenhouses and ask one of our plant experts!
Bake Shop this week
Epistle from April: Ulupica, Grandmother of Peppers
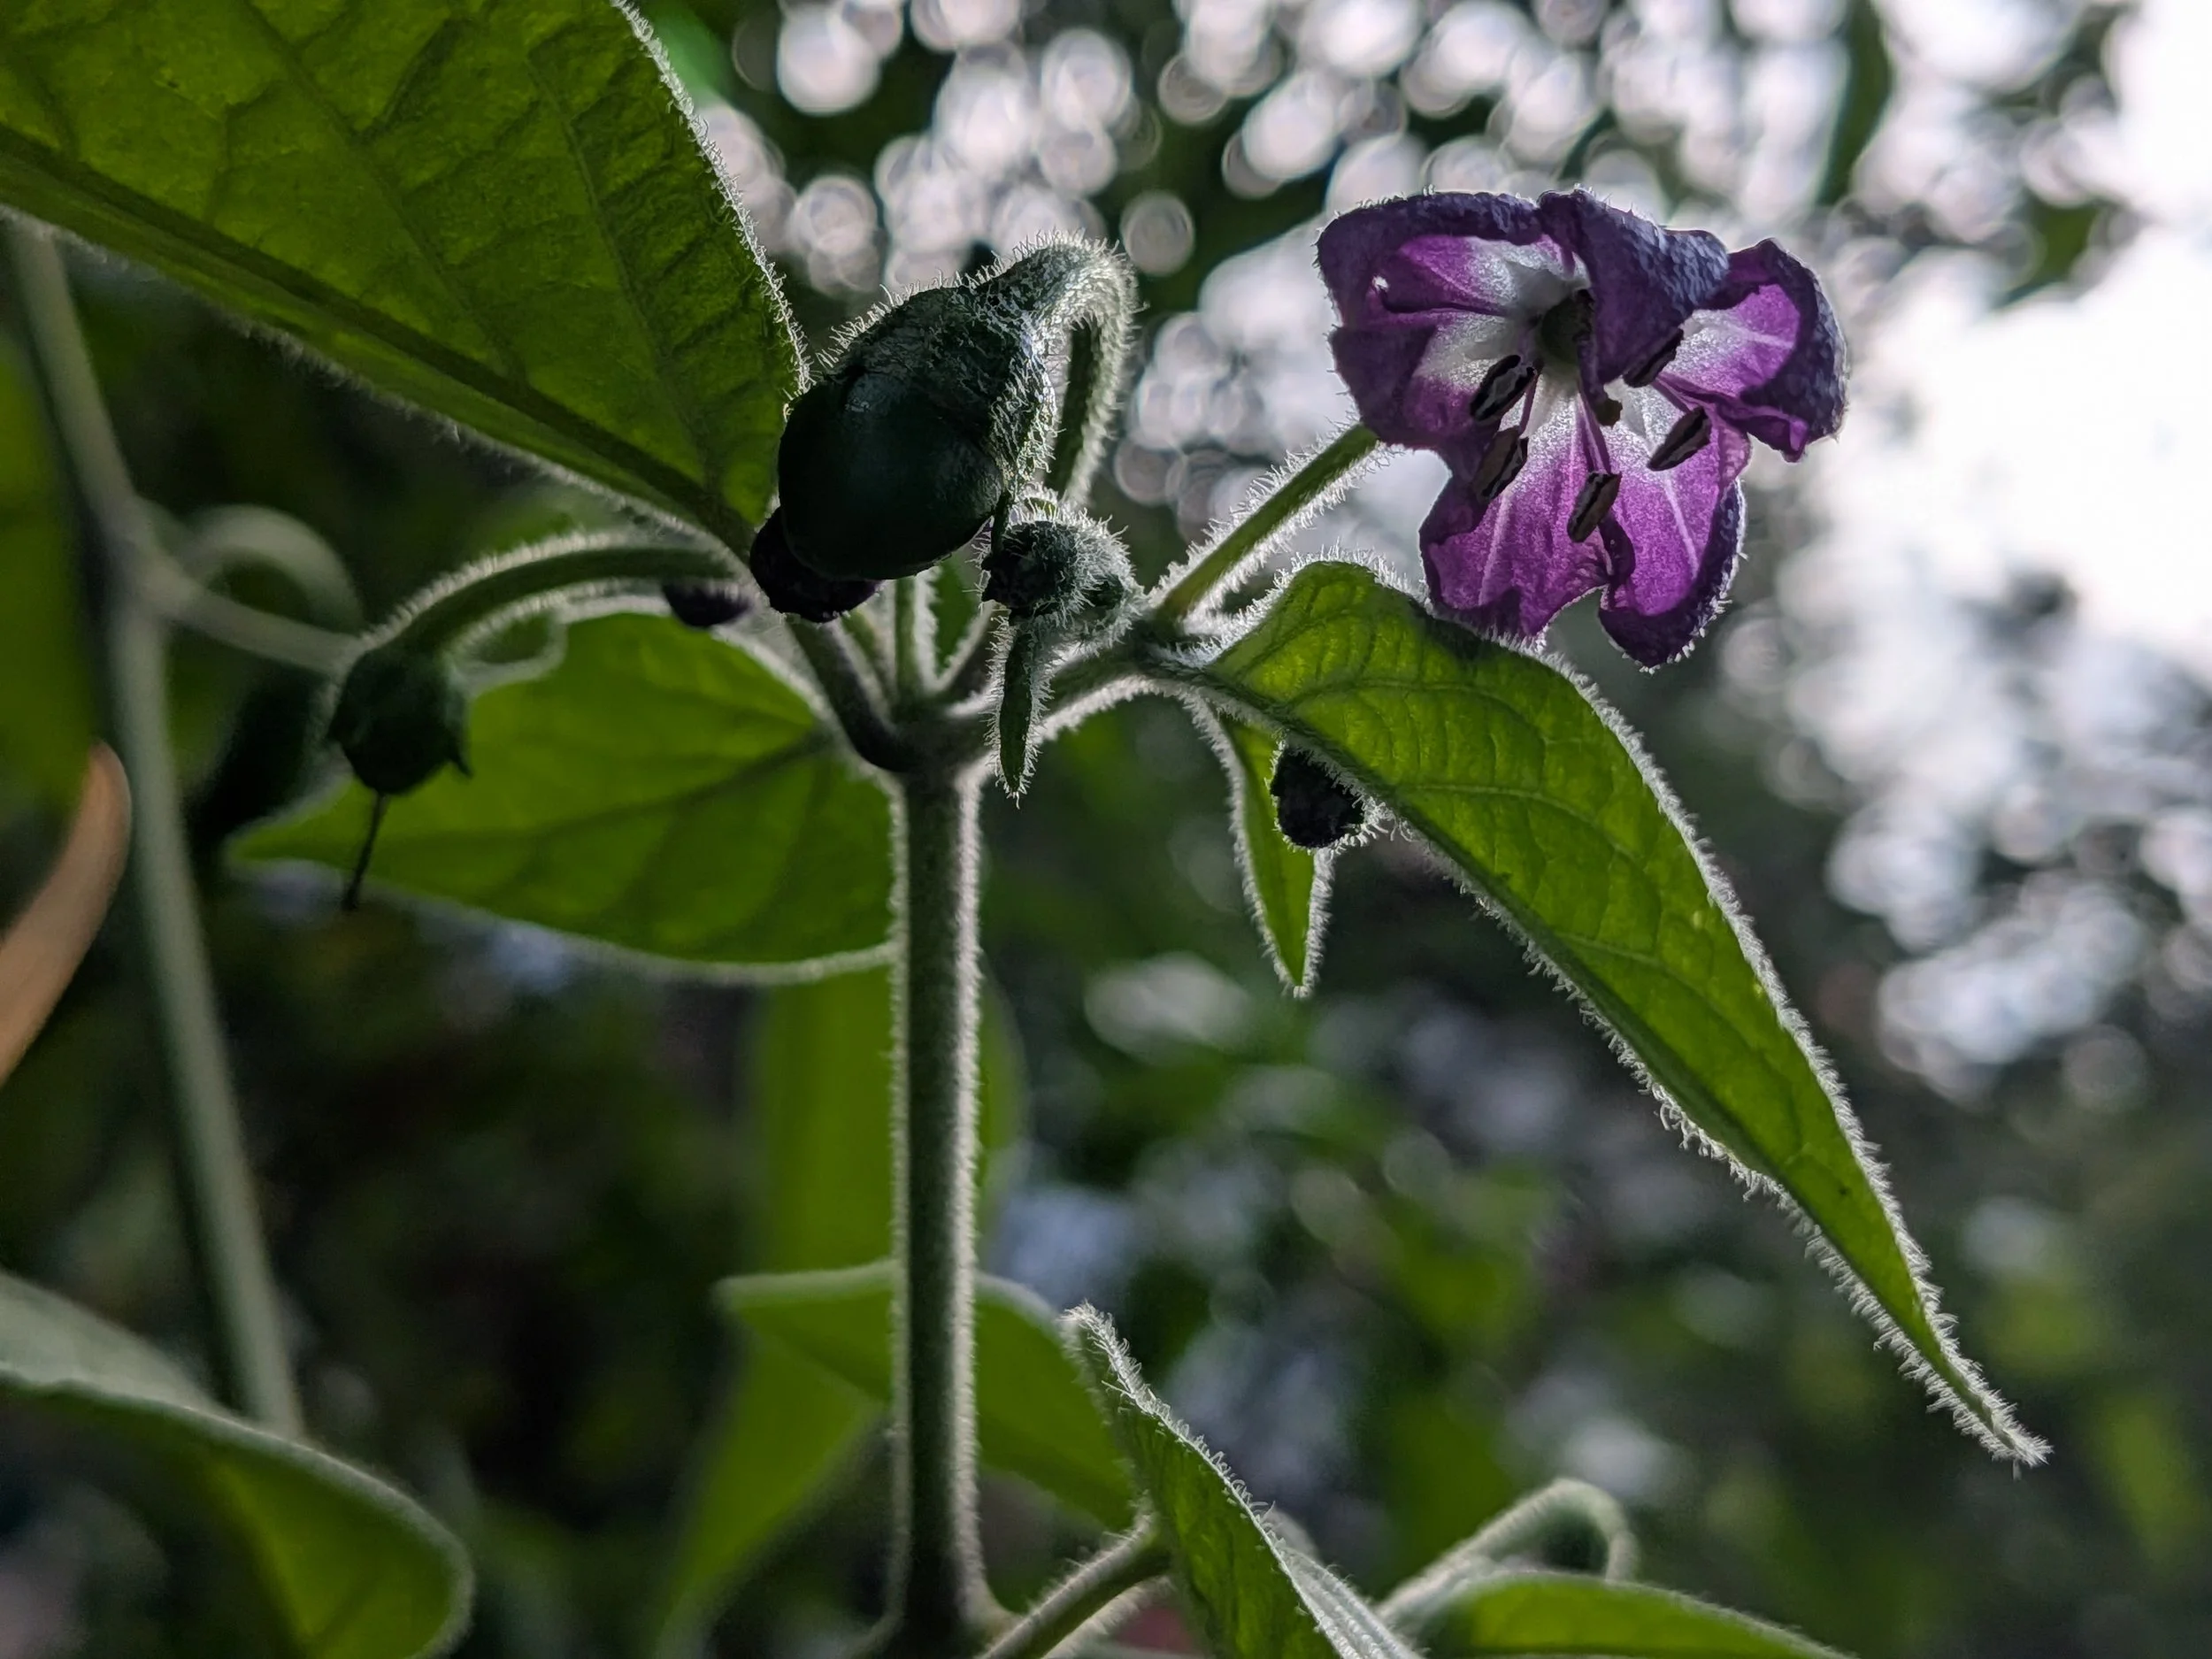
The ulupica in my yard, in bloom and fruiting
When I arrived in Cochabamba last August (early spring in Bolivia), my gardenmate Tatiana excitedly introduced me to a dry, leggy, woody weed, towering six feet tall in the middle of our garden bed. She assured me that, come the rainy season, we would be rich in tiny, spicy ulupica peppers. And so we were: as the months went by, small green pepper leaves were followed by beautiful dark purple flowers, which swelled into glossy, round berries with a serious sting for the palate. Tatiana taught me to smash one on the bottom of my bowl with the back of my spoon, and serve soup over it for an intensely spicy meal.
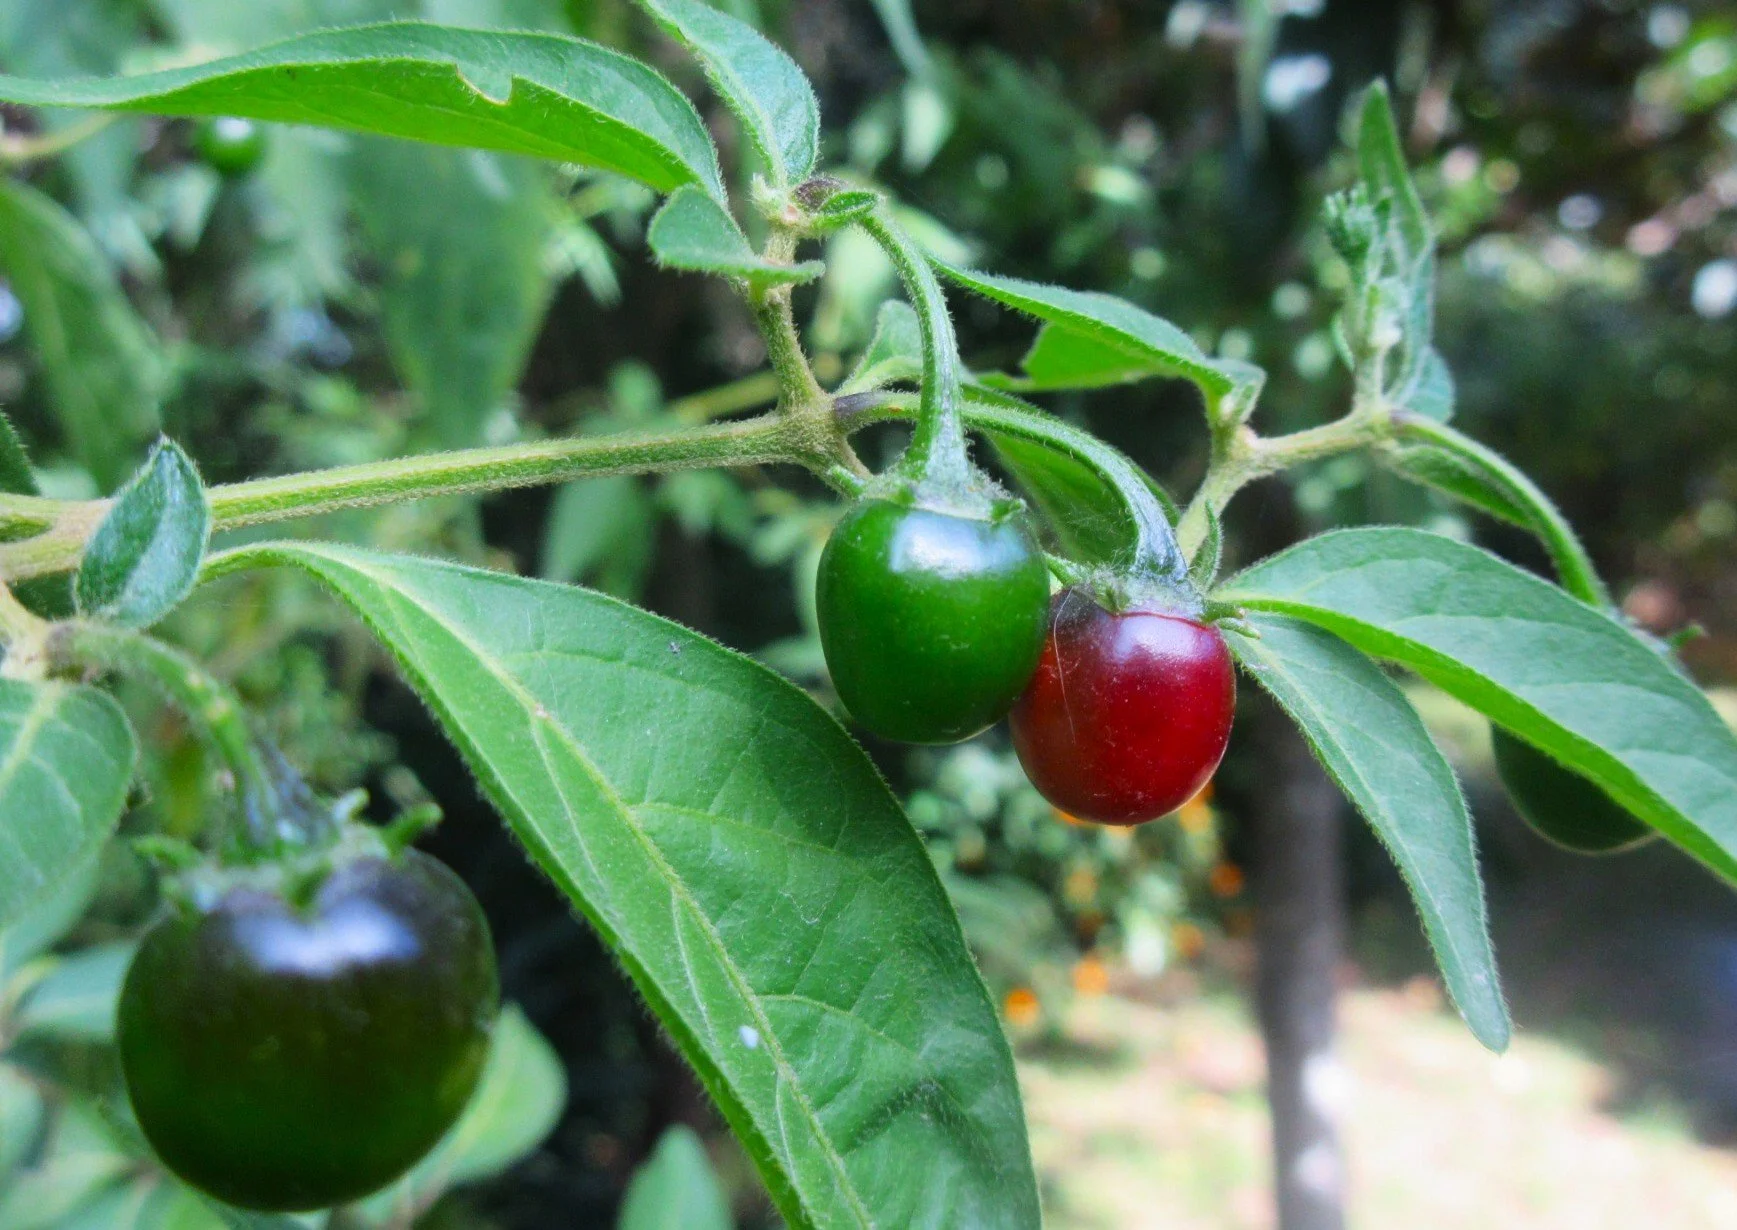
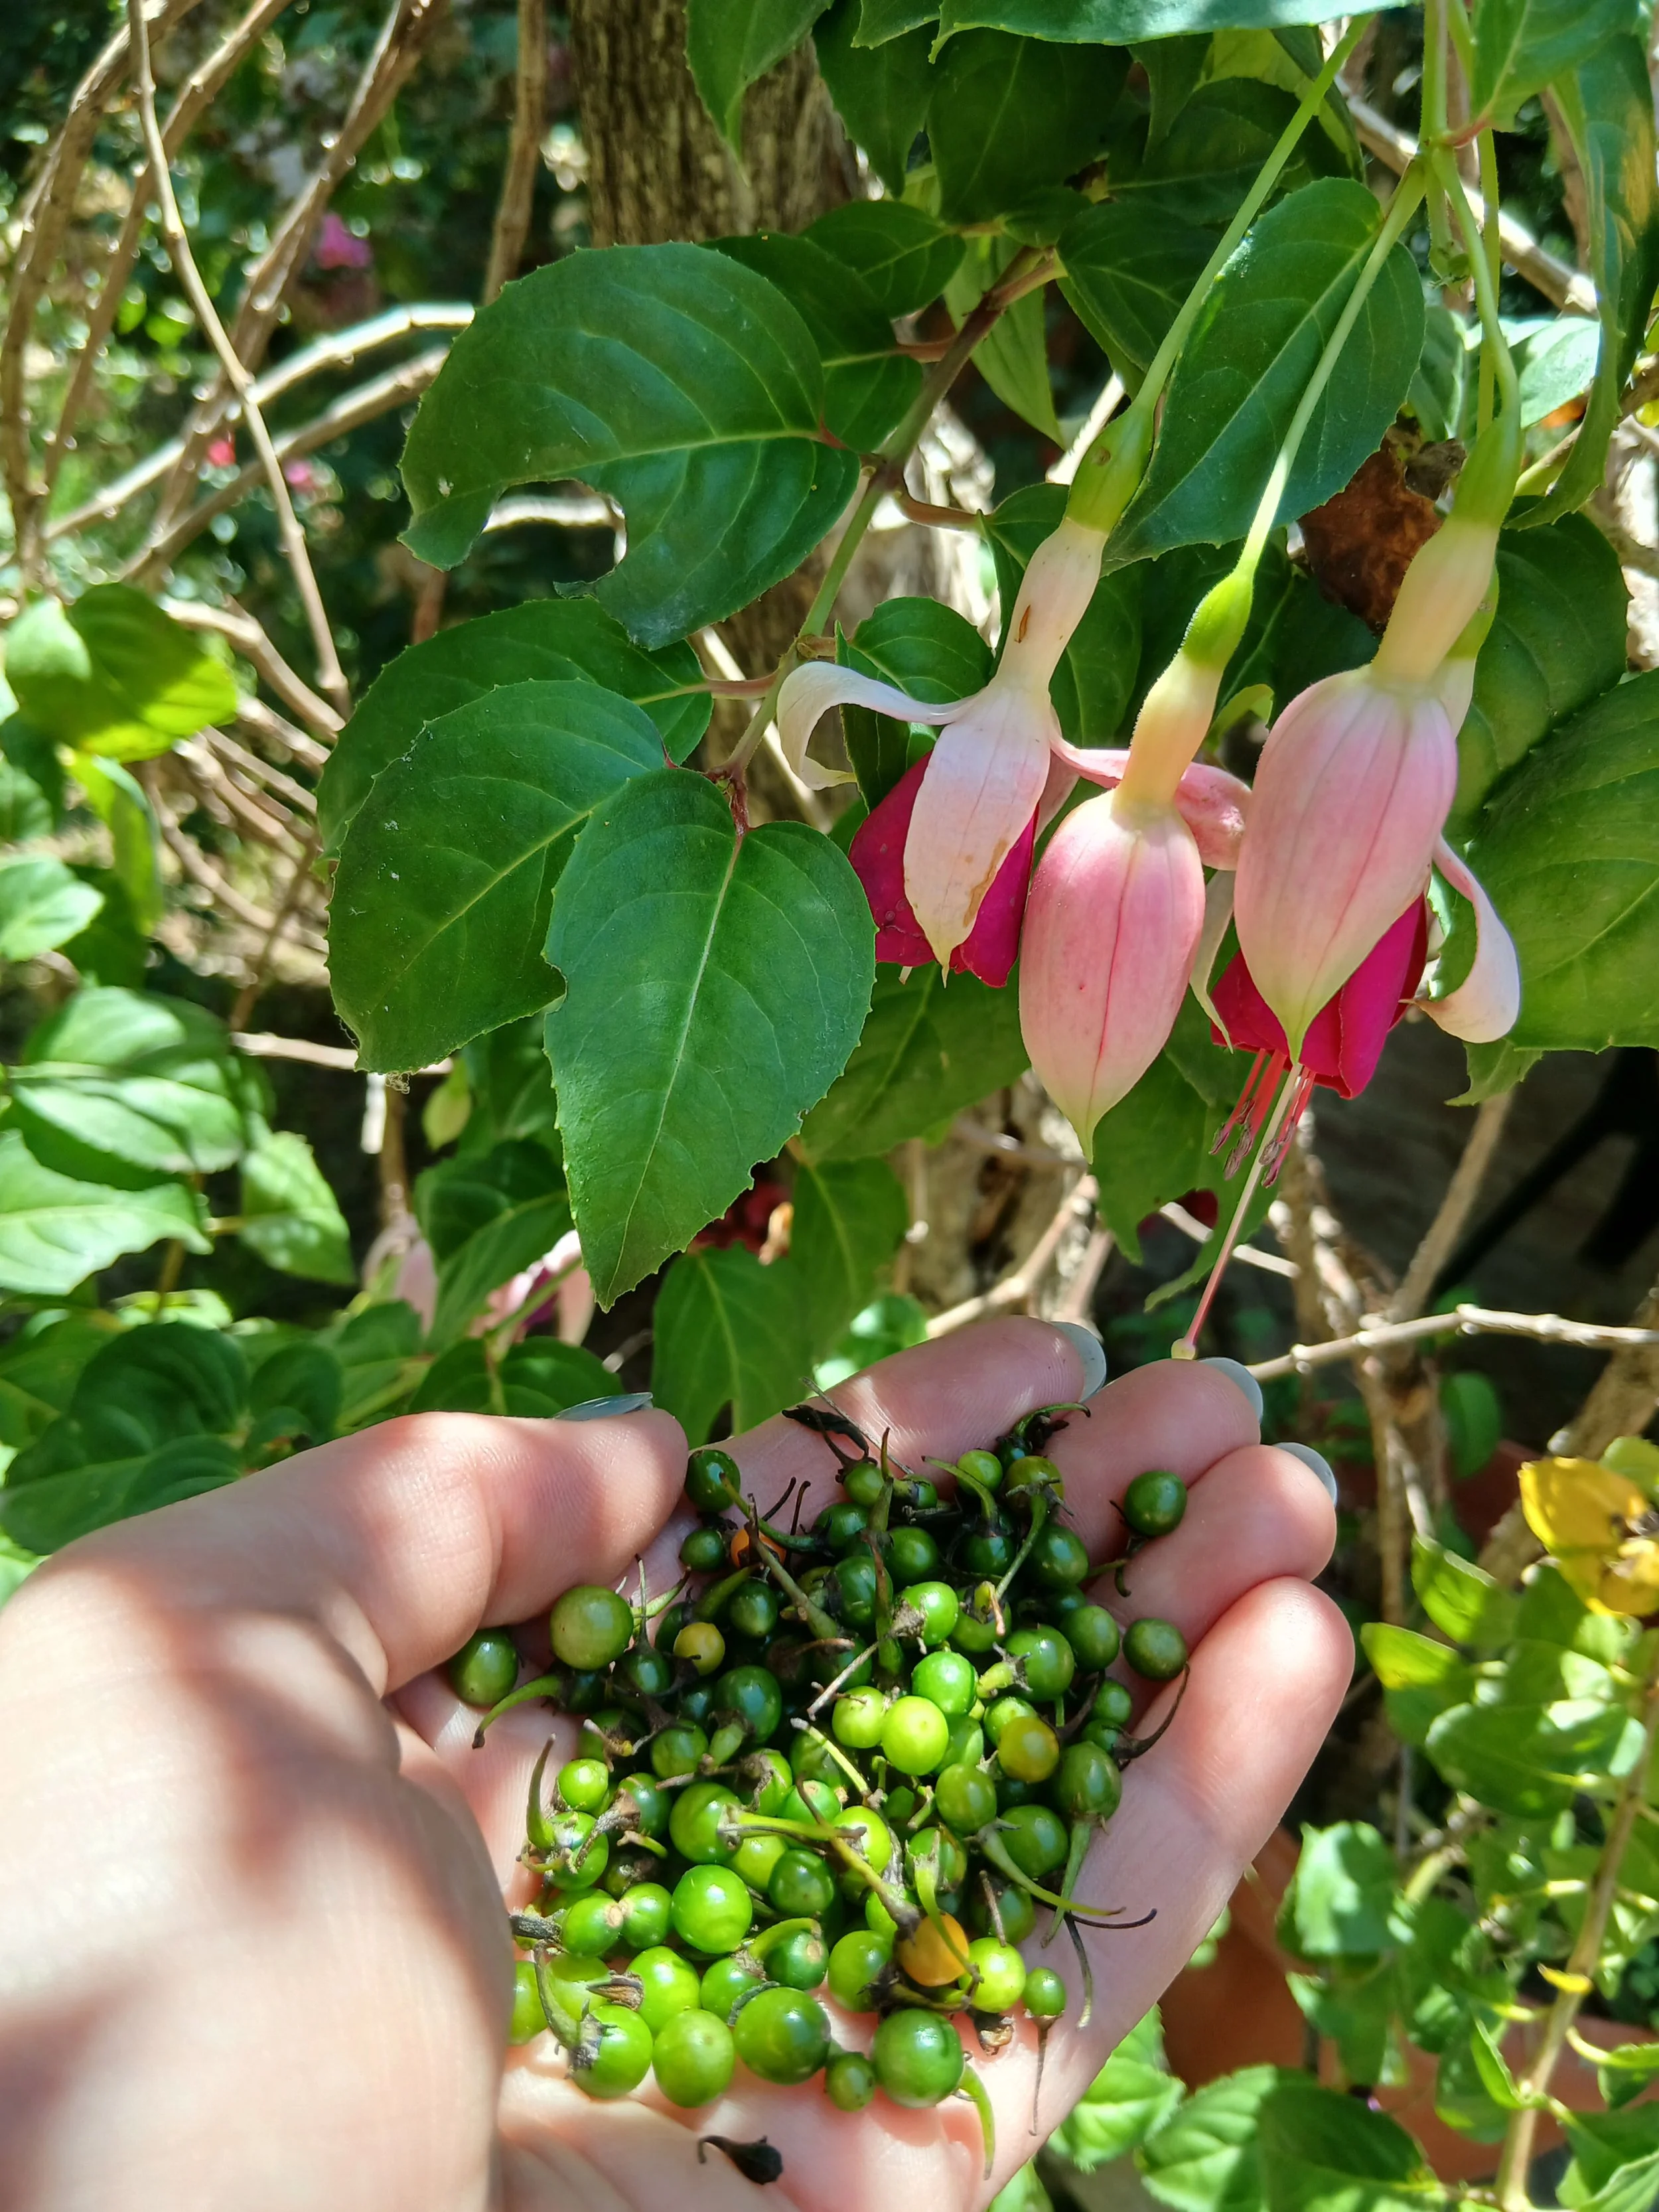
Our ulupicas turning red (aka even hotter!)
Months later, I saw a woman selling bunches of herbs and vegetables from a cloth on the sidewalk. There was also a small pile of pale green, peppercorn-sized berries, which she also called ulupicas, her side of the conversation translated from Quechua by her neighboring vendor. They both laughed wickedly when, after purchase, I comically pretended to toss my handful into my mouth. Those tiny ulupicas also proved to be very potent. It seems to me that, if served as pictured, this recipe for llama steak with ulupica sauce would be overpoweringly hot. Maybe they are mainly for show. Most estimates give ulupicas a 30,000 on the Scoville scale.
I am used to seeing hot peppers in Bolivia, called locotos, ajís, cumbarí, kituchos or uchus in the indigenous languages of Quechua and Aymara. Decades ago, I remember a housemate who used to alternate bites of her meal with bites from a fresh yellow, green or red locoto pepper, in absence of the ubiquitous Bolivian salsa called llajua. Llajua/llajwa/llasjua/yasgua/llasgua (indigenous languages haven’t all come to standardized spellings in Spanish) is made with locotos (though I have since learned, also with ulupicas or the distinctively shaped yellow ajís), an optional tomato (or tree tomato), and beloved herbs quirquiña (sold at Red Wagon as pápalo) and wacataya. Llajua is a required condiment at Bolivian meals, and is usually made in a blender these days, but traditionally made on a flat stone mortar, called a batan, mashed with a round stone pestle. In main dishes, dried red and distinctively shaped yellow ajís (chiles) make rich sauces for poultry, meat, potatoes and pasta. Fideos uchu, a popular Thursday lunch dish in Cochabamba, for which residents are willing to travel, serves several kinds of meat over noodles in a spicy broth.
But I had never seen, or even heard of, the ulupica before I met the one in my yard. I became even more enamored when light research revealed that botanists consider these wild-growing peppers, indigenous to the very valley I’m living in, to hold the genetic key to all the hot peppers of the world. In fact, Bolivia is still home to the greatest diversity of wild-growing hot peppers. Most varieties of wild peppers are not consumed by humans, but the ulupicas are, and have been for some time: archeologists have found hot peppers in Andean cooking vessels used over 6,000 years ago. Today, Bolivians continue to use Capsicum species in traditional medicine for colds, pain, digestion and inflammation.
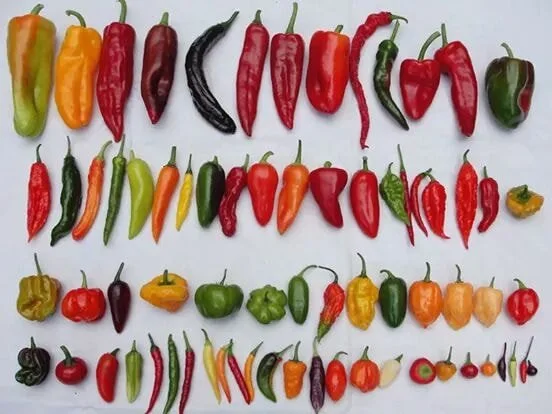
Some of the hot peppers grown in Bolivia
Ulupicas grow most happily in Andean valleys of 6,500 - 8,000 ft in altitude. Like many wild species, they have a natural resistance to sicknesses afflicting domesticated crops, and in this case, to the Tobacco Mosaic Virus (an infectious plant virus that primarily attacks Solanaceae crops like tomatoes, peppers, and tobacco). Plant breeders seeking to genetically fortify more contemporary Solanaceae species find this genetic trait of ulupicas very compelling.
For the taxonomically inclined, I found that ulupicas were very likely documented by non-Andean botanists beginning with the 1911 collection of German botanist Otto Buchtien (whose impressive herbarium of 45,600 Bolivian and Chilean species is now in the US Museum of Natural History), and then catalogued in 1953 by American Charles Bixler Heiser. Later botanists looking to identify the oldest species of hot peppers in the world, including American botanist W. Hardy Eshbaugh in the 1970’s, and more recently Bolivian botanists Rita del Solar y Lupe Andrade, have concluded that the southern valleys of Chuquisaca and Cochabamba, Bolivia are the origins of the genus Capsicum. Furthermore, many botanists agree that ulupica peppers belong to the exact ancestral group of wild Capsicum from which all domesticated hot and sweet peppers evolved and are the closest living relatives to an original progenitor pepper. In 2022, a national law declared 30 species of native hot peppers to be ‘immaterial cultural patrimony of Bolivia.’
As is often the case, I found that the common name ‘ulupica’ actually comprehends a range of Capsicum species, including but not limited to the two I’ve seen: the much taller plant, C. cardenasii, which which grew the plump 7-9 cm berries in my garden, and the smaller C. eximium, which produces the miniscule peppercorn-sized fruits I bought at the market… I think. A lovely publication of the Bolivian National Museum of Ethnography and Folklore, ‘El Uchu en padilla,’ lists the common names of nine different varieties of ulupica, all currently classified under the same scientific name: Capsicum eximium Hunz.

Bolivia’s ulupicas, grandmothers of peppers, are a quiet presence on the culinary scene, given that they grow mainly in the wild. Products made with foraged peppers are few and far between because the harvest is so seasonal. In a market in Cochabamba, where they are plentiful, a vendor might sell 4 pounds of ulupica per month. Some Bolivians might not come to know the ulupica in its vegetable state, but rather only as an idiomatic term for a person of small stature but irascible character.
It’s now mid- May. As Vermonters are now considering whether to plant their peppers or wait for warmer soil, the ulupica in my garden in the southern hemisphere is dropping its leaves and going dormant for the cool winter weather. I myself am starting to prepare to travel back to Vermont in early June, for my third summer in one year. I can imagine the tables of peppers at Red Wagon, having made their ways to us from across the globe, now labeled with their colorful tags, coveted by their dedicated pepper-growing fans. When I consider all of those wonderfully different pepper descendants, their range of sizes, rainbow of colors and diversity of cultural and culinary traditions, I’m so very honored to have had the chance to meet my ulupica in her ancestral home.
***
Do you have pepper stories? Do you have more information about ulupicas, Capsicum and botanical pepper origins? I would love to hear from you at april (at) redwagonplants.com.
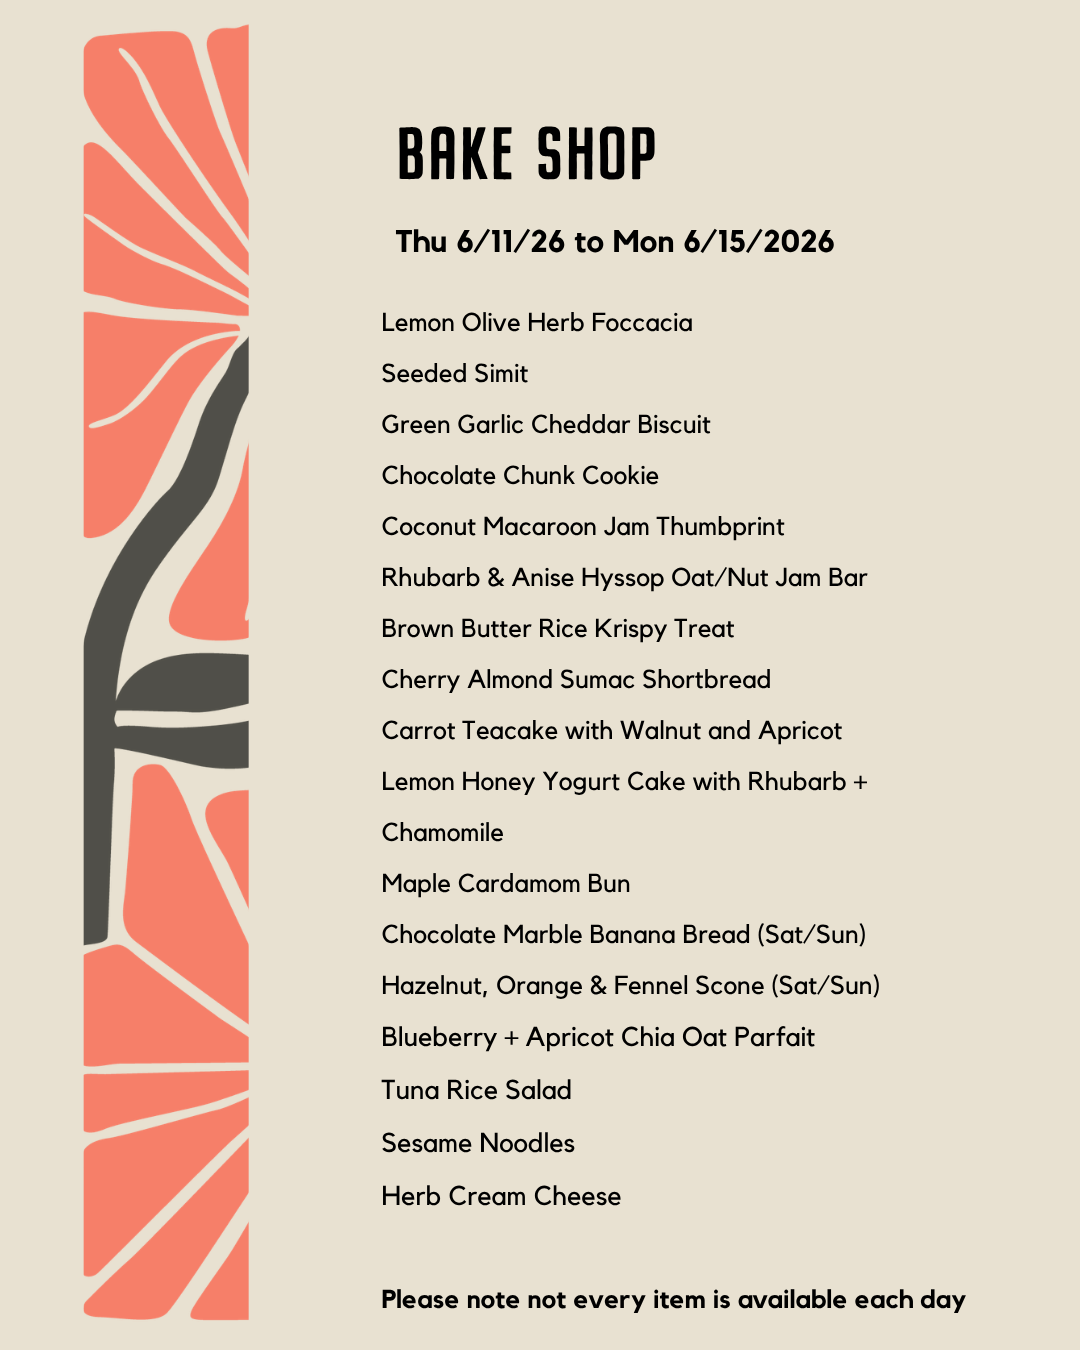
Bake Shop Menu this Week
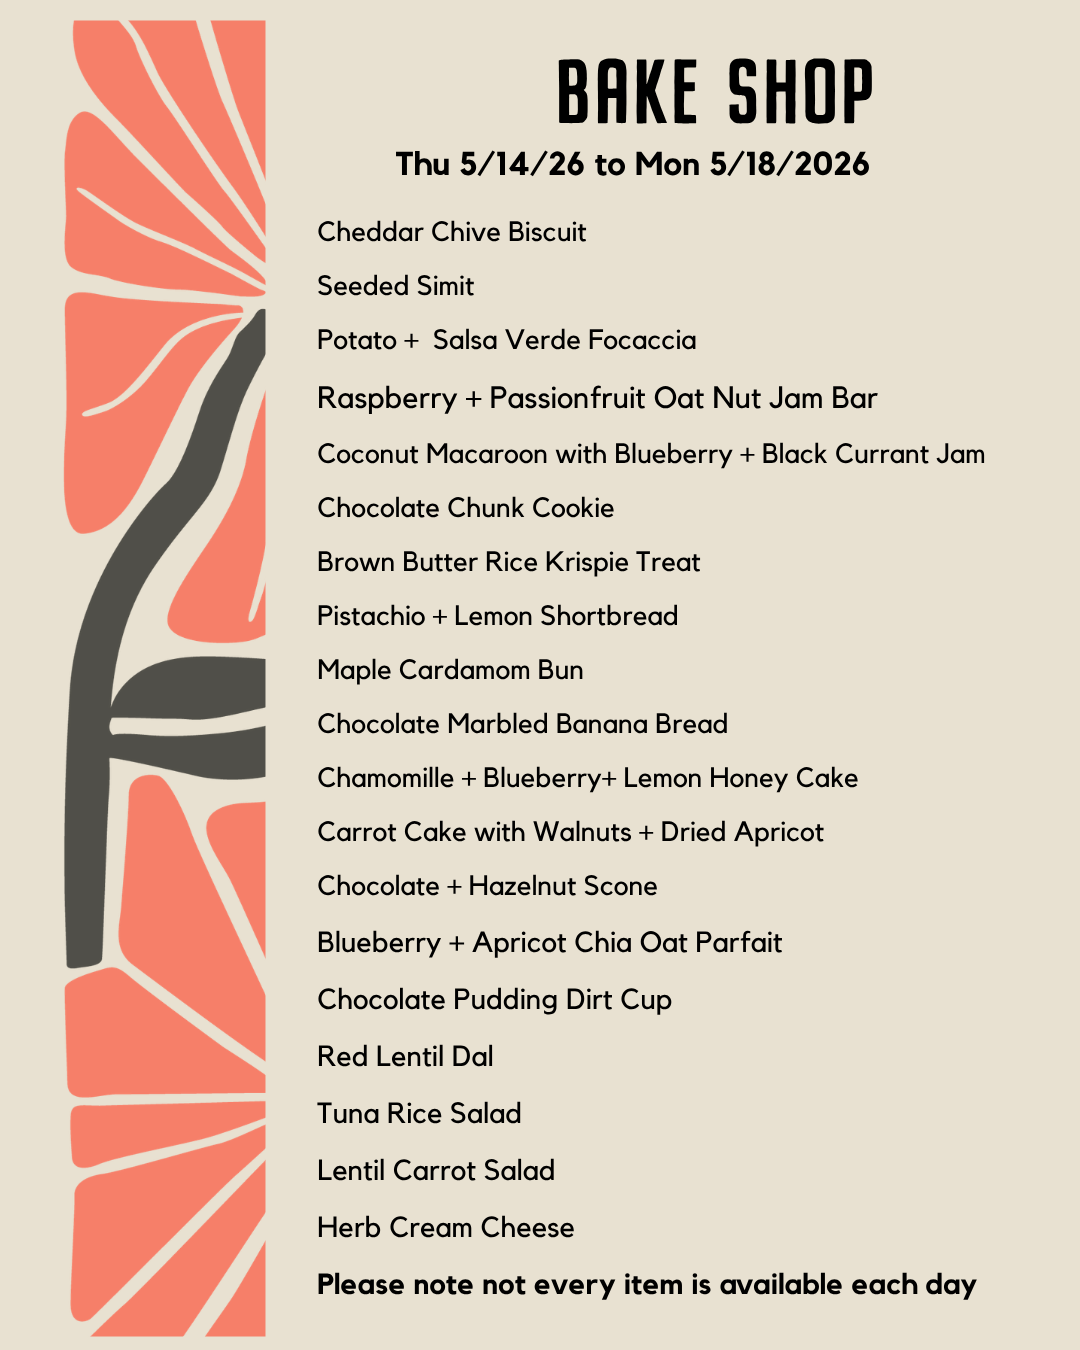
Our Bake Shop is open 8 AM to 3 PM Thursdays through Mondays.
Head Baker - Amanda Wildermuth
In the Garden this week
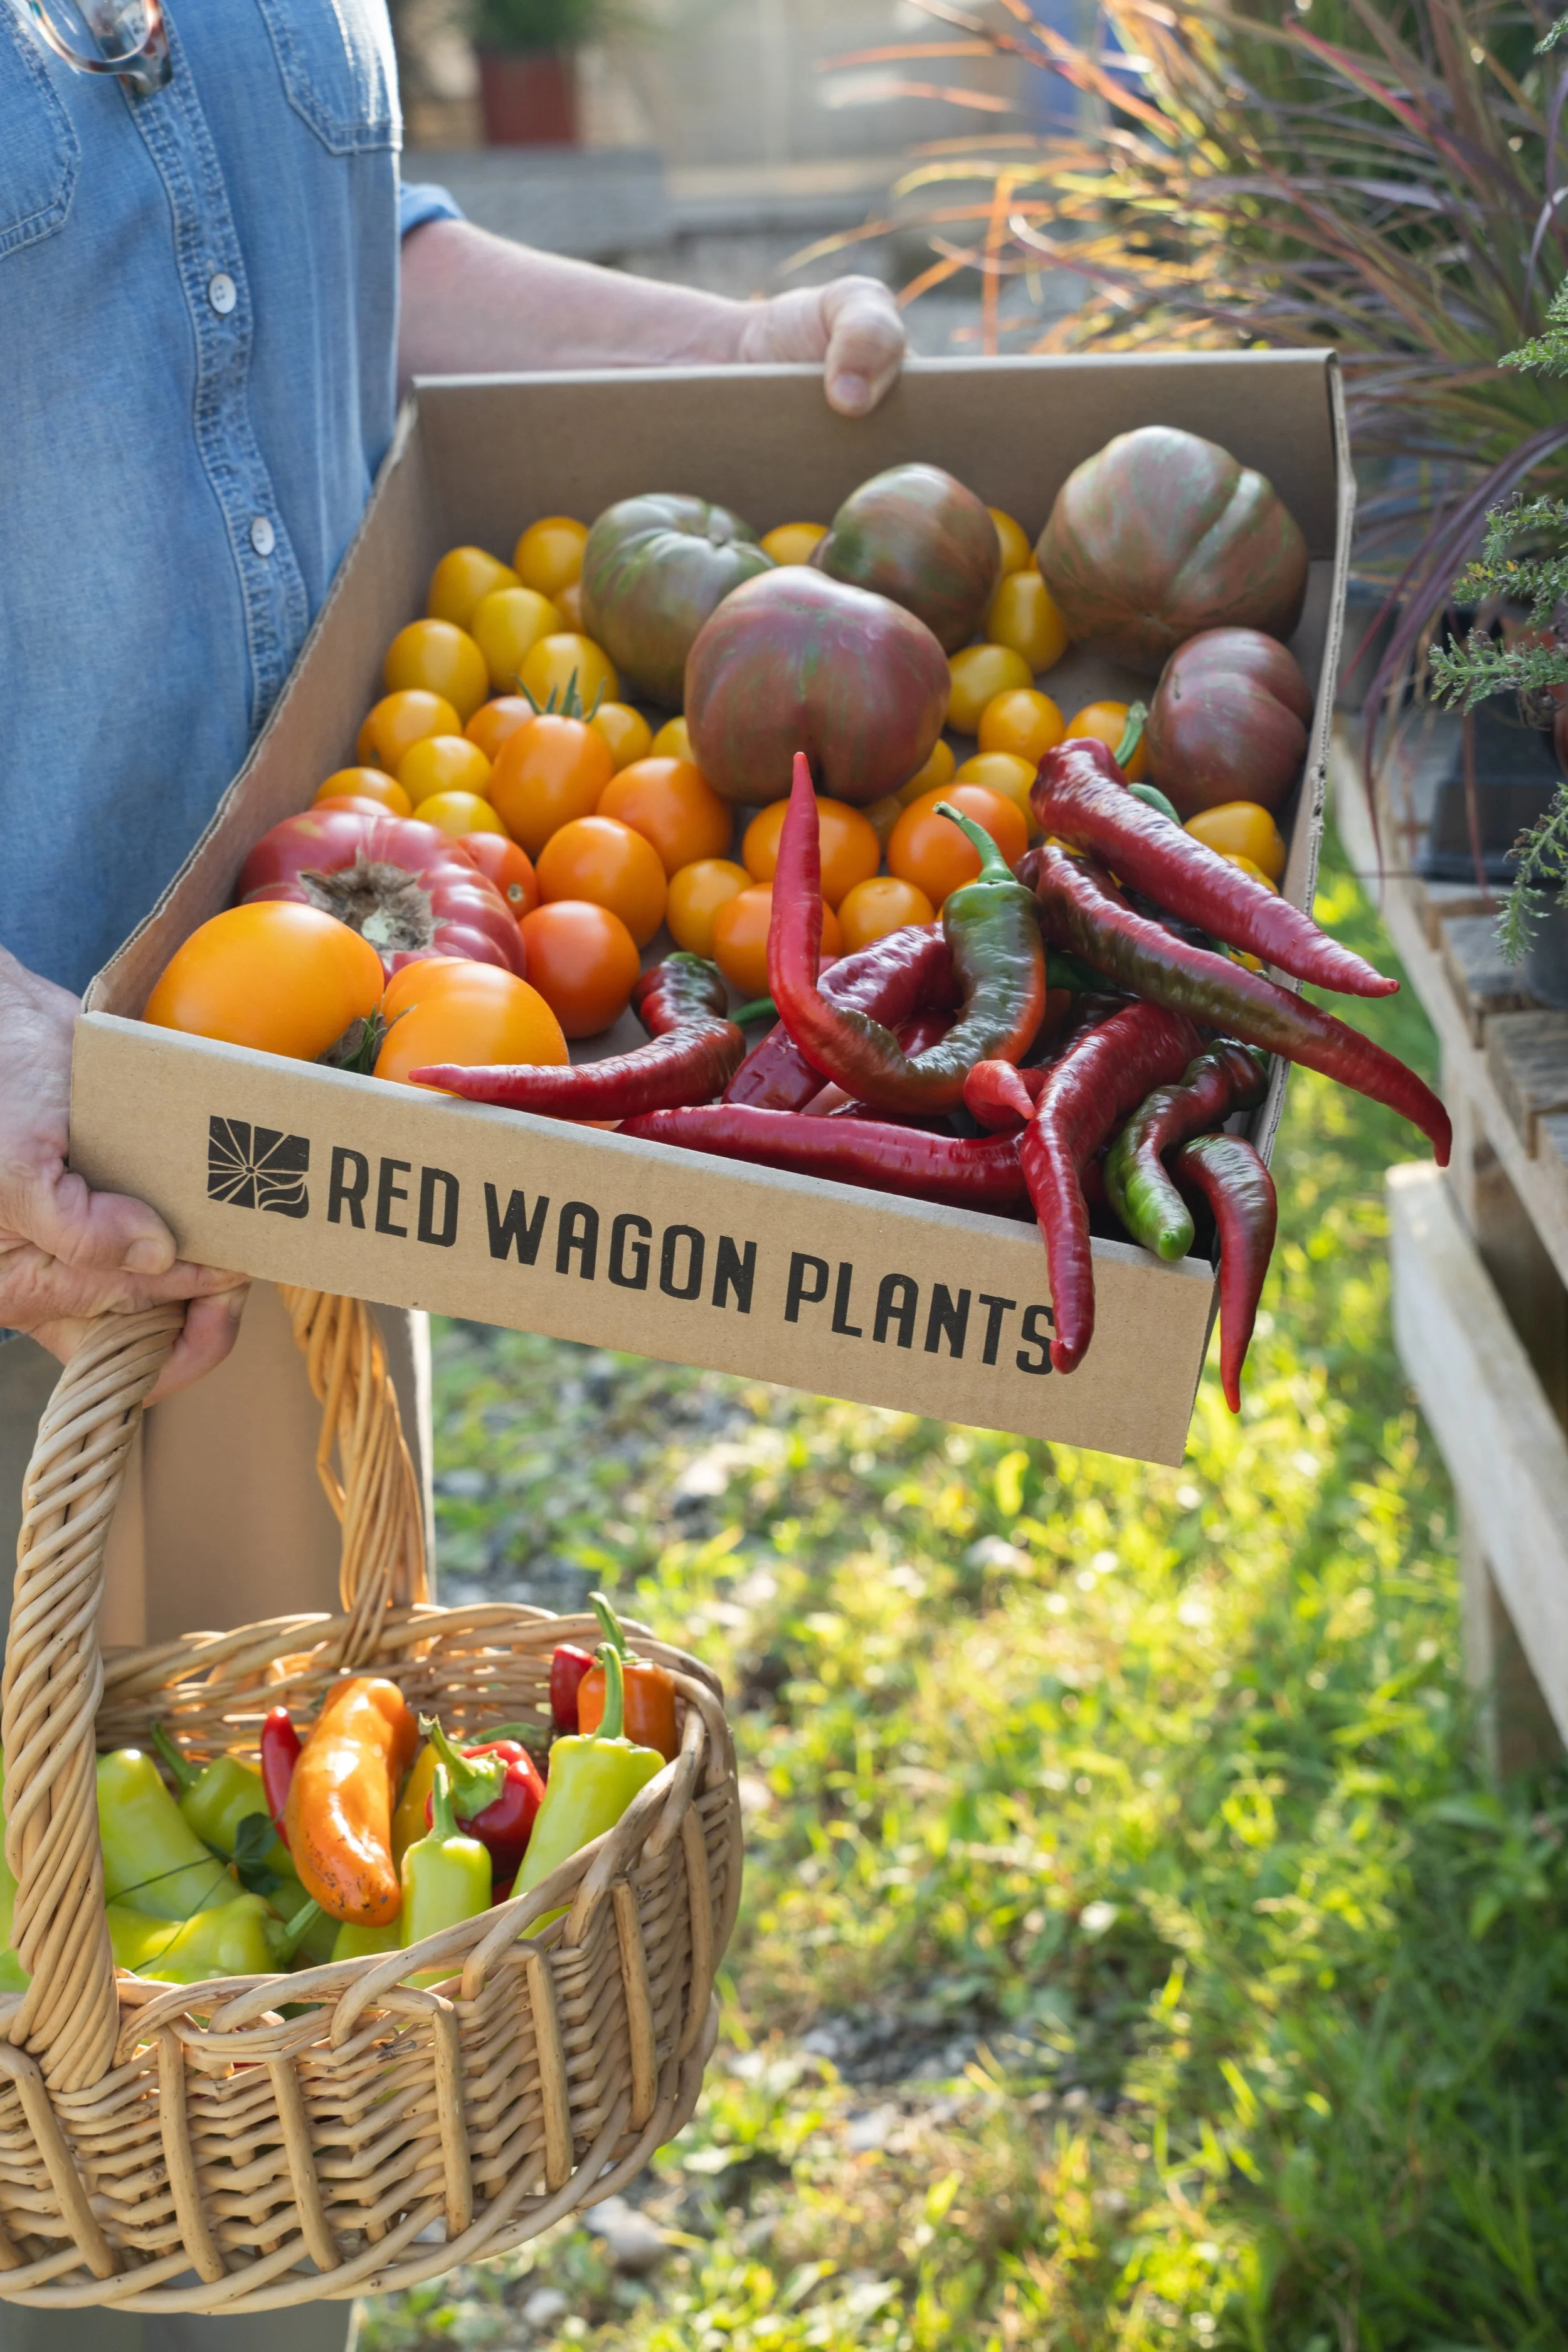
In the basket - Hungarian Hot Wax peppers. In the box - Jimmy Nardello peppers, Esterina cherry tomato (the little yellow ones), Clementine tomato (small orange ones), not sure what the big yellow tomato is, Prudens’ Purple tomato and Berkeley Pink Tie Dyed tomato (the ones on top that are pink with greenish stripes). Now you know some of our favorite varieties!
They’re here! Tomato, pepper and eggplant seedlings are now for sale in the Plant Shop. It has been a very cool spring, so we have waited until now to protect the tender fruiting plants. It is still too early to plant them into the ground, but now is a good time to take home your favorites and harden them off and get to know them a bit. The soil needs to be 50 F which takes about a week of night time temperatures being in the 50’s. Test your soil temperature at about 4” deep (a digital meat thermometer works). Maybe the end of next week will be a good time to plant. In the meantime, prep your beds by adding compost, and making sure the soil is loose and weed-free.
Please note: We don’t have every single variety available at the same time, but we will rotate through all of them as the different generations mature. If there’s a plant that is dear to your heart and you don’t see it on your first visit, we are happy to take your name and number and give you a call when it’s ready.
Just getting started, or want to try something new?
Tomatoes, fragrant and fresh-off-the-vine, are one of the best parts of summer. Don’t be afraid to baby these heat-loving crops - they will pay you back with greater growth and yields in later on.
We suggest trying out a few varieties of different kinds (determinate, indeterminate and cherry) in order to have a harvest that spans the season. Plant your tomatoes at least 3 feet apart to allow for adequate air flow. Here is a post on our blog where you can learn about different categories of tomatoes, and see our recommended tomato planting strategy. When they do grow (often taller than expected!), here are our favorite methods of tomato pruning and trellising that could do wonders for the health and productivity of your plants.
Peppers and eggplant also enjoy being transplanted once the soil warms up. One planting is usually plenty, but again, an assortment of varieties will keep the harvest varied, staggered and interesting. We carry many different sweet and hot peppers, and Asian, Italian, heirloom, full-sized and mini eggplants. This could be the year you discover a new favorite. For newer gardeners, we recommend Lunchbox pepper and Hansel eggplant. They both produce small fruit and are easy to grow and very abundant.
Bake Shop Menu this Week

Garden Tips for this Week of May 4th.
Plant potatoes - the old adage is to plant potatoes when the dandelion are blooming. In our gardens the soil is dry enough to do so, and now is a good time to do it. Our seed potatoes come from Chappelle’s farm and whatever they don’t grow themselves, they source from trusted sources in Maine.
Tiptoe around the garden beds so as not to disturb perennials. It is hard to weed and clean up the garden without doing some damage to young shoots of perennials coming out of dormancy. Using a yoga mat to kneel on, wooden boards to move around and walk on, or a small piece of plywood to stand on are all good strategies to disperse weight, protect plants and not compact the soil too much.
This is our annual reminder to spy spots for future spring bulbs, and mark them out on a photo so you remember where to plant them come fall. You can also use plant stakes, survey tape on bamboo sticks and other ways to indicate “this is the spot” come fall bulb planting time. The spring garden and the fall garden are stupefyingly different from one another and it is impossible to remember where you wished there was a clump of early blooming daffodils when the time comes to plant in October or November. We really like Brent and Becky’s bulbs for ordering online.
The ruby-throated hummingbirds are back! Now is a great time to put out hummingbird feeders until more nectar sources are available from the plant world. While feeding them sugar water might seem like an unnatural process, we have paved over so much of their habitat with storage unit and dollar stores that one could say the natural order of things is fairly mixed up with human intervention already. Thank you to all of our kind readers who have shown us photos of the hummingbirds at their feeders already.
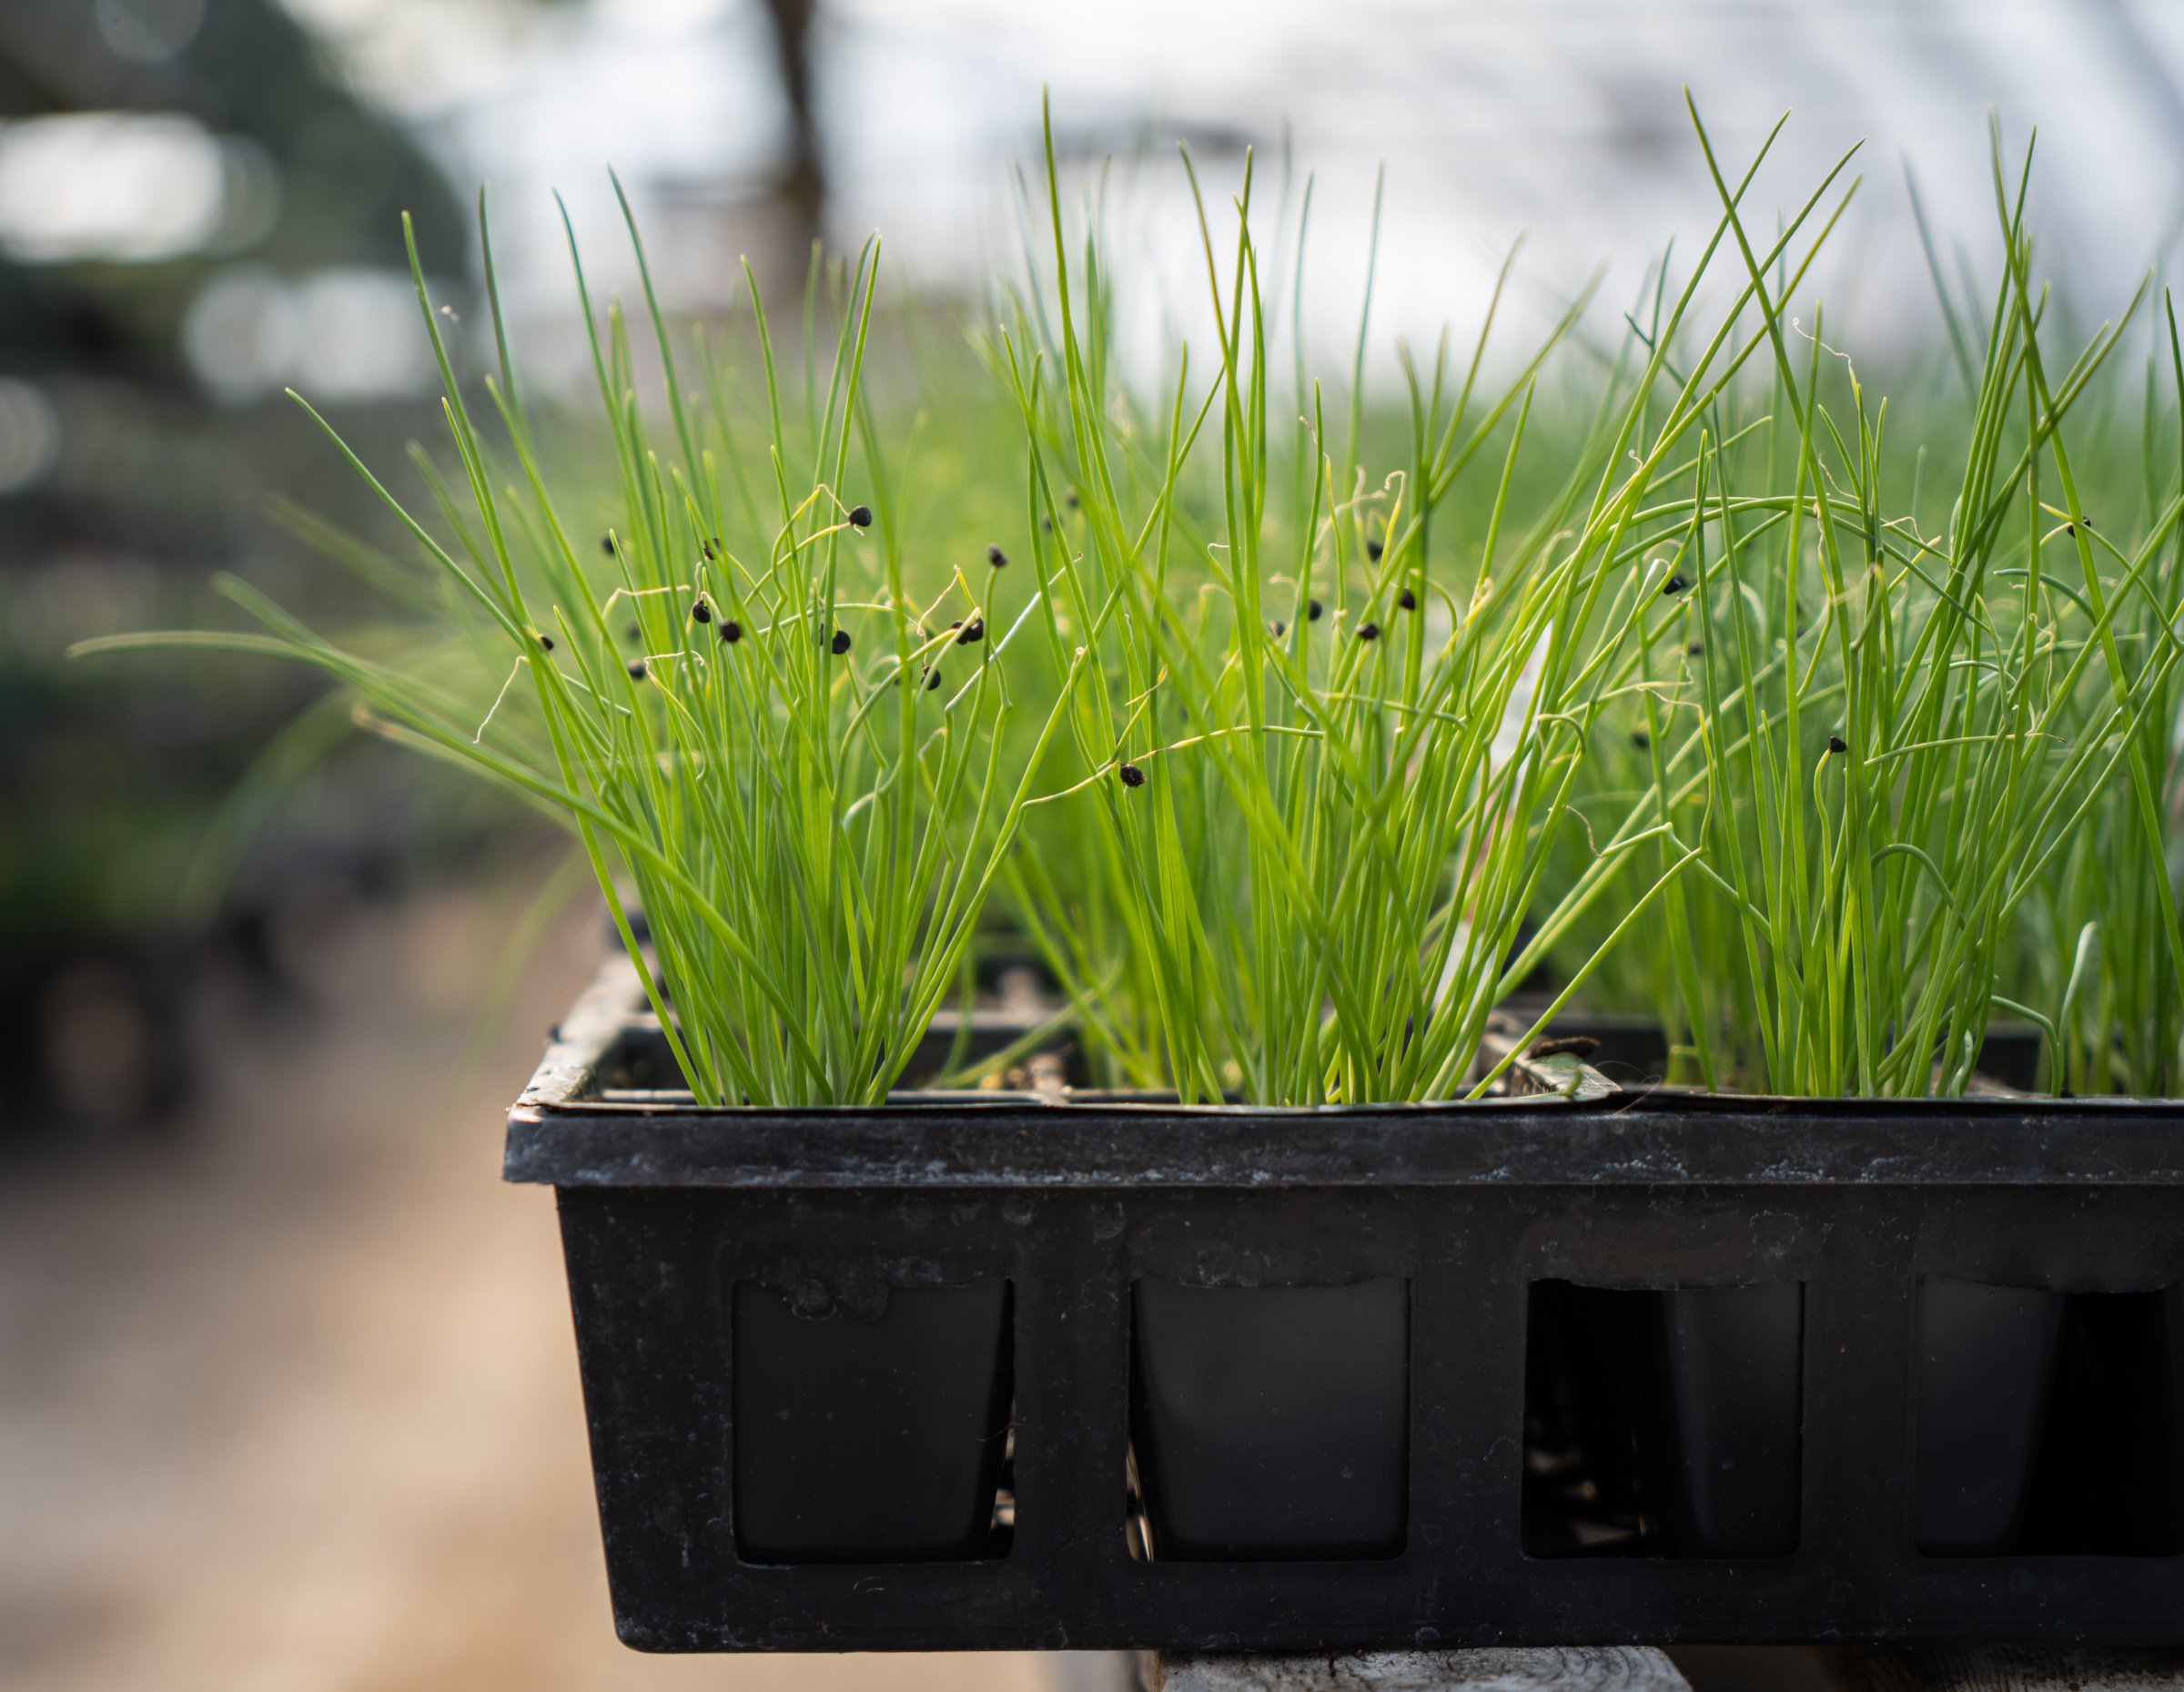
Plant your onions if you have not already done so!
Bake Shop Menu
Tasks for the Week
Here is our hot take on what to do in the garden this week.
First, enjoy the beautiful weather. More rain and cold is predicted for later in the week, so hopefully you can find a minute or two to just bask in the sun while watching your garden come to life. The bees are starting to buzz, the early bulbs are putting on a show, and many perennials are popping through the earth and heading towards the light. Photosynthesis is a wonder.
If you have not done so yet, it is time to plant onions. Our packs of onions have about 100 plants in them. Pull them apart, gently and when fully watered. Plant them individually, 4 inches apart, 2 to 3 inches deep. It is ok to cut off the tops of the plants so that they are not too floppy.
Also, it is time to plant some salad greens, cooking greens, broccoli, fennel, and more. All of the 4-pack vegetables we are offering are cold tolerant and ready to plant. We encourage multiple generations, so just a few each week, and not all at once. Spread the planting out and you will have a well timed harvest.
From seed, it is time to sow radishes, carrots, beets, lettuce for cutting at the baby stage (if you prefer full heads, we recommend transplanting seedlings), spinach, arugula, mustard greens. Peas too if you have not already done so.
Herbs that can be planted now: mint, parsley, cilantro, dill, chives. Herbs to do from seed now: dill, cilantro.
Flowers that can be planted now: pansies, violas, nemesia, snapdragons, argyranthemum, osteospermum, alyssum, and lobularia.
Flowers that can be started from seed now calendula, snapdragons.
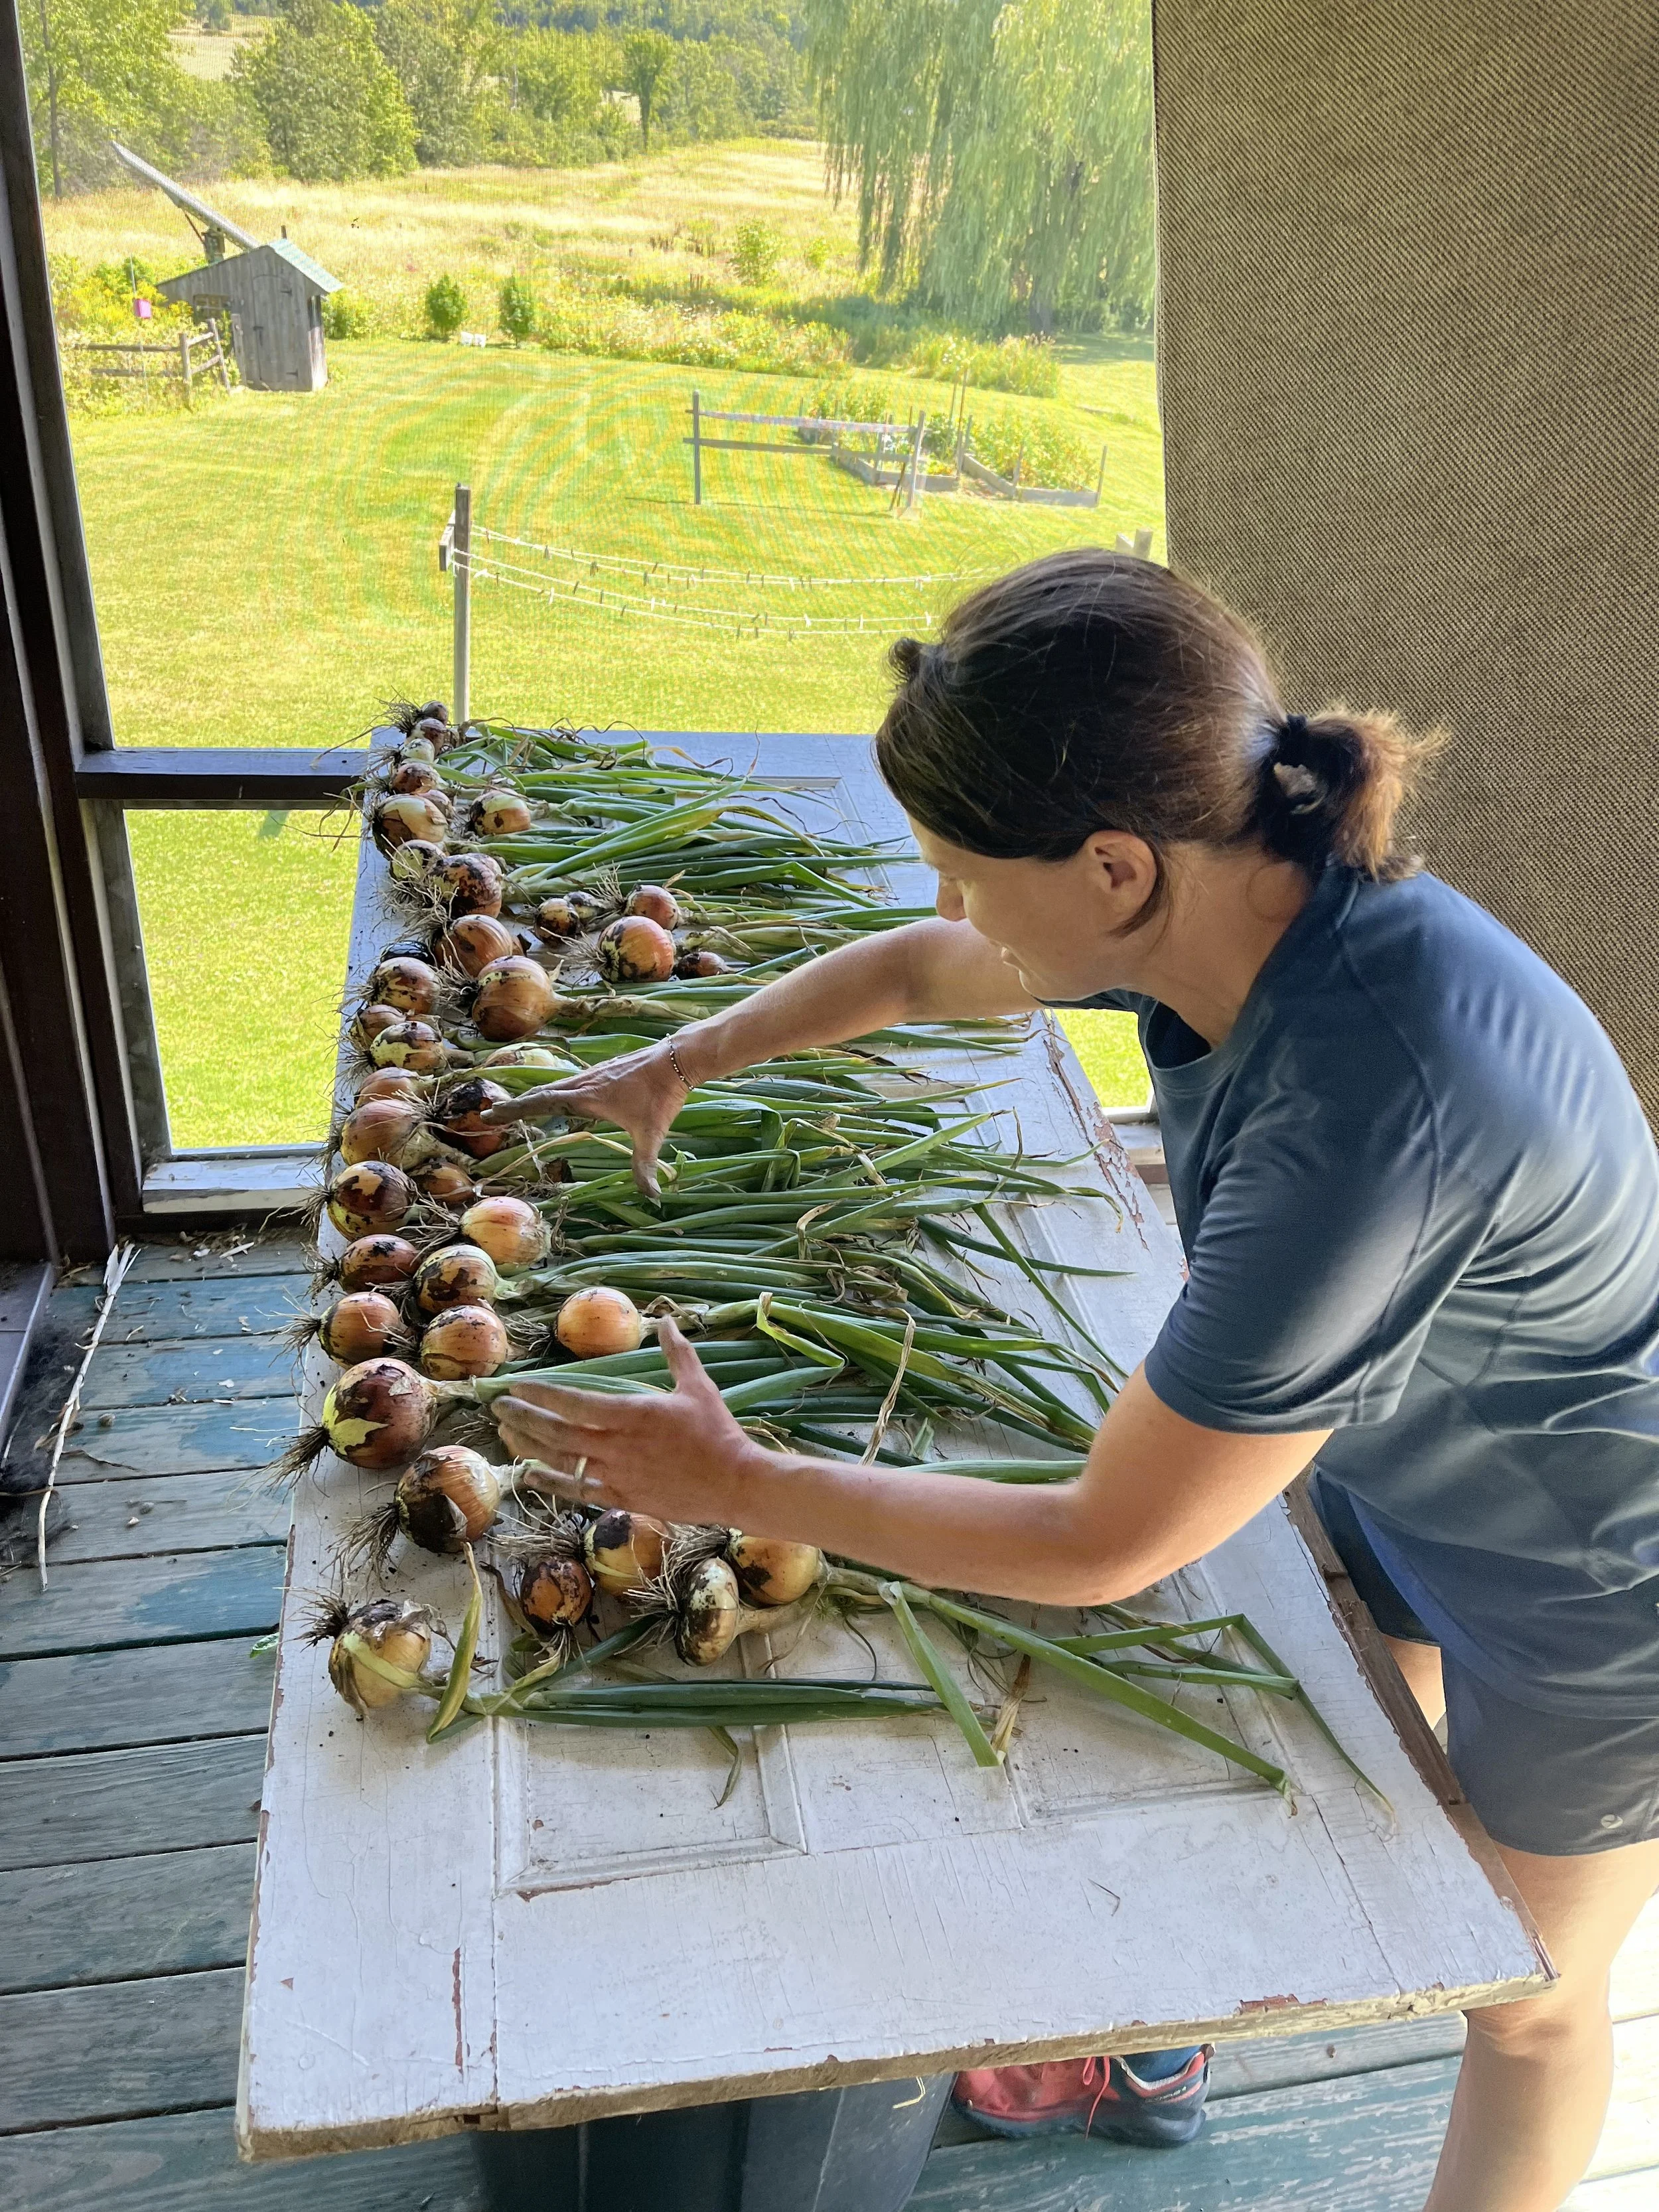
Nicole sent us this picture of her onion harvest a few years ago.
Bake Shop this Week
Mi casera hermosa / My beautiful customer
Epistle from April: On friendliness in the Bolivian marketplace
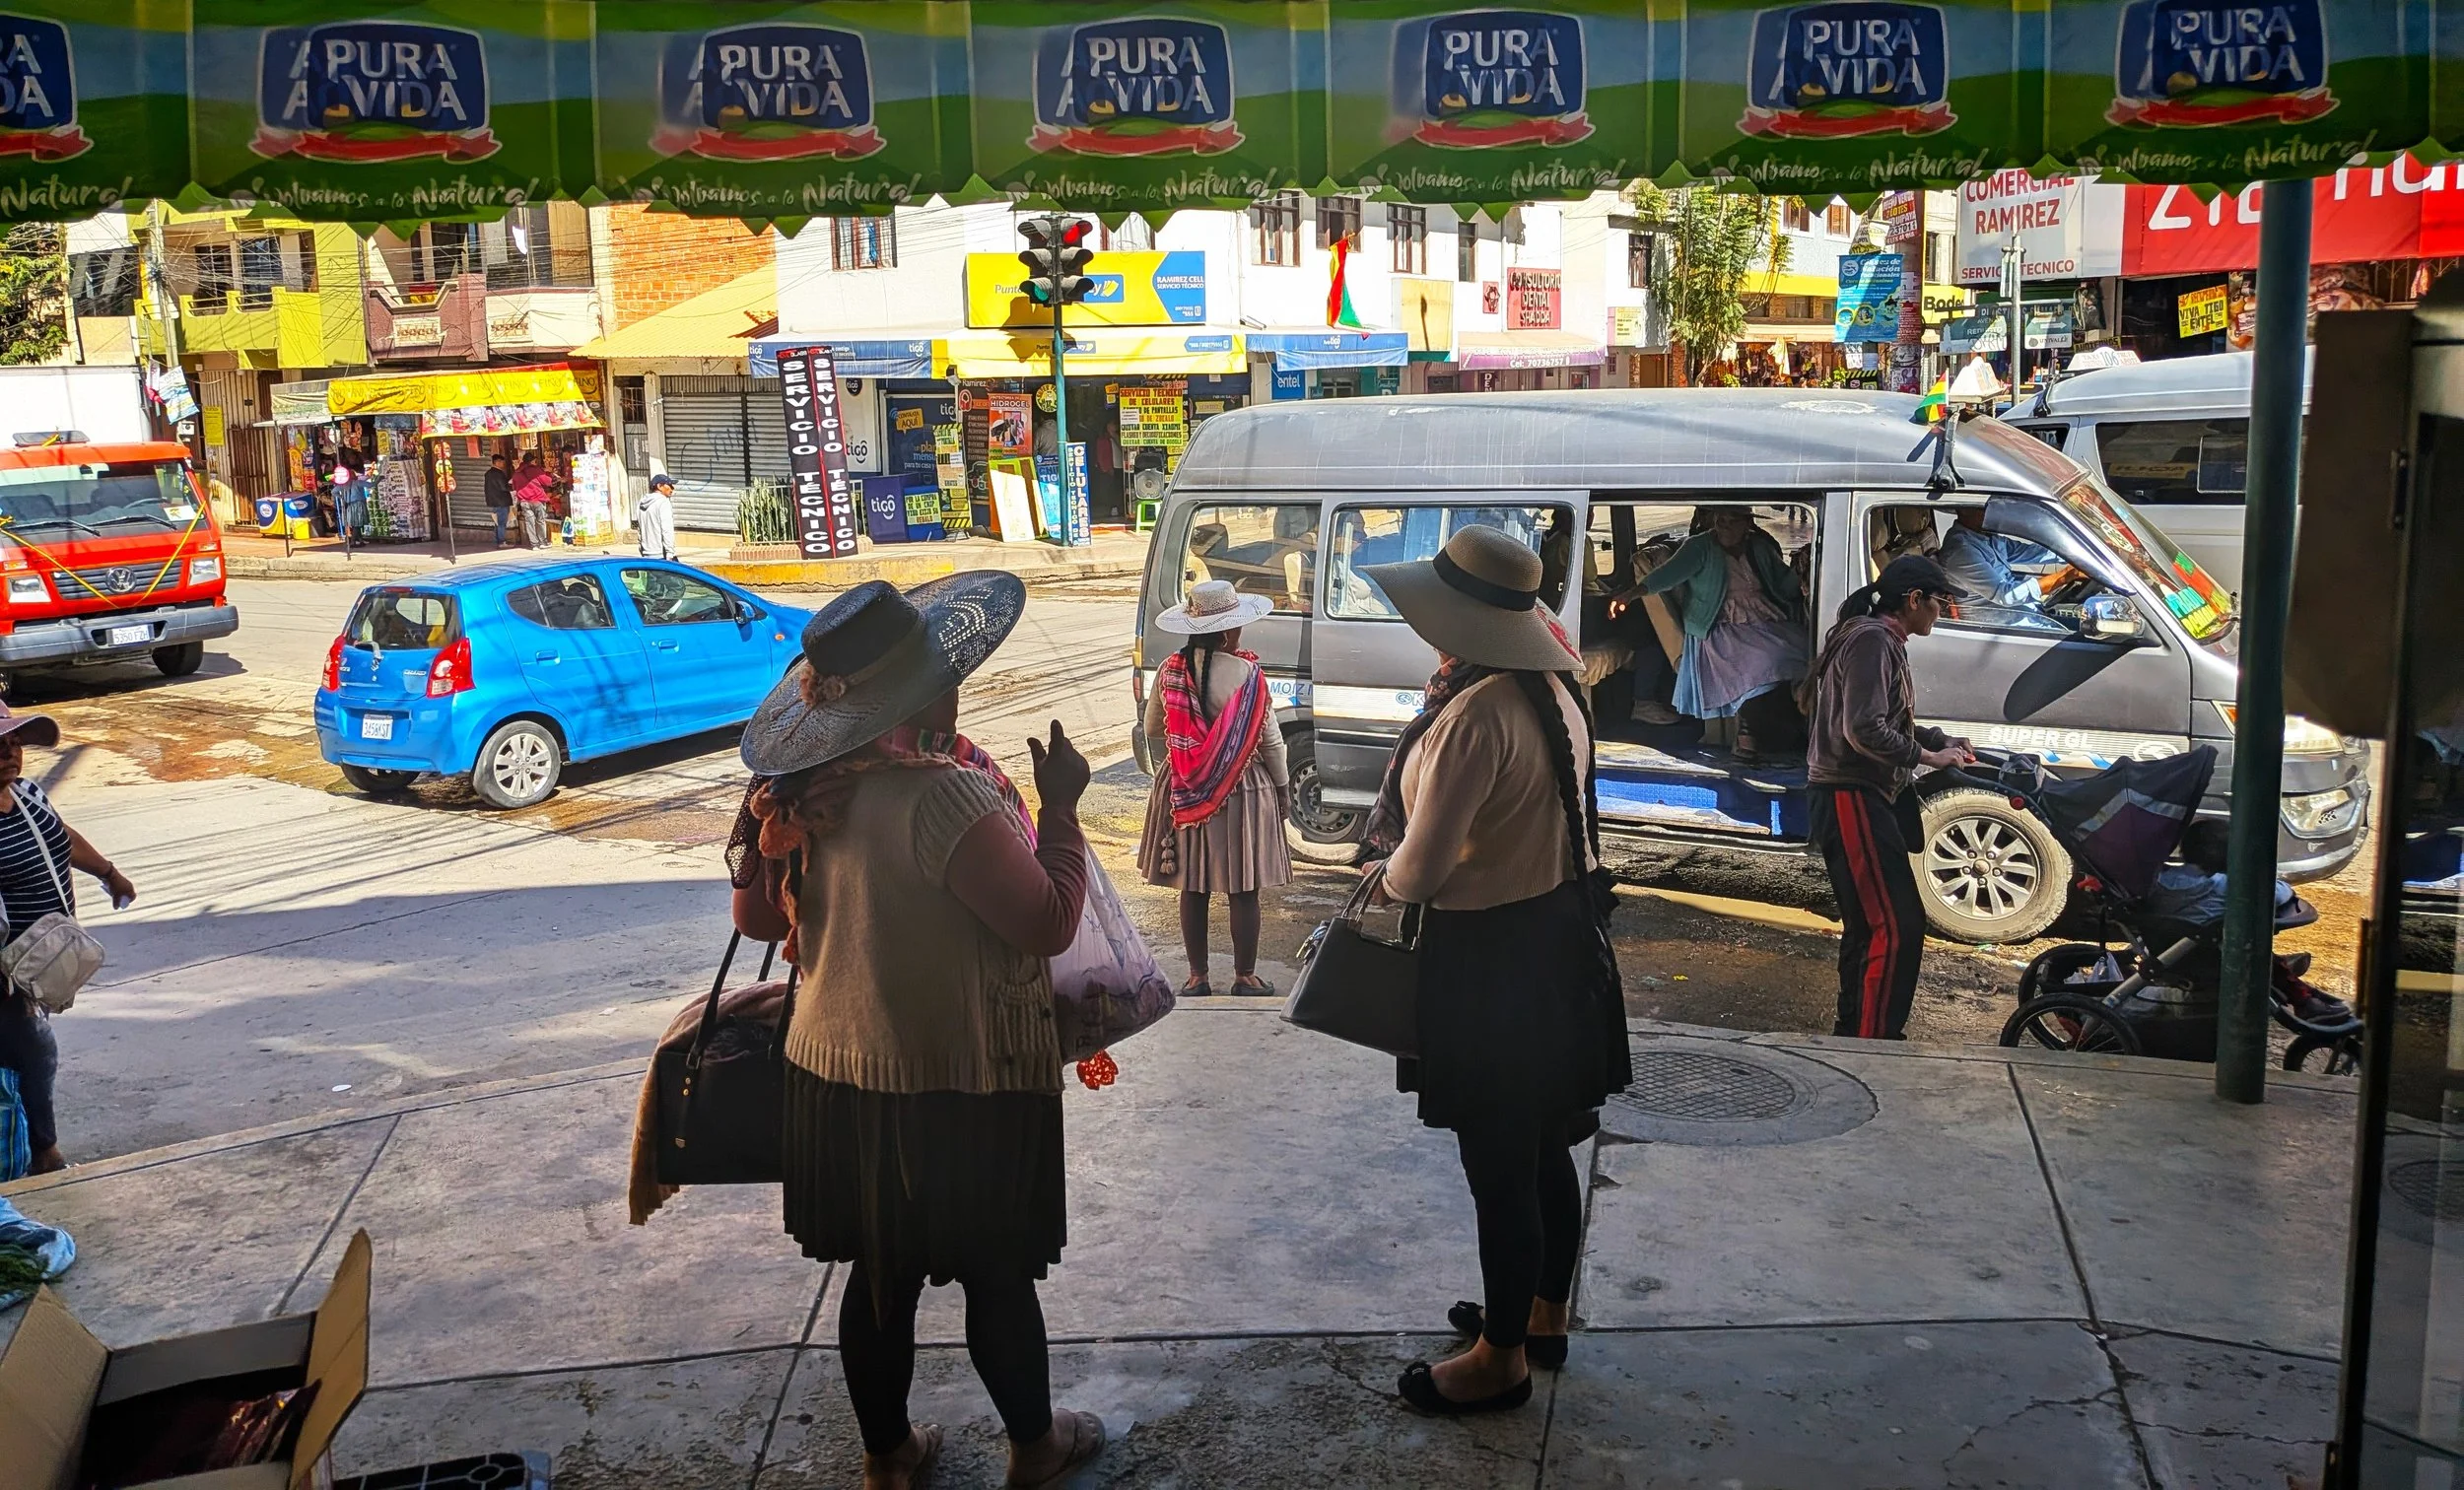
The epicenter of Tiquipaya, Bolivia, from the stoop of our most frequented market.
Last month I stopped with a friend at her local corner store in Cruce Taquiña, on the edge of the city of Cochabamba, Bolivia, and she congratulated the owners on their recent locally viral tiktok video promoting their housemade bizcochos (traditional easter breads). In this delightful piece of owner-made advertising, the husband proudly proclaims that they will be selling easter breads “in all flavors!” His wife smacks him in mock outrage, saying she is only making one. He turns cheerily to the camera and retracts: “Oh no, caseritos [loyal customers], I was mistaken!” They finish together, “There is just one flavor!” Obviously, I bought my bizcochos from them.
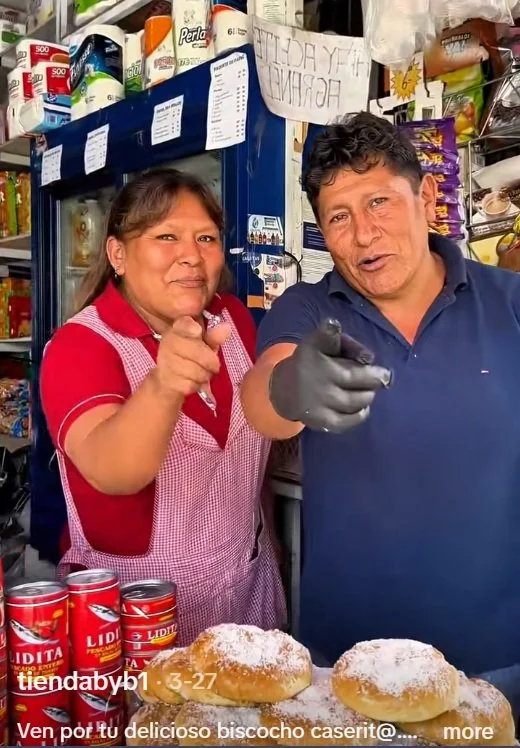
The inimitable caseros of the B&B Market.
In Spanish, ‘caserito’ technically means ‘householder,’ or perhaps ‘homebody,’ with the addition of an endearing diminutive suffix ‘ito.’ But, as a language nerd, the Andean use of the word ‘casero’ is one of my favorite parts of participating in the local economy. Here, “loyal customer” is the primary definition of ‘casero’ and all its variants: casero(s), caserito(s), casera(s), caserita(s), and the surprisingly non-gendered case(s) for short. However, the best part is that it also means “my favorite _____ vendor” - and thus the person who I tend to buy eggs from is ‘mi casera de huevo,’ but I am equally hers.
Since working in Red Wagon’s plant shop, after a long break from retail work, I’ve become much more aware of the potential beauty to be found in relationships between vendors and customers. Experiencing the nuances of that relationship in my town of Tiquipaya in Bolivia this year has added another layer to my appreciation for the dynamic. Beyond the mere functionality of buying and selling, street commerce here is defined by the pleasures of the lower-case ‘m’ marketplace, where transactions require and can create an intimacy and appreciation between people extending beyond a simple monetary exchange.
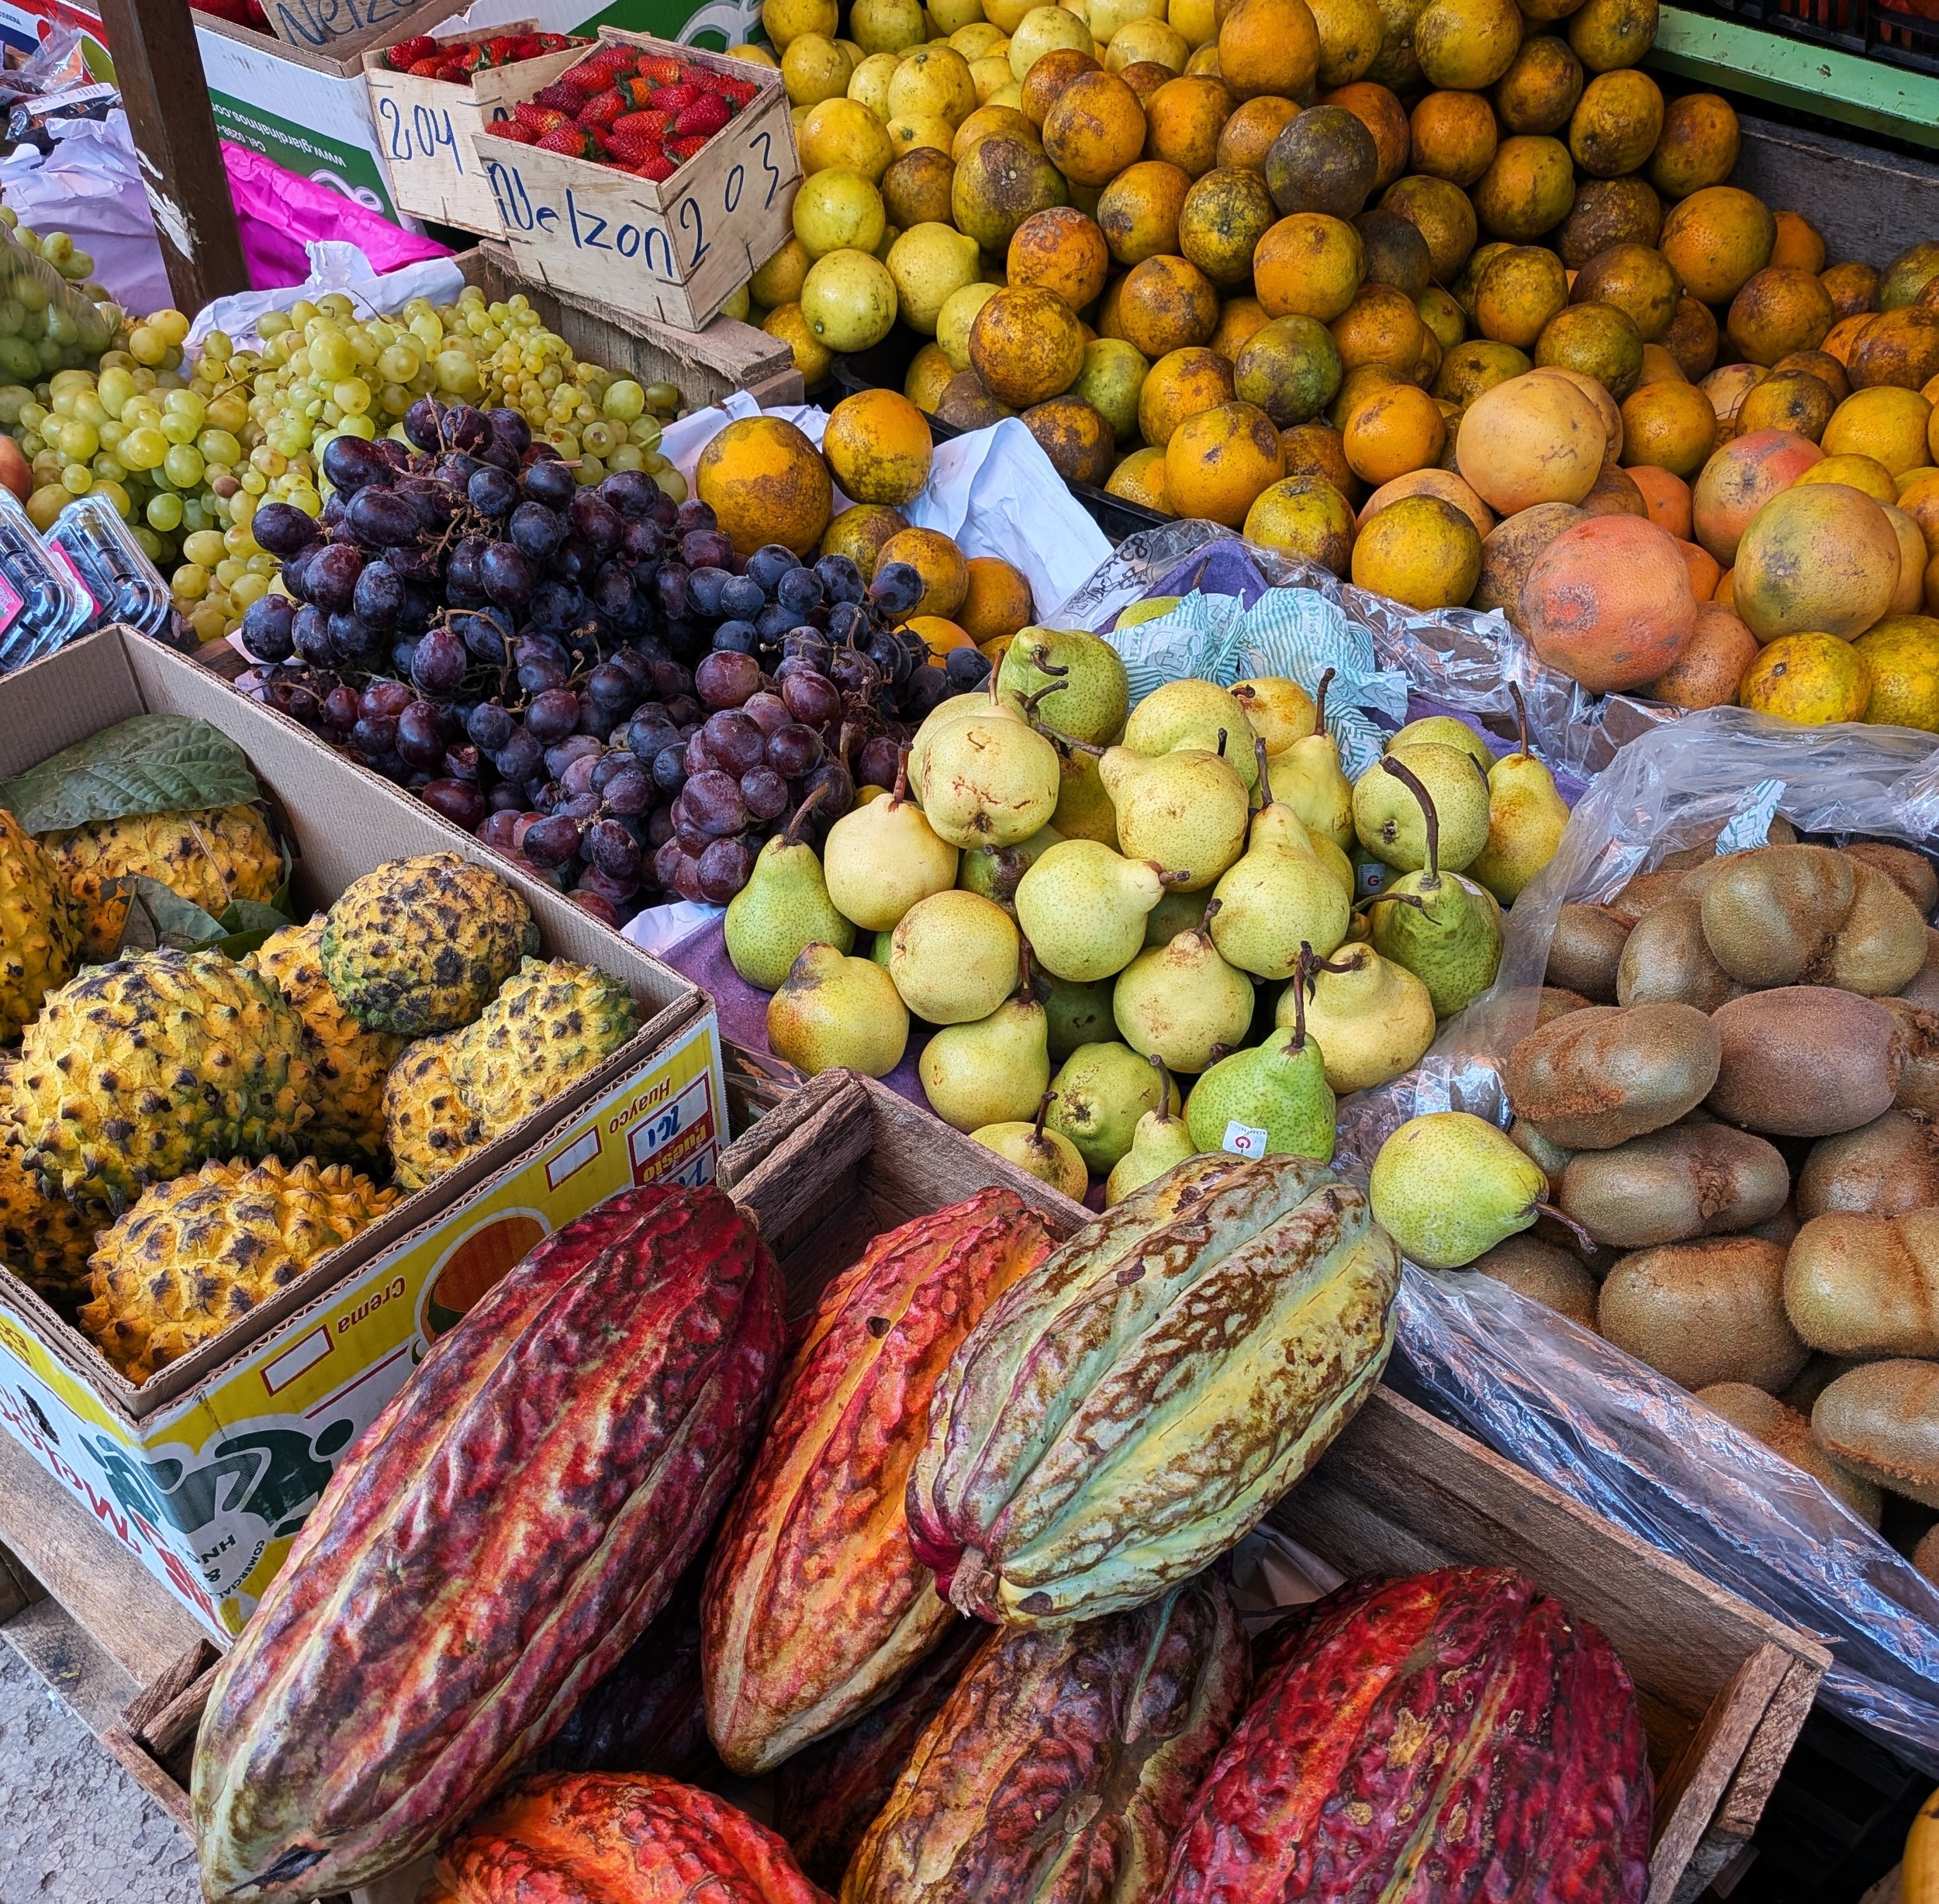
Cacao and chirimoya (the yellow slimy one that I don’t like as much as the firm, velvety green one) for sale at the stand of the casera who is so good at flattering me.
The word ‘casero,' a respectful title mutually apt for both buyer and seller, creates a name for their specific relationship and intimates a potential space for respect, loyalty, appreciation, affection and a responsibility to one another within that relationship. Regardless of past purchases, I can address any Bolivian vendor politely as ‘Case,’ and conversely they can address me as the same. Vendors can speak to unknown clients as ‘mi case,’ proposing a possible loyalty or familiarity that does not (yet) exist. After buying some vegetables this morning, the casera encouraged me to return: “Ven, no más, case!” [Come by anytime, Custi!]. Behind me, an older woman sang quietly to herself “Case, case, case!” I looked back at her and we smiled to one another.
My favorite fruit vendor (though not always my casera de frutas because her goods are sometimes wildly more expensive) has landed my business many times simply because, when I walk by her stall, she sends the most winning looks from under her intricately painted straw hat, calling to me “Buen día, mi caserita linda, hermosa! ¿Qué va a llevar hoy día? [Good morning my beautiful, lovely little customer! What are you going to buy today?]. I am a sucker for her style.
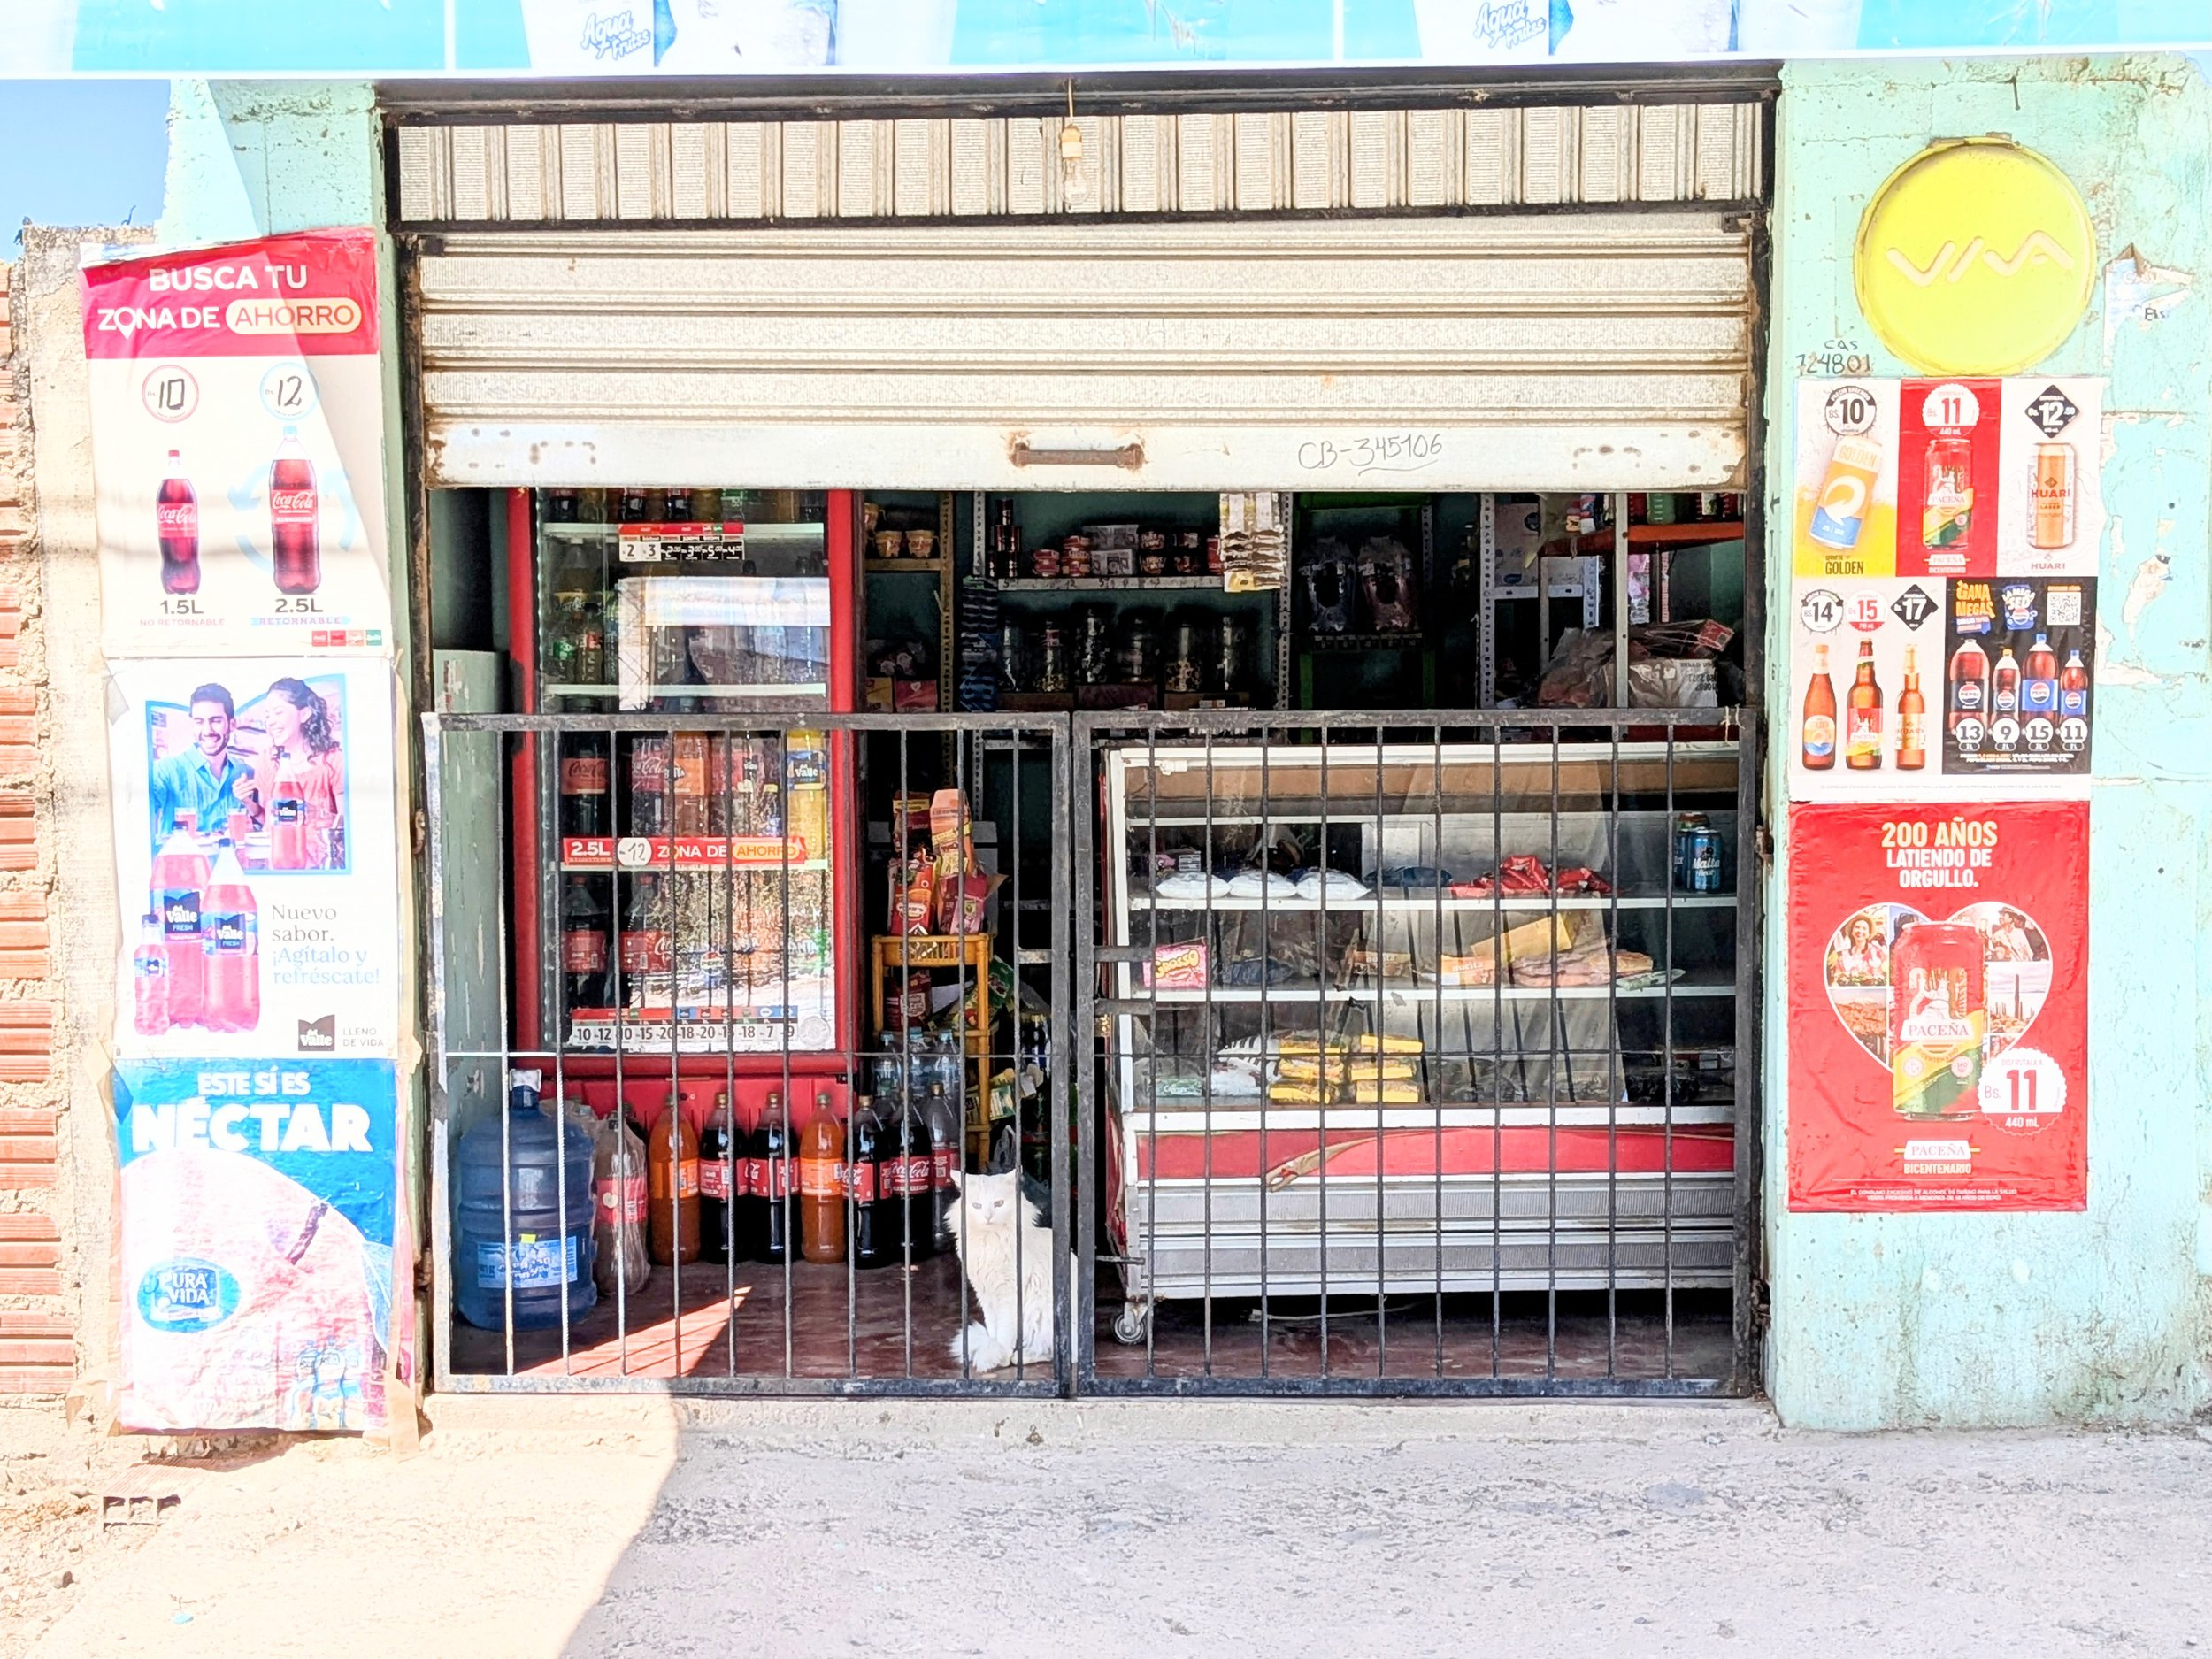
Many of my neighbors (including this one) have stores in the front of the first floor of their houses.
When there are people to enjoy buying from, and we have time to enjoy shopping, there’s always the opportunity to enjoy a meaningful human interaction between vendor and customer: a supra-monetary exchange between people who might not otherwise meet or mix socially. This can be a precious commodity in an age where people tend less to speak to or need each other in public. When I work as a casera in my own right, I love meeting new customers and greeting old ones, knowing who is going to be excited about what, seeing my middle school teachers and family friends, meeting caseros [customers] who are also my caseros [vendors] in other contexts.
The same friend who recently took me to her corner store for bizcochos also has a lovely mother, Rosita, in her 80’s, who always enjoyed her work in corner stores, and later being the proprietress of her own. Not only did she come to know everyone in the neighborhood, but she recounted a time when a local casera who was going through a hard time came often to stay with her in conversation. One day her casera was so distraught that Rosita invited her behind the counter and into the kitchen for lunch and a beer. Together they dubbed her store “La Tienda Radio Cocina” [The Radio Kitchen Store], in reference to call-in advice radio shows. Rosita was also able to give my historian partner an excellent account of local union leader Filemón Escóbar, including his favorite cigarette brand.
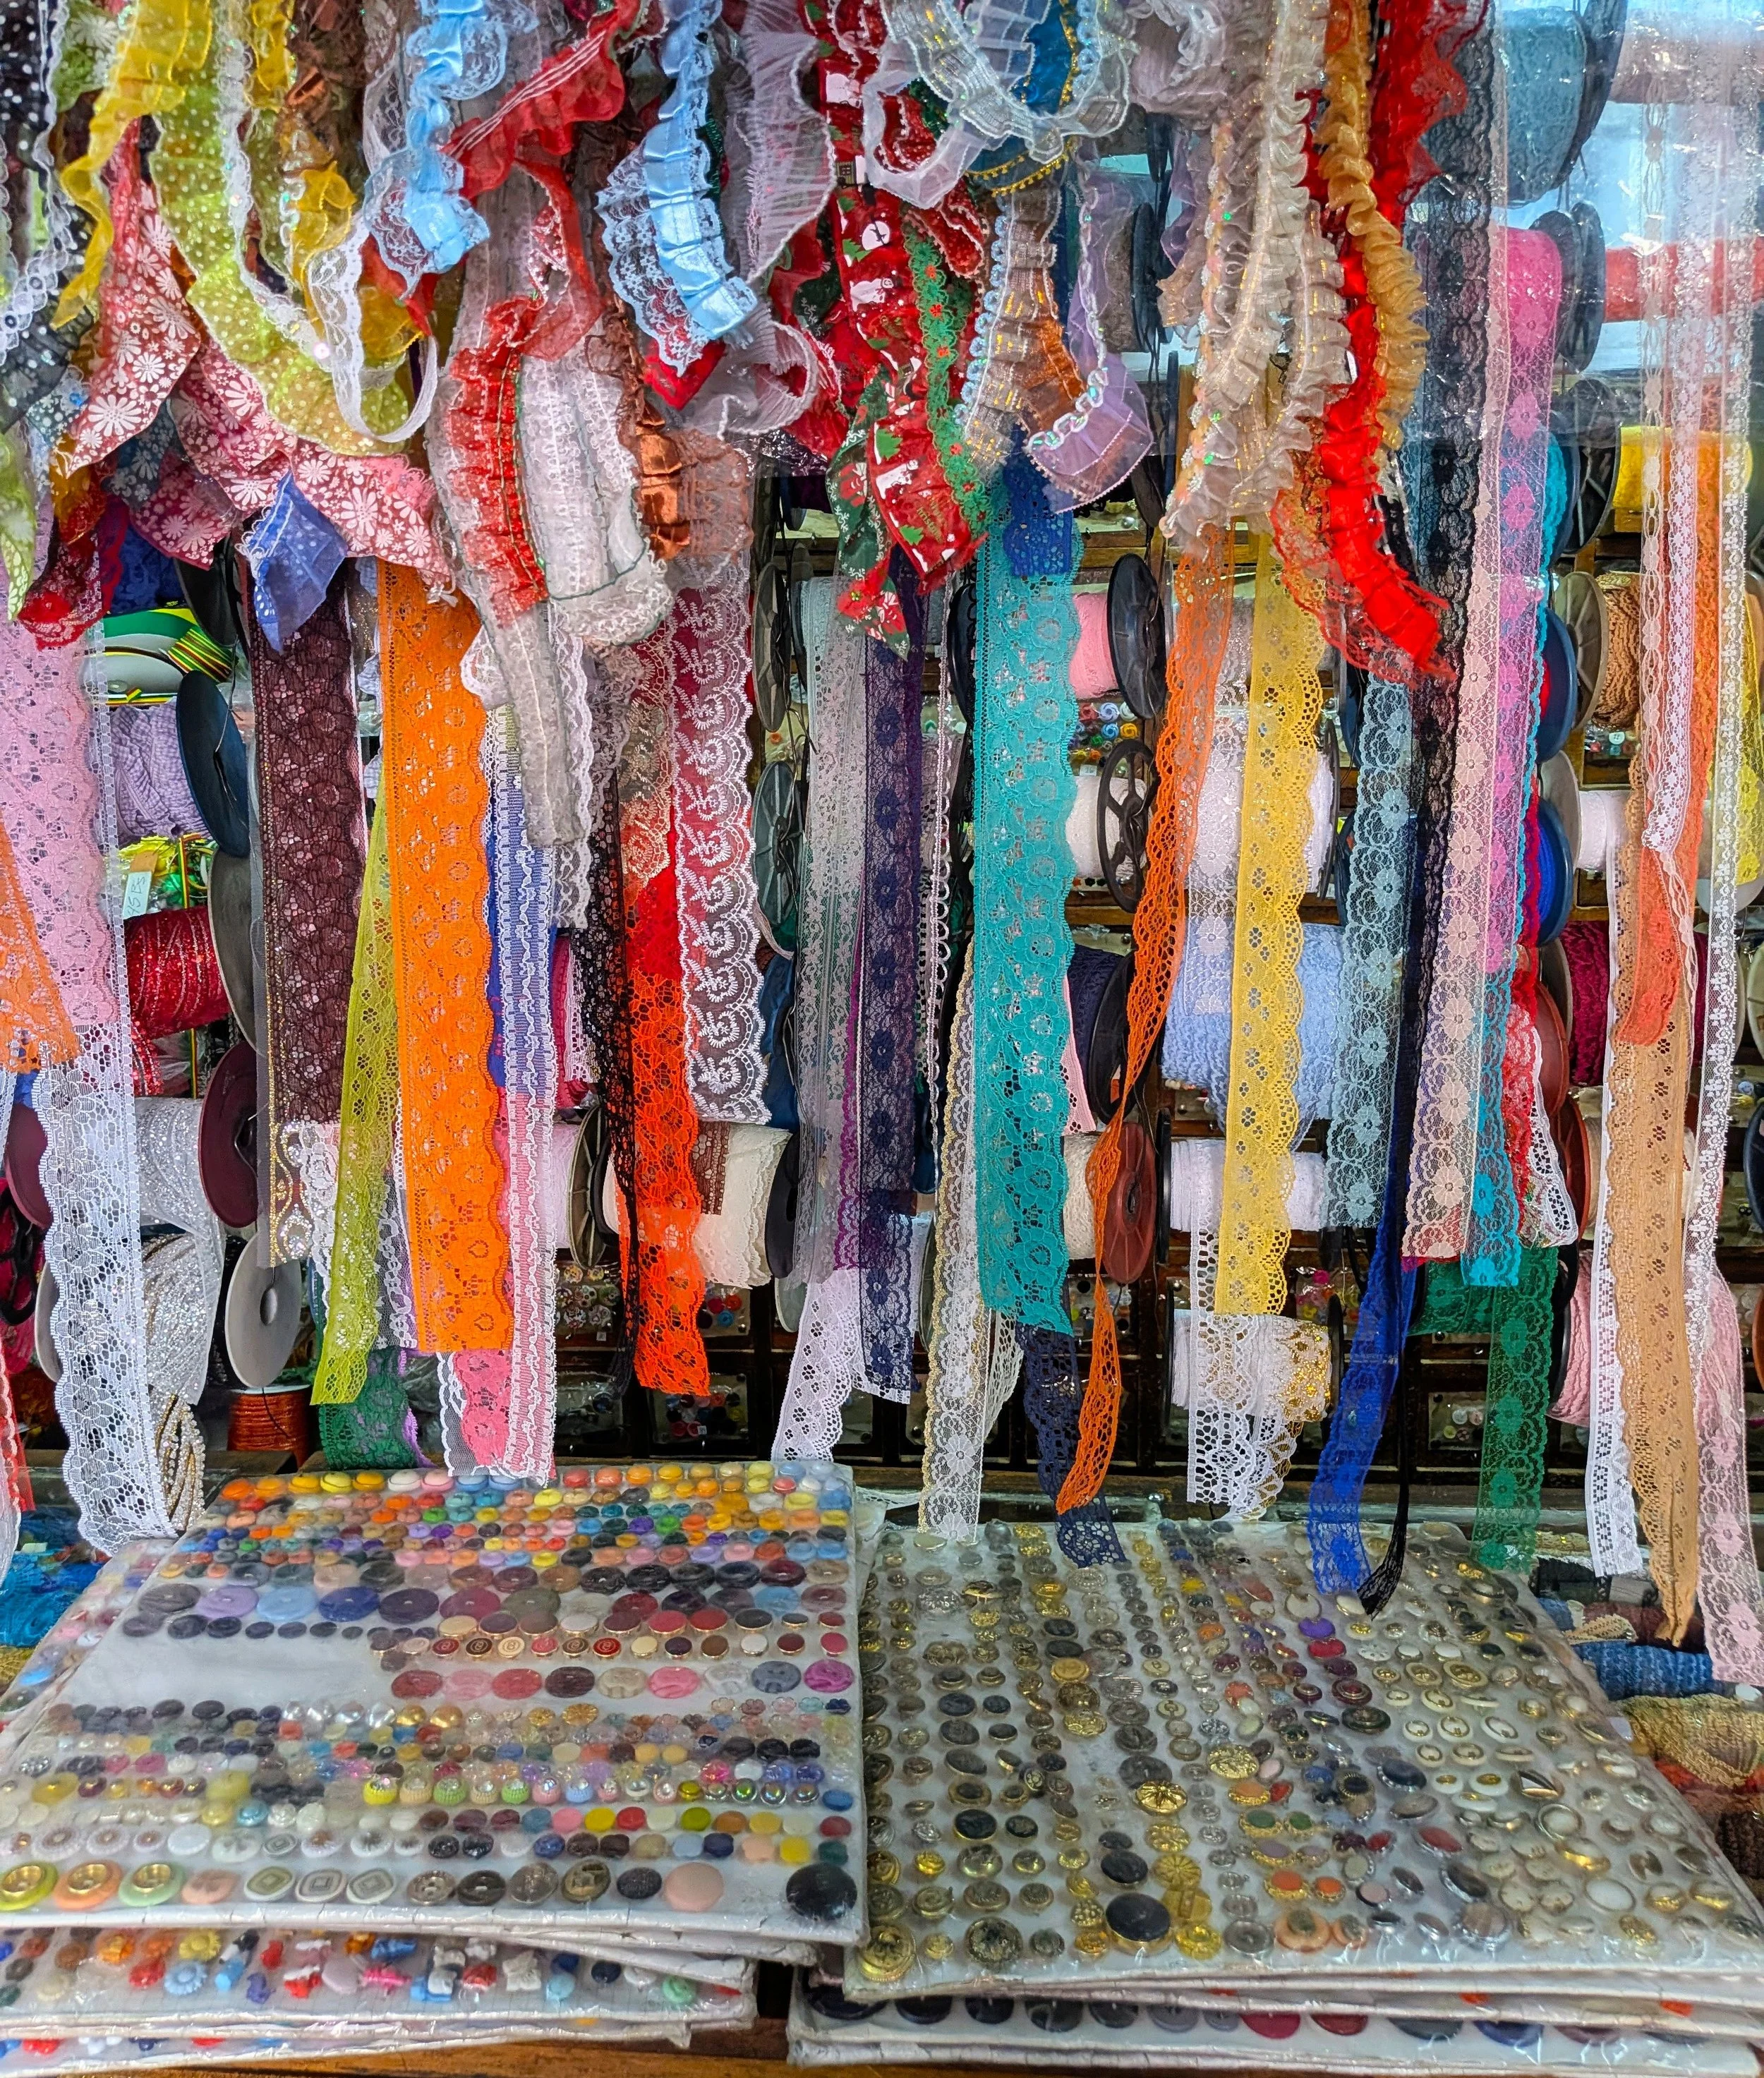
My favorite buttons and lace store.
Another appreciable aspect of the Andean marketplace, as experienced by me (though there are more theoretical essays written on the topic), is the delight of the yapa, a word in Quechua for “a little something extra” thrown in after a purchase, generally given to all customers, but especially those who know to ask for it. Yapas can be especially generous from your casera (favorite vendor), who might also reserve something in short supply if they know that you are likely to come for it and could be disappointed to find it gone. A yapa might come in the form of a small cucumber or apple (though understandably not always the prettiest ones), or an extra half-cup of rice or handful of new potatoes. One of my favorite yapas comes from the caseros of citrus juice, who have carts with mounted manual fruit peelers and squeezers, and from whom, after you drink half of your cup of juice, you can claim your right to a top-up with whatever remains in the recipient under the squeezer. ¿Y mi yapa, caserita?
Sometimes we purchase things according to pragmatics, and I can’t fault that. But I would argue that everything is more beautiful, tastier, more enjoyable, when it comes conjoined with its own story, its origin and subsequent procuration. Things with a tale of origin and/or their journey into our hands have an aura that confers a non-monetary value that can’t usually be enjoyed in goods procured from anonymous sources that appear in our lives anonymously. The often necessary convenience of having our purchases appear at our homes in boxes comes at the sacrifice of this aura, this yapa of meaning co-created in the friendly human exchange at the time of purchase.
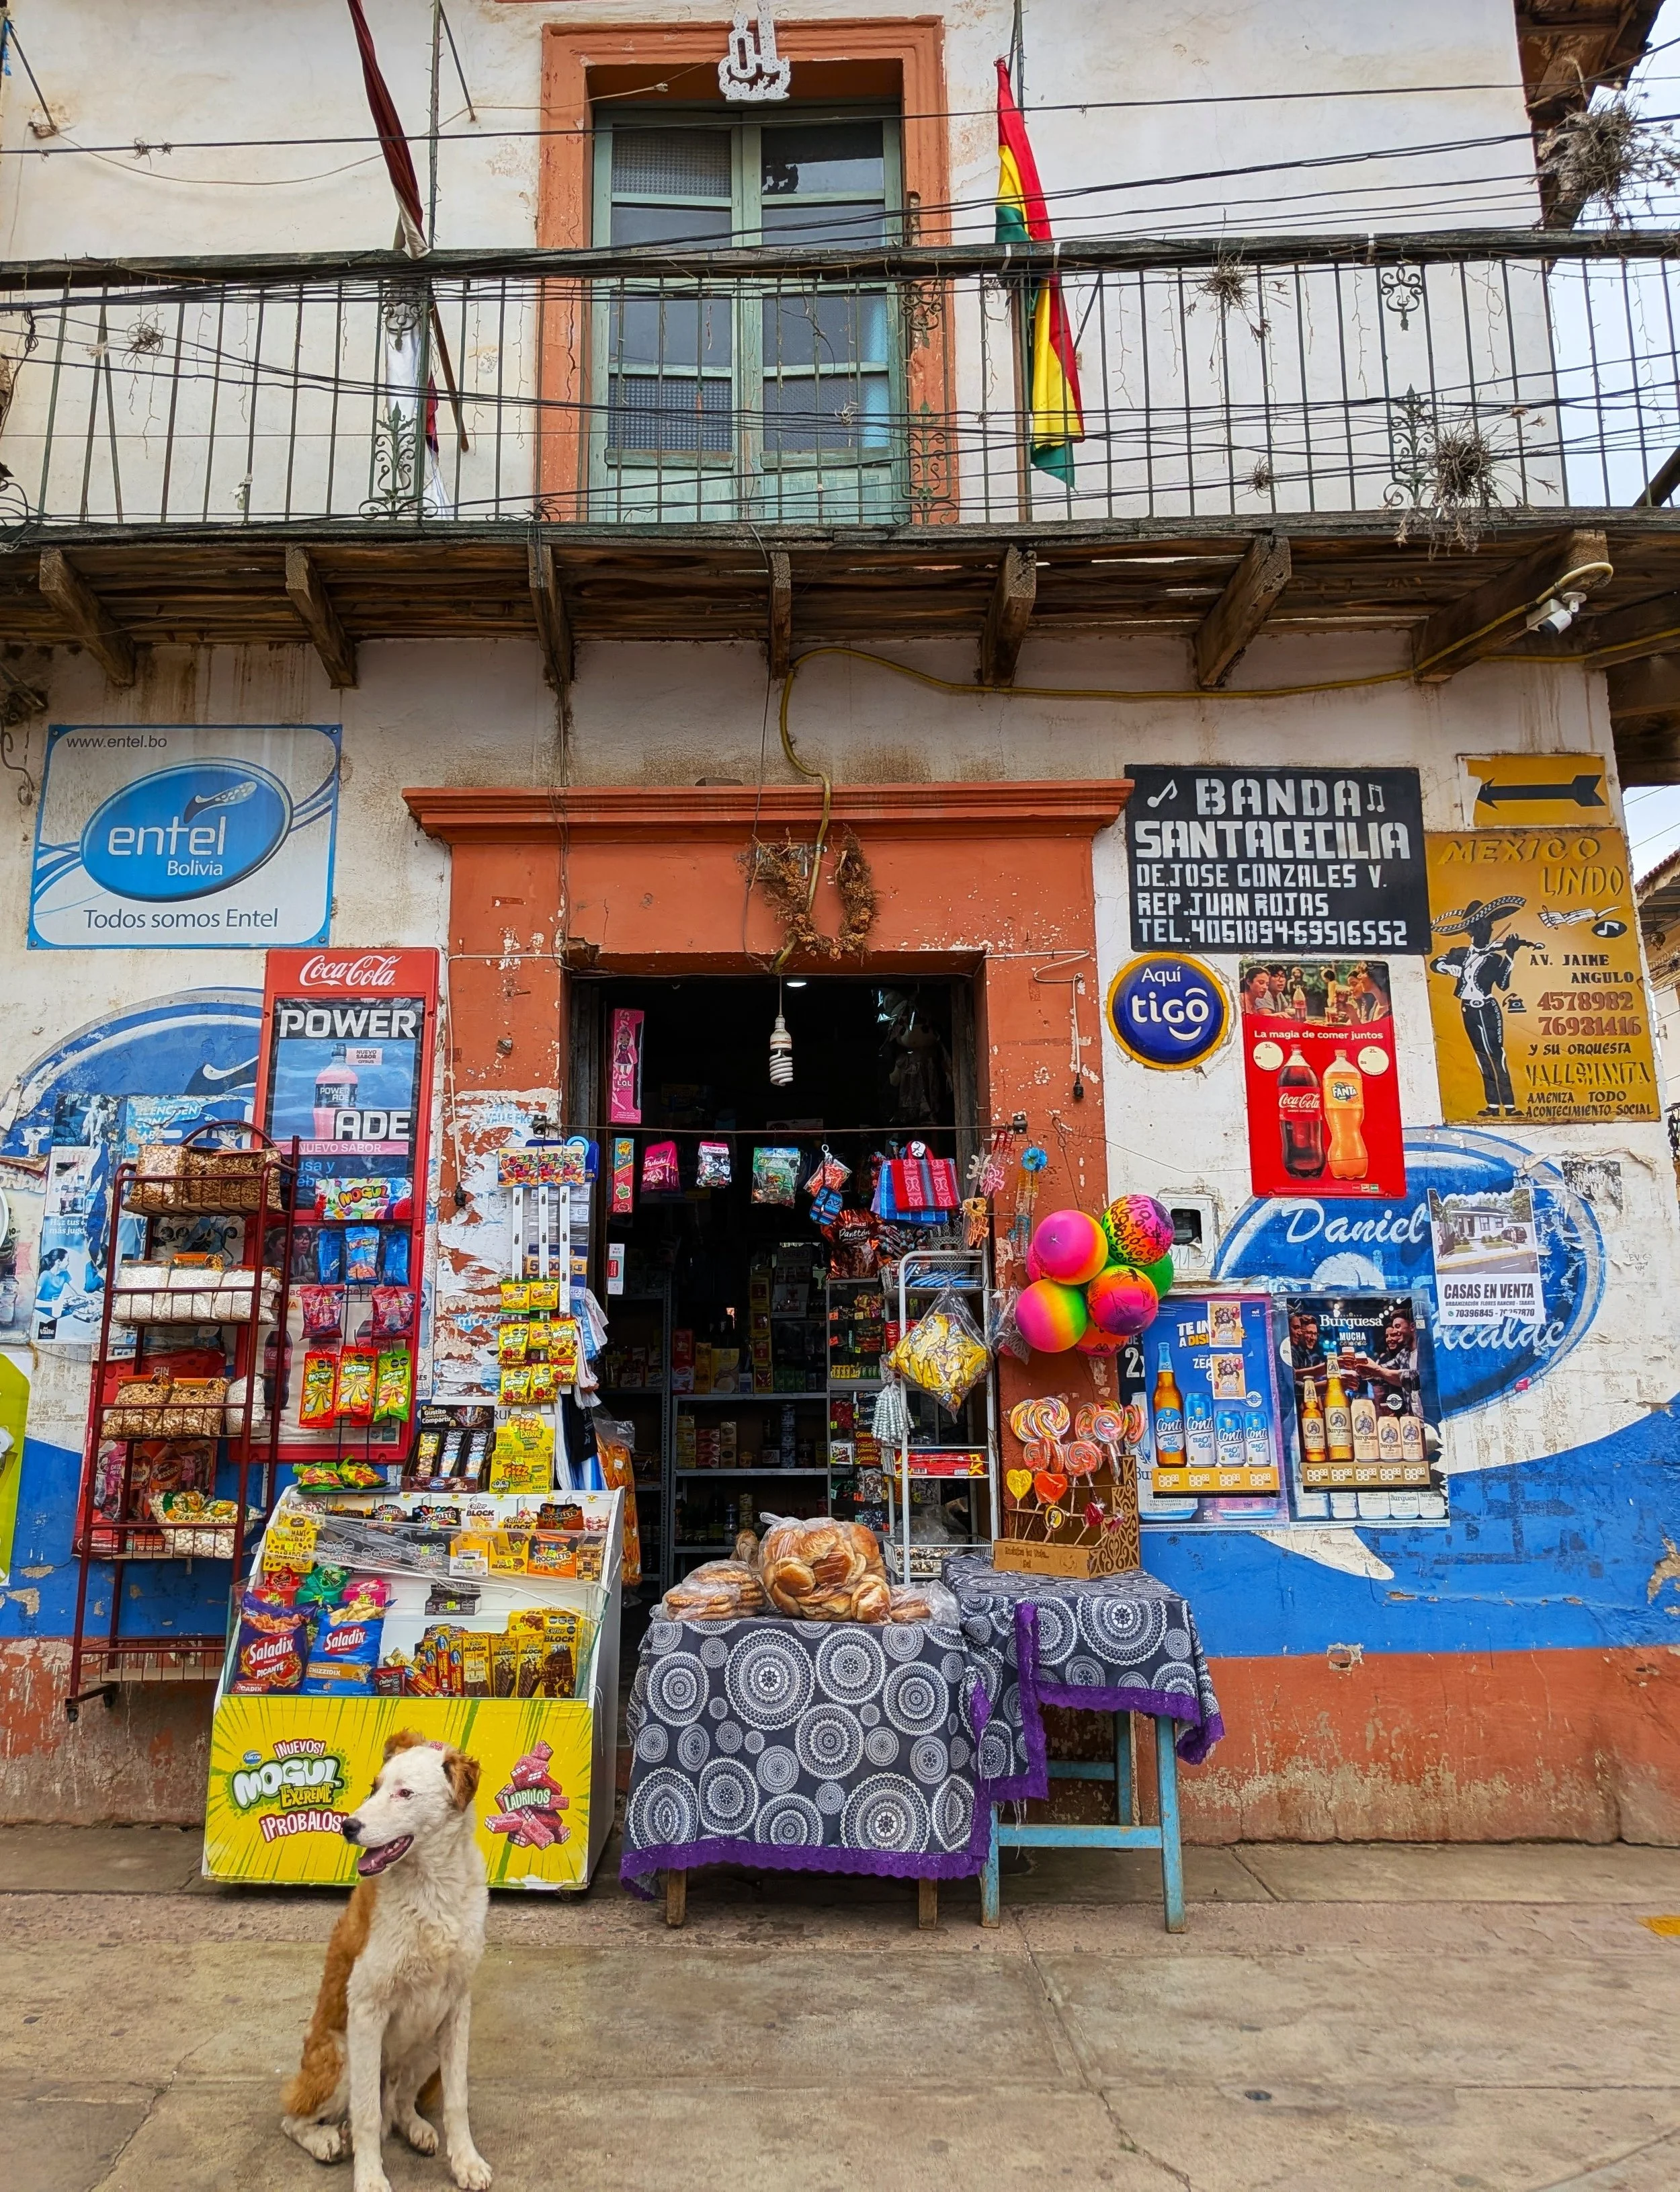
A general store in the nearby town of Tarata
On the other hand, I also enjoy being shown that for the Andean vendor, the customer is not always right. Vendors will often close their stores for a family member’s birthday party, or refuse to interact with customers because they are on the phone with a friend, or (though usually this is an unwilling family member forced to act as an employee) blithely state that they don’t have such and such an item when it is clearly visible on the shelf. Though this is usually less convenient for me as a customer, I get a thrill from witnessing the lack of subservience to the almighty dollar, and seeing small business owners and employees take full advantage of their autonomy in their own spaces, guiltlessly giving full priority to their personal lives, rather than sacrificing all to the unrealistic expectations of an automated, ever-available internet Marketplace.
Our bread caserita works in an unassuming bakery across from our kids’ morning bus stop, and their baguettes are our favorite in a country of seemingly endless bread varieties, each with the name of the town where it is made. This casera, however, is a young woman with an unbreakable poker face and no interest in pleasantries. She doesn’t care to show she recognizes me, or laugh at my jokes, let alone smile. Our housemate Fernando, who is now a baguette devotee as well, returned home one day, triumphant. “I made her smile!” he gloated. “It was more of a muscle spasm at one corner of her mouth, but I did it! …and then Tati punched me and said I always have to flirt with the caseras, but it’s not flirting - it’s just being friendly, polite, showing appreciation!” I have now redoubled my efforts to charm her myself, and met with similarly gratifying victory.
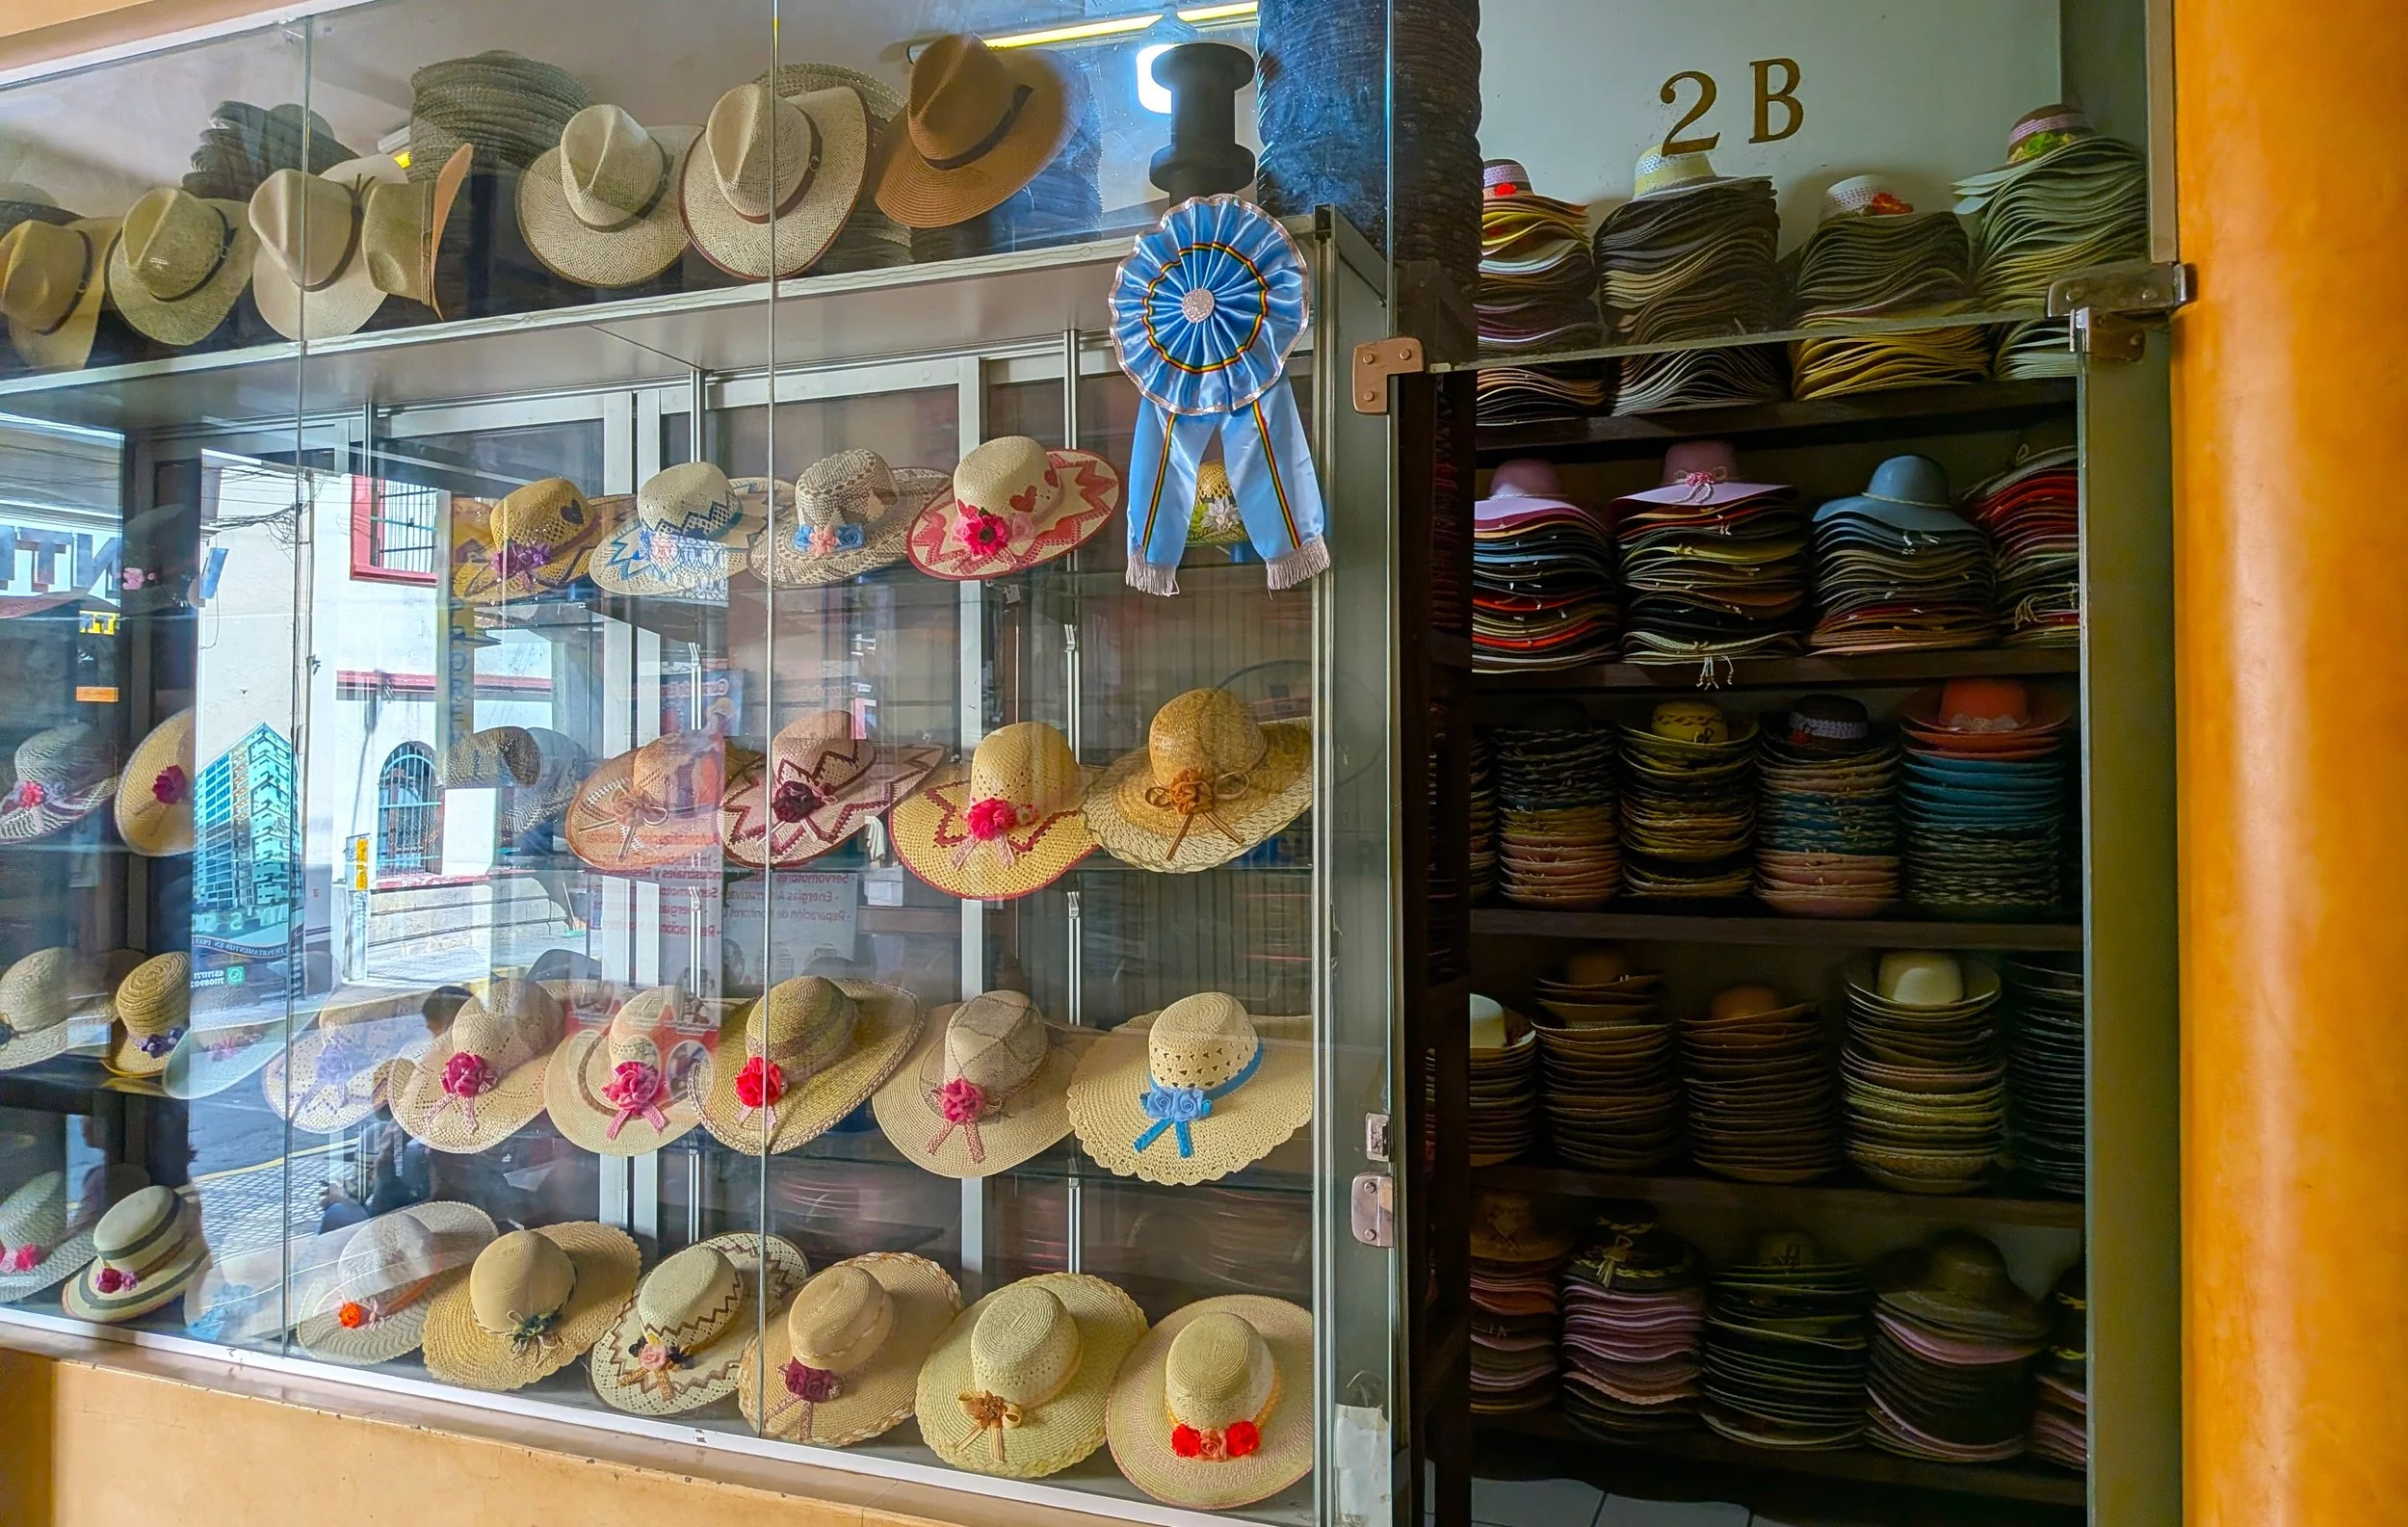
Cochabamban-style hats, for sale in the center of the city.
I feel the same sense of gratification as a vendor when I make a personal connection with a customer. Interactions that occur over a small purchase can allow for a greater display of friendliness than I might feel comfortable in showing a random stranger because both parties (buyer and seller) know our roles (though the vendor must stay, while the customer may leave!). The interaction already has a purpose (the transaction), and pleasantries are a low-stakes, optional adornment - just for the pleasure and fun of it. Or, taken a little farther, making connections in the marketplace can be a form of “Subversion Through Friendliness," a refusal to reduce our human interactions to only the functional and the monetary.
While at Red Wagon we certainly do our best to please our customers (and enjoy doing so!), I most enjoy working in the retail plant shop because it allows me, playing the most out-going version of myself, to meet and interact with a wide variety of the people in my community (and the special subset of plant-loving people, who are generally an excellent, not to say a superior, group). I like the beneficence of giving out our yapas during plant sales, and, when time allows, having longer and deeper conversations with customers. I love meeting and befriending my coworkers and watching community be created between employees and customers, and between customers themselves.
Me, April, at Red Wagon in 2015! Extra points if you can identify the apron (appropriated from my dad)
Red Wagon is a handmade business, created and maintained by humans, and supported by human customers, who can have names and personalities known to those of us behind the counter. In a time when there can be so much distance between the buyers and sellers of goods, and even community members in the same room, it is such a pleasure to participate in these interactions based on an appreciation for the miraculousness of the natural world. Thanks for having me (us) as your caseritas and caseritos de plántulas [plant starts], and for being caserit@s of ours.
***
Awww, did you read this all the way to the end? I’m so honored! If it made you think of something, let me know at april(at)redwagonplants.com
Bake Shop Menu 4.16 to 4.20
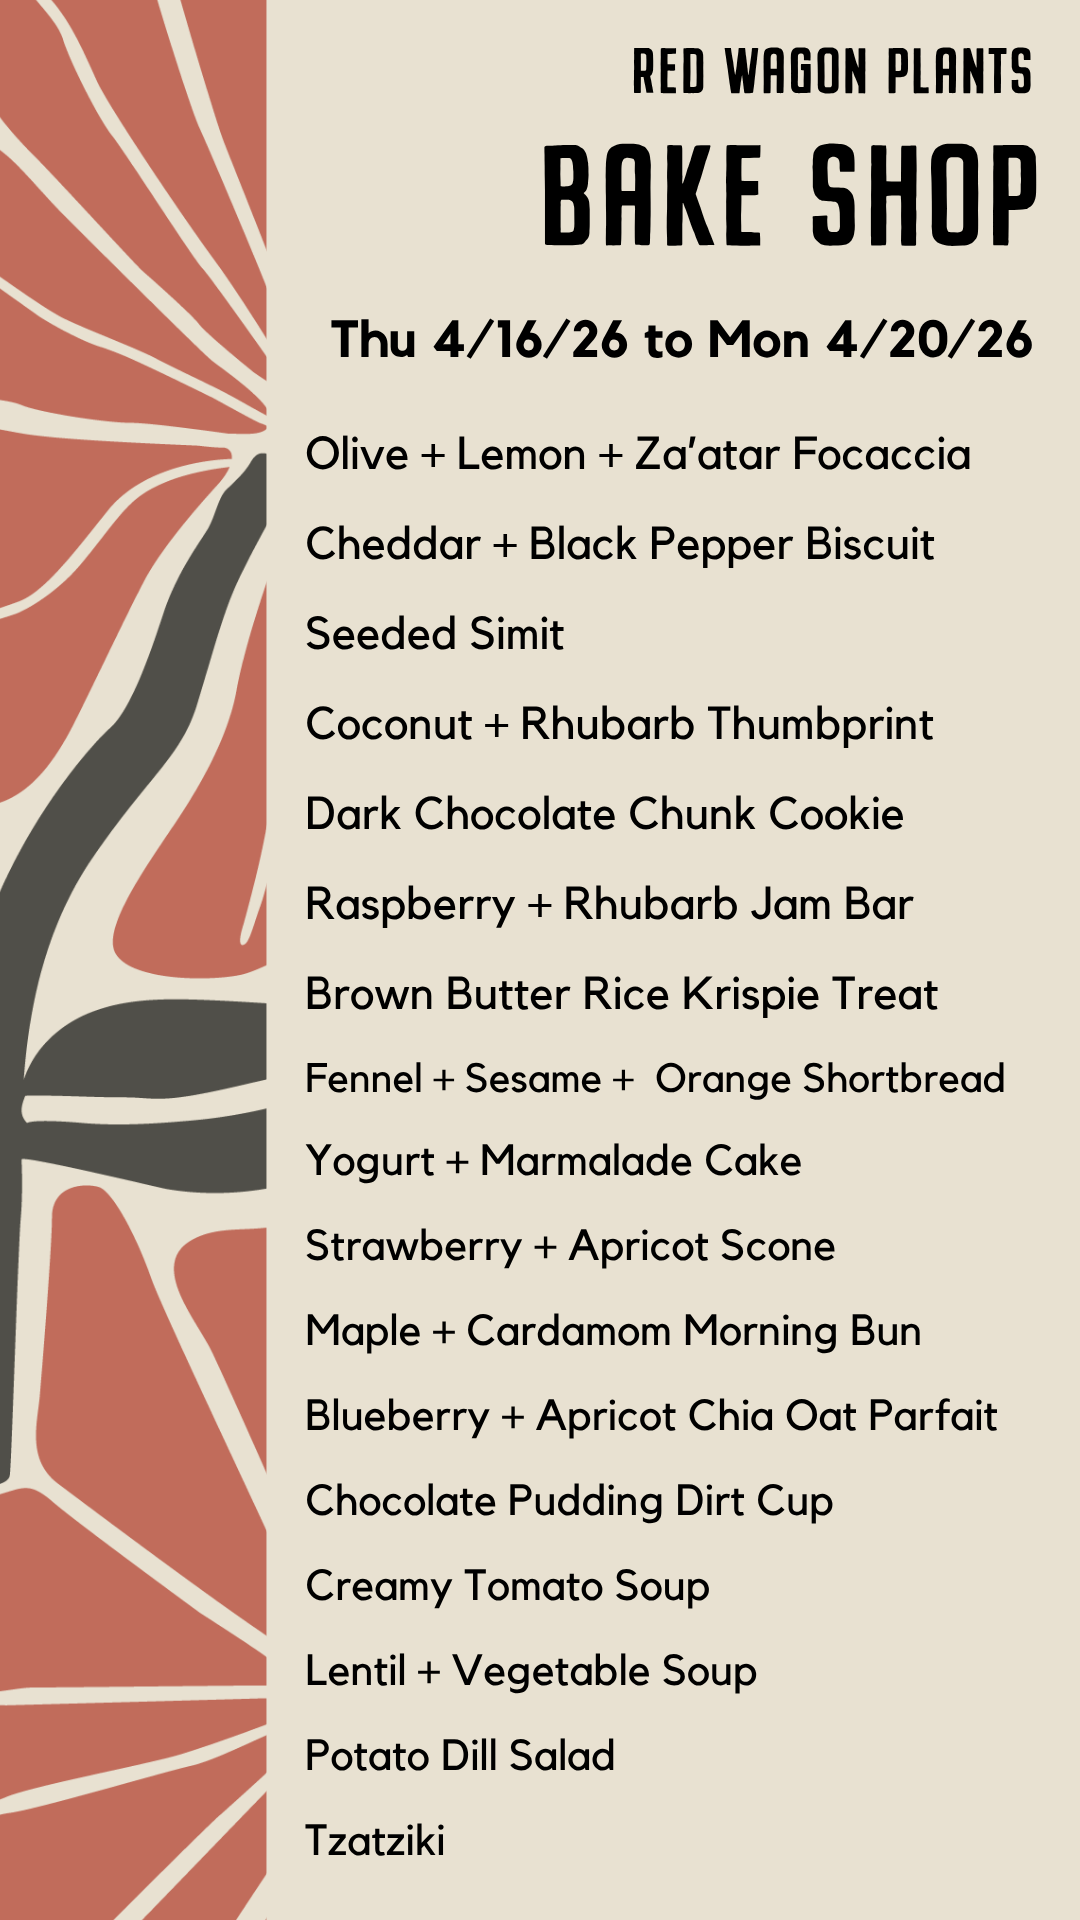
OPEN 8 to 3 THURSDAY THROUGH MONDAY
20 years - a note from Julie
22 years ago, I was looking for a place to build out some greenhouses for my herb and vegetable plant growing operation and came across this field in Hinesburg through a friend of mine, Charley McMartin, who was a stone mason and rented land on the property. The owners, the Ross family, took a bet on me and said a resounding “yes!” when I approached them about putting up a few greenhouses on their property. I built the first three greenhouses in the worst clay mud I have ever seen, and learned a lot about site work and excavators in the process. One man’s flat pad is another man’s deep pool. Words matter. We got through those hurdles and were able to supply plants to our wholesale accounts in 2006. The following year, we built the retail greenhouse, and invited you all to come and shop directly from the grower.
From the first three greenhouses and a team of 4 seasonal people, we have grown to 9 heated greenhouses, 5 unheated tunnels and a staff that grows to 28 during the peak season. We bought the land in 2022 and built out the building that houses our bake shop, offices and staff bathroom. It has been a journey full of people that lift you up when you feel down, plants that nourish every cell of our beings, and all of the ups and downs of weather, cash flow, hail storms, bad deals, the occasional strong drink, and lots of very good times. Thanks so much for following along, growing with us and sharing your garden stories.
We would love to keep the celebration going and invite you to send in photos and stories from your gardens. We will publish them here and on our social media pages if you are willing, but also happy to keep things private if you prefer. Your kind words and enthusiasm has fueled this fever dream since the very beginning.
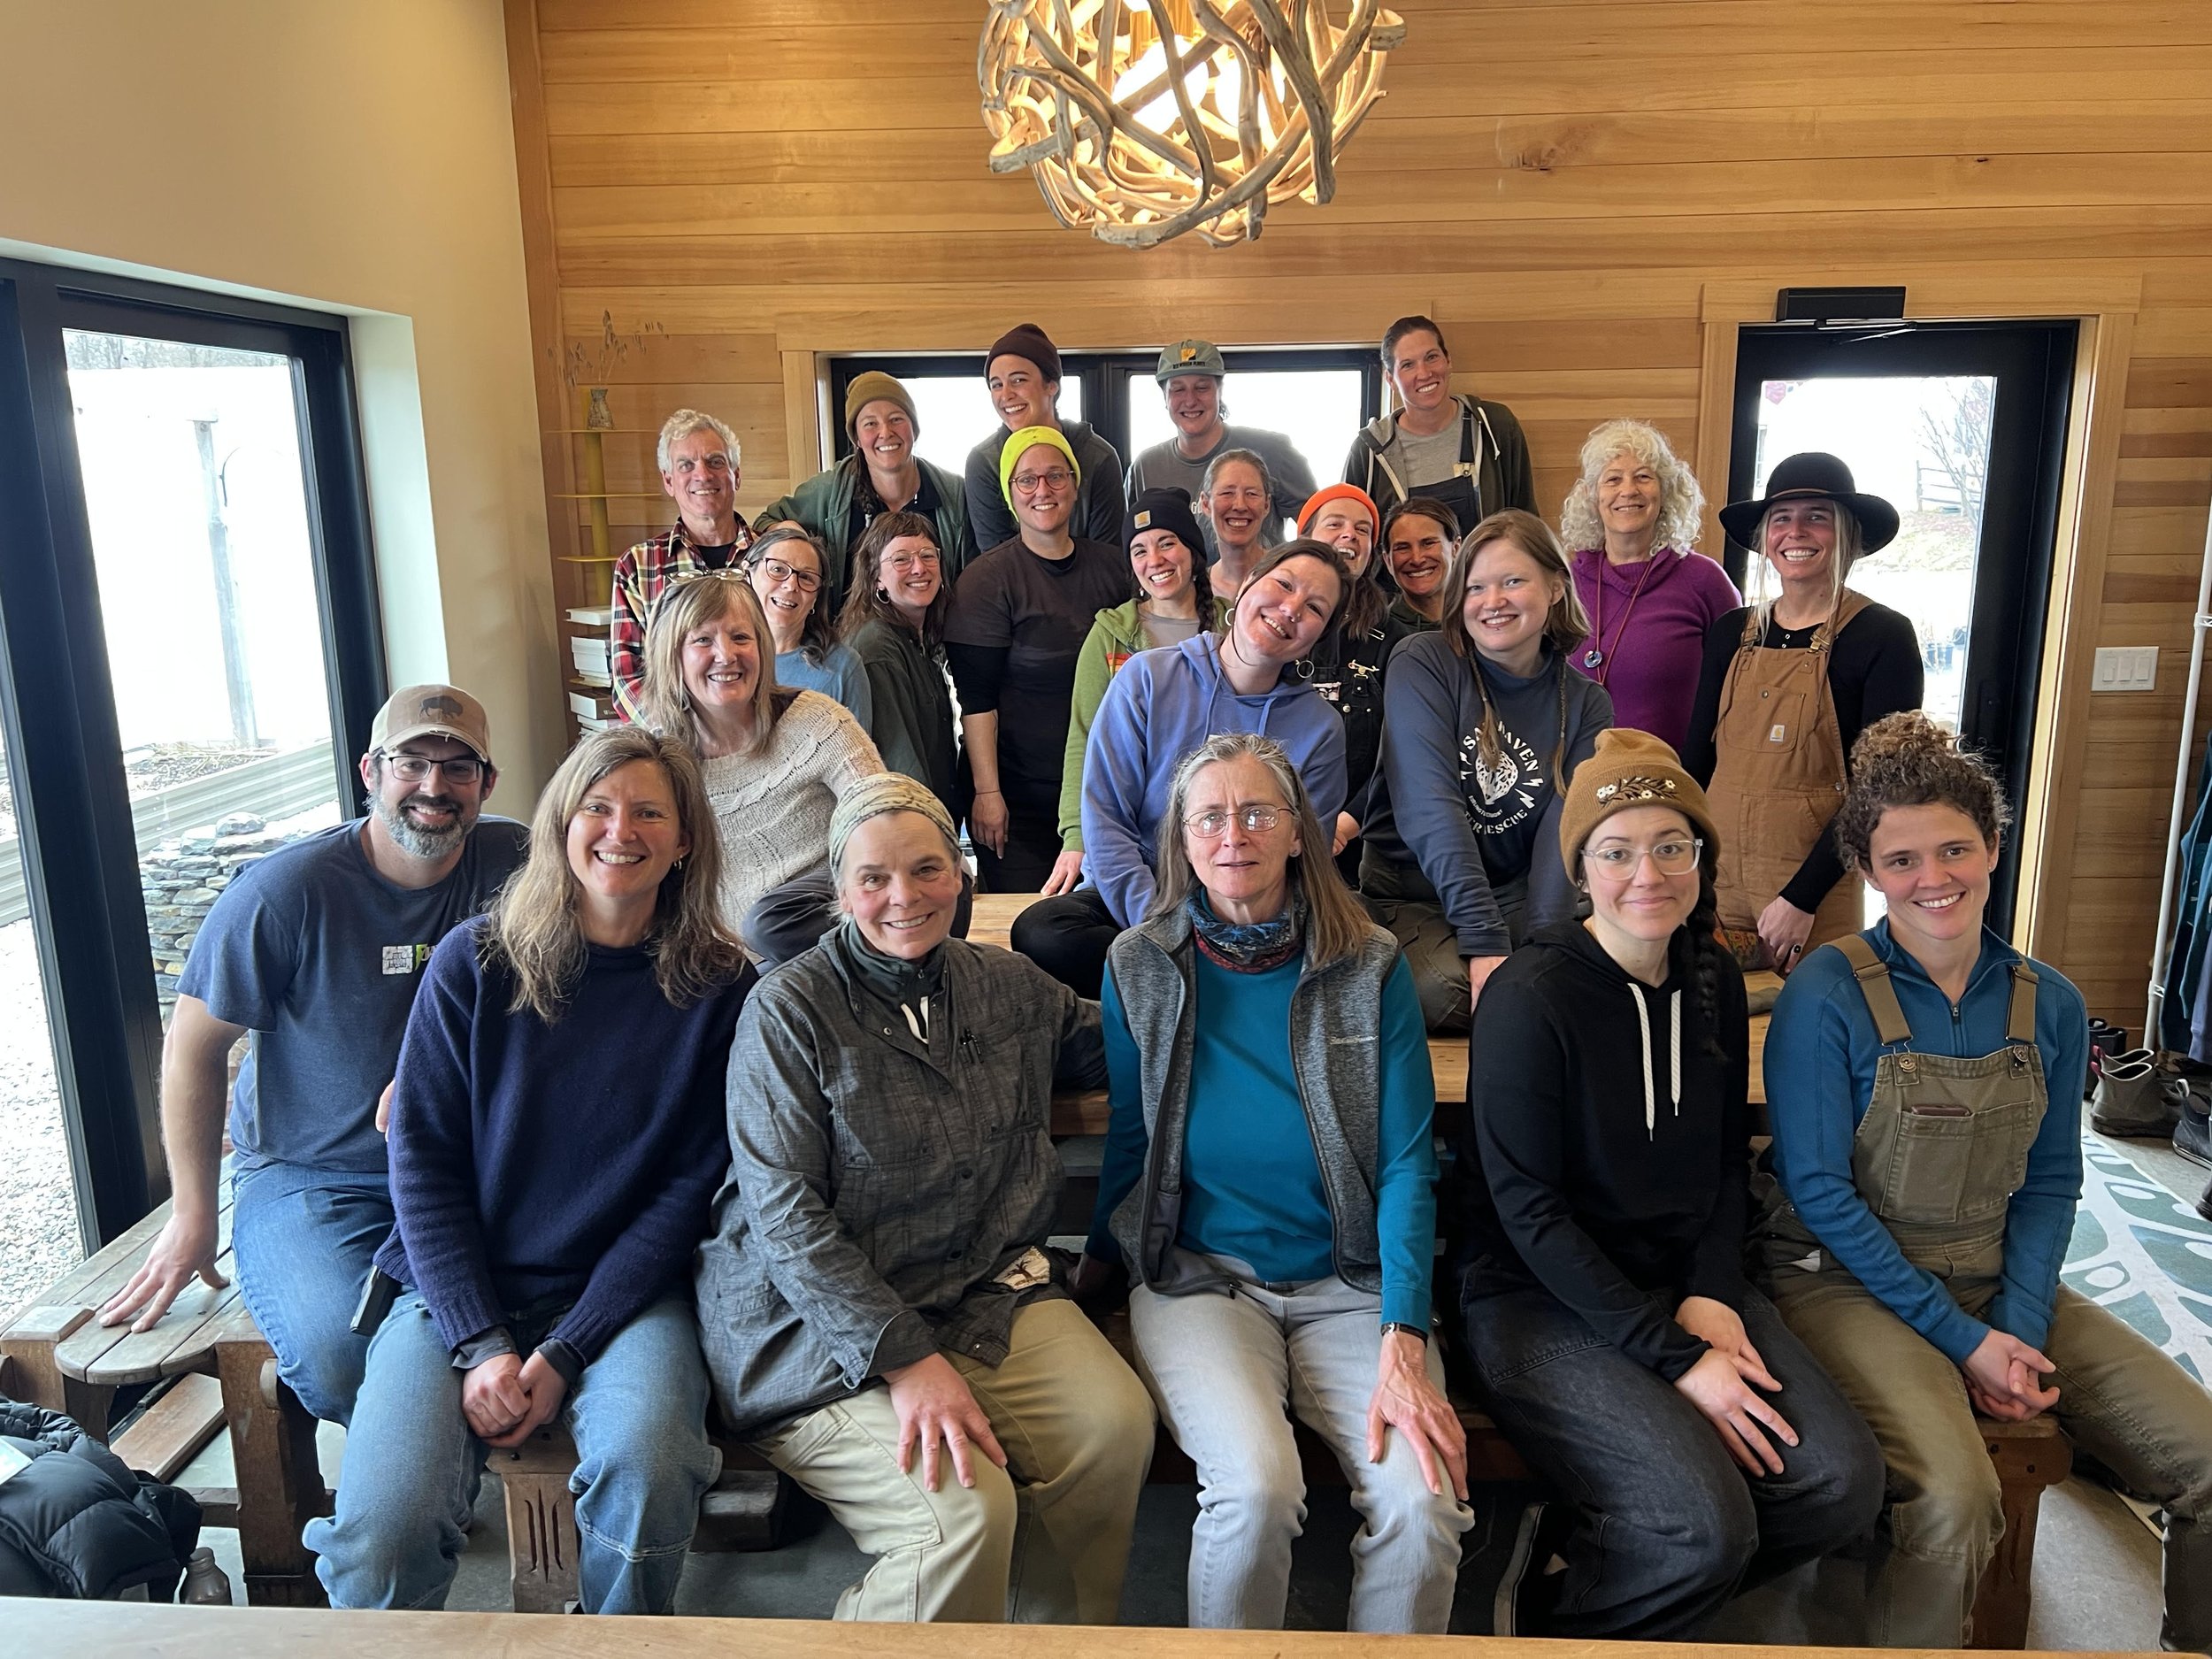
Here is a fun little peek into our 2026 team, made up of some very veteran members (20 years! 17 years! 12 years!) and a few new folks we are excited to welcome to the crew.
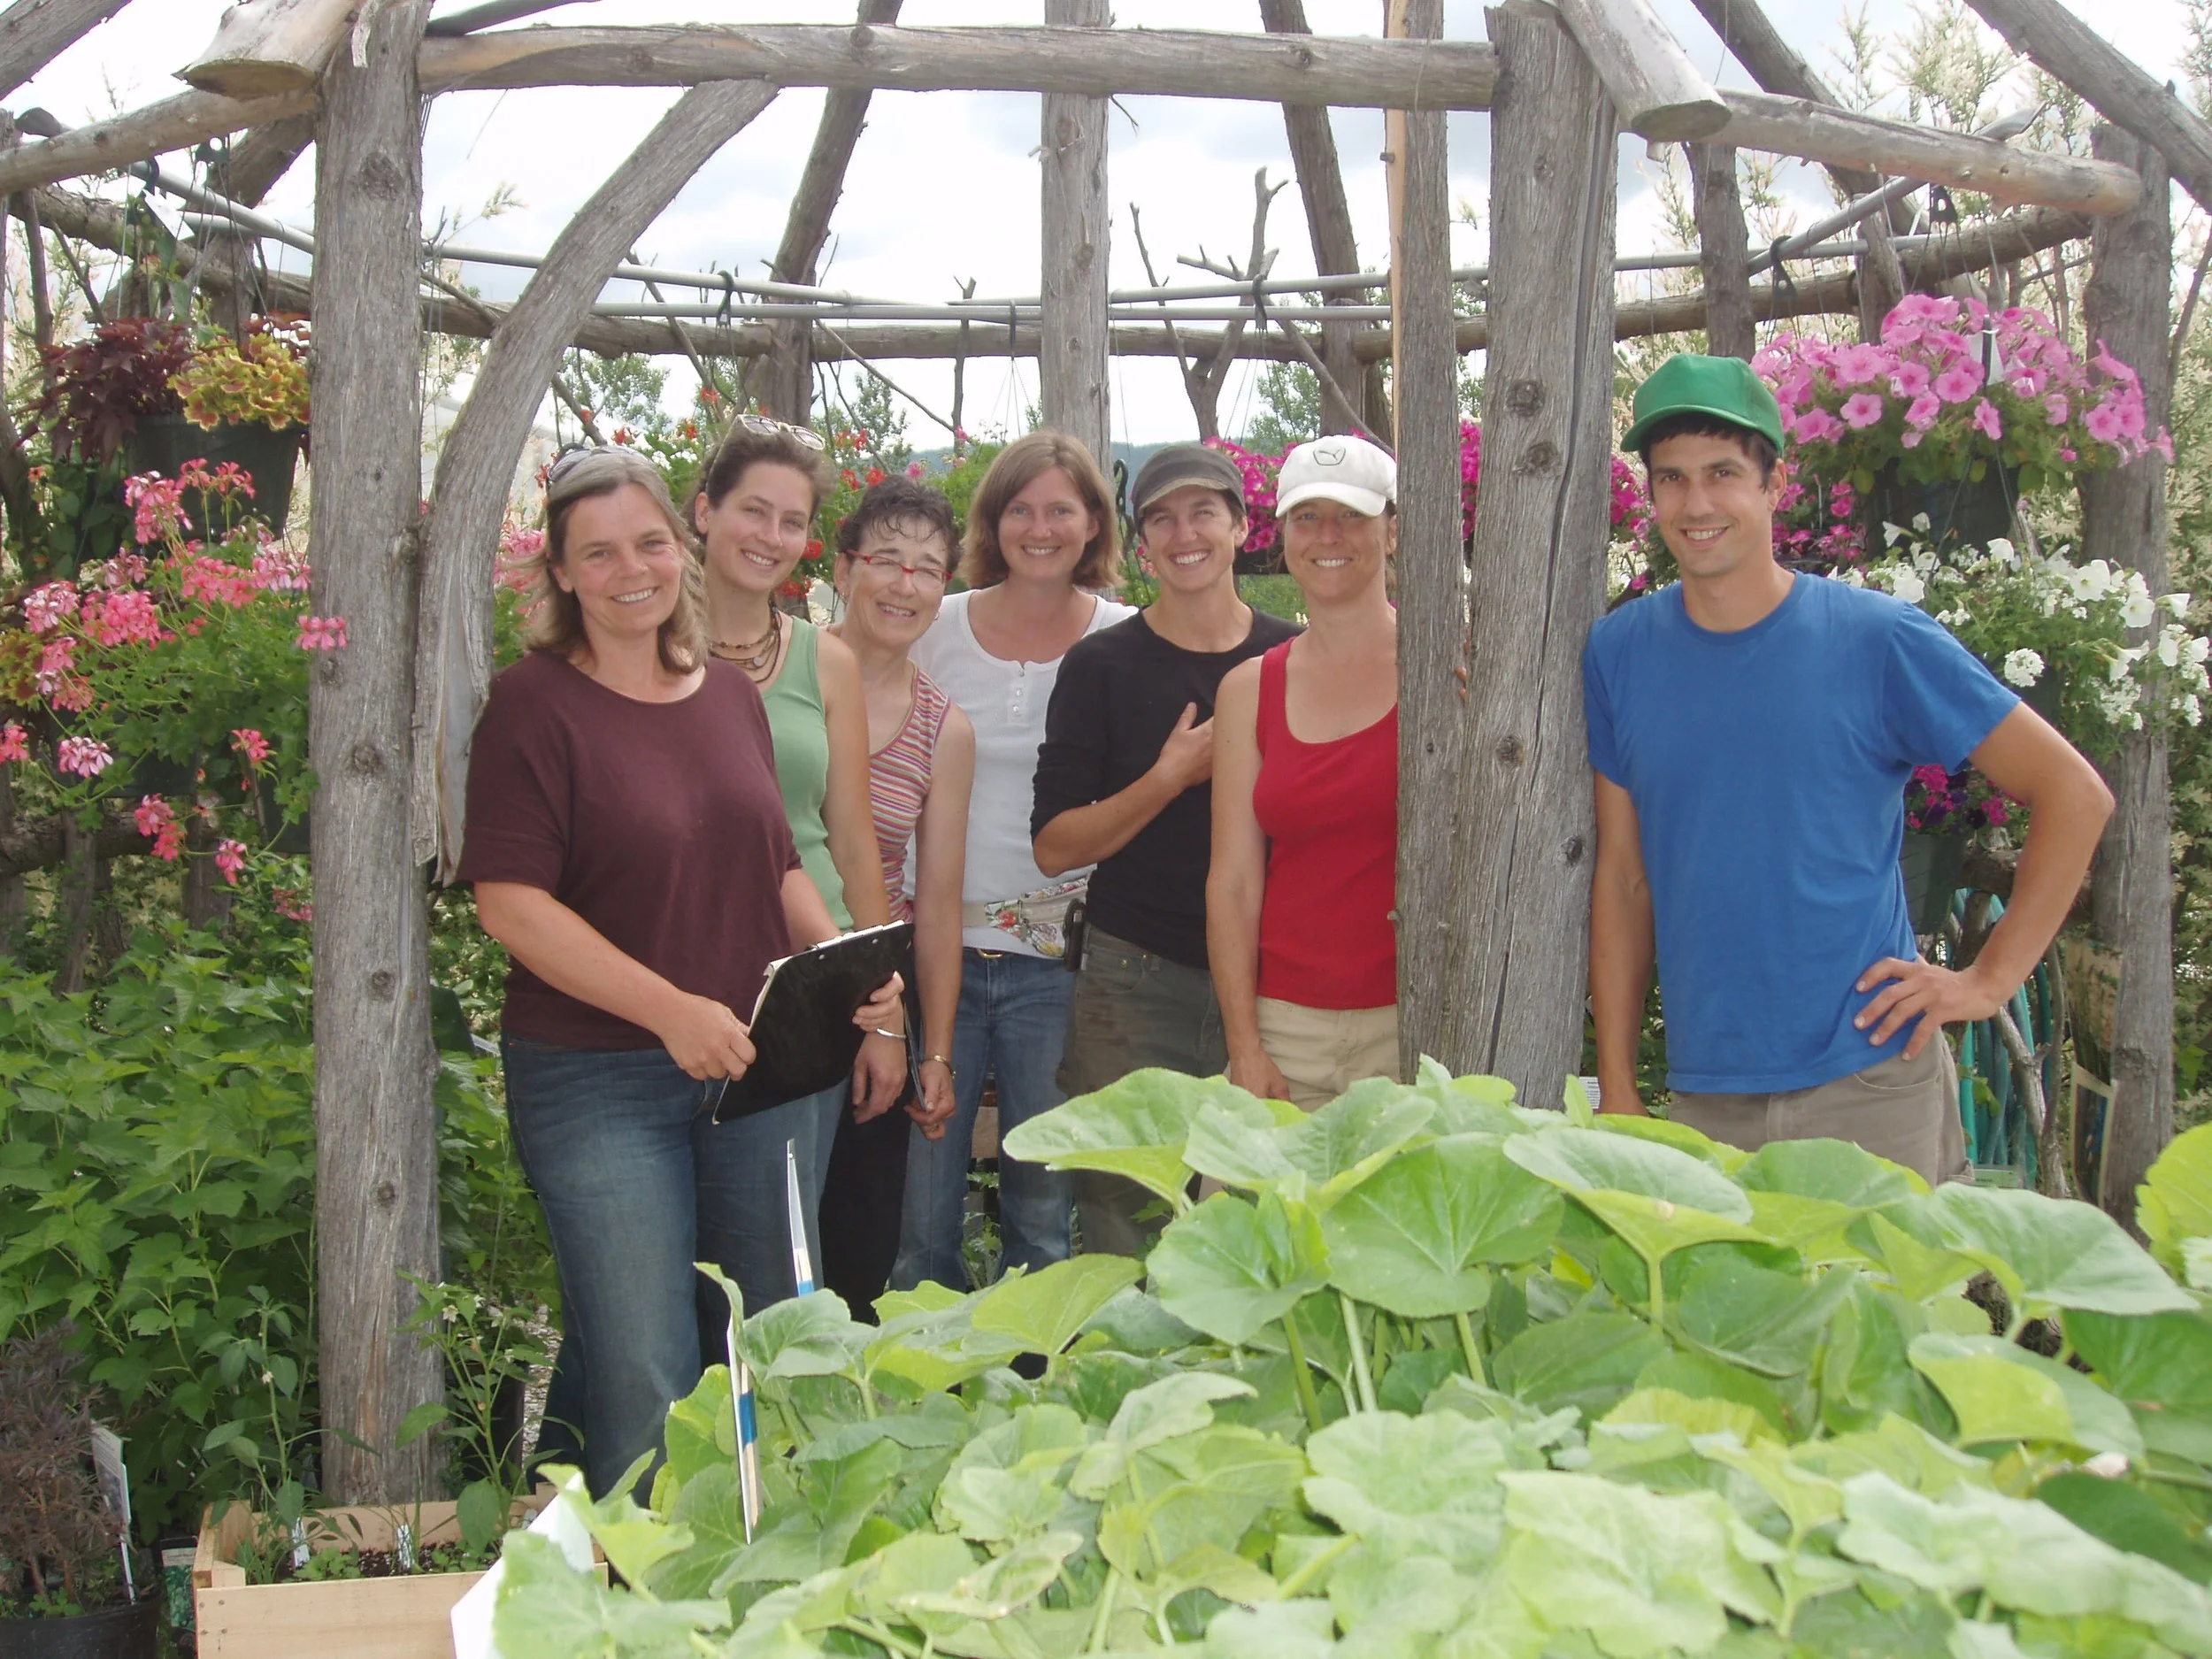
Our crew from 2010….. me, Sophia, Anne, Lily, Danielle, Allison, and Eric. We will be peppering in photos from the way back time machine this year.