garden planning

Gardening 101 Extravaganza

A full day of learning in support of newer gardeners.

This is our first ever all day learning event. Our goal is to be welcoming and supportive of new gardeners. Throughout the day we will offer many opportunities to explore the basics of growing your own food and flowers and dreaming up your ideal landscape. In this new learning format, we have a whole day of activities planned and you are welcome to come for just one component or stay the whole day.

GARDENING 101 SCHEDULE

Saturday, April 20th

ASK ME ANYTHING ROUNDTABLES — 10:00 AM to 4:00 PM

Join us around the table to discuss your gardening questions with a Red Wagon expert as well as fellow gardeners. This is a free drop-in station where you can get inspiration and find answers, and no sign-up is required. Different members of Red Wagon’s team will be staffing the table and each block of time will focus on a specific theme.

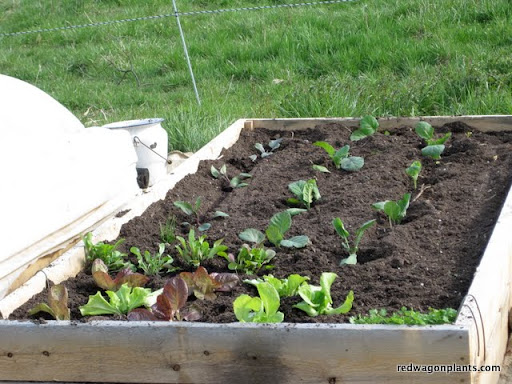
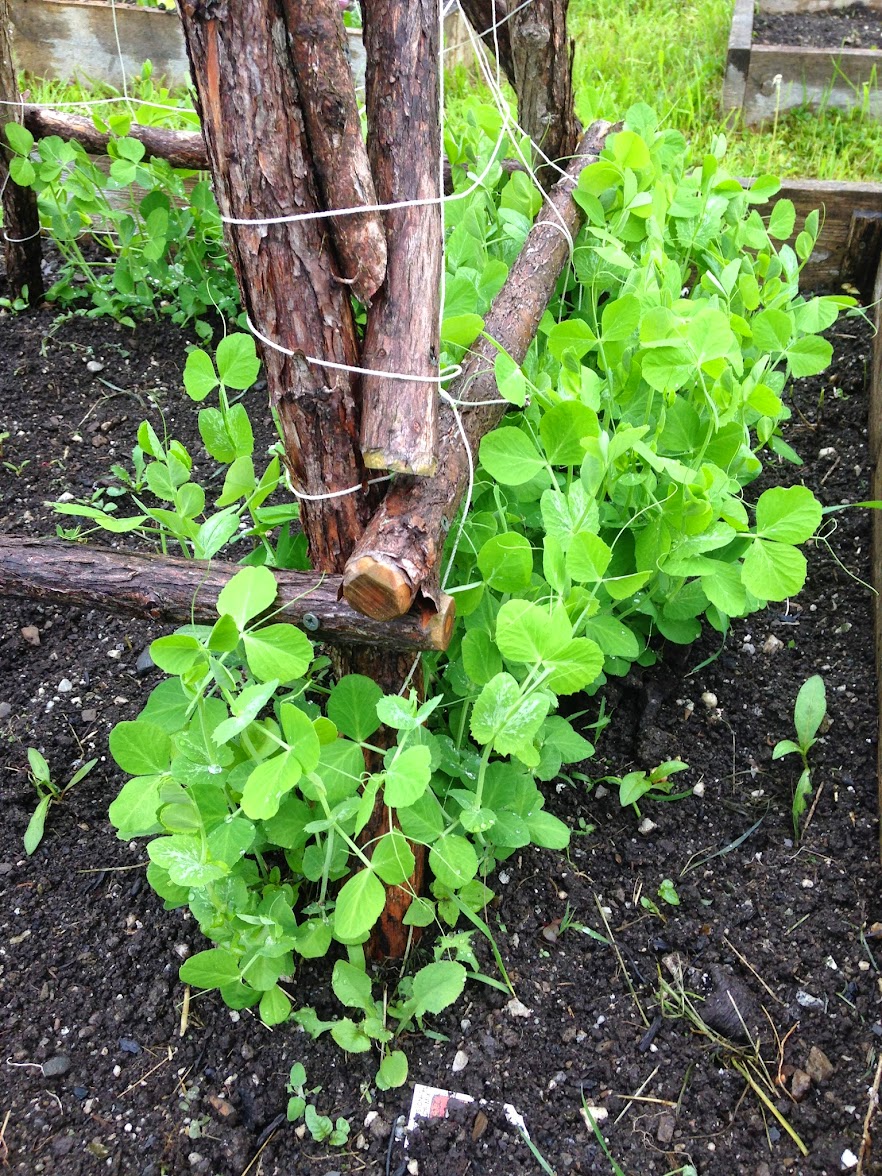
10:00 am - 12:00 pm Plan your garden and create a vision board with Julie Rubaud

We are going analog! Whether you’re designing your veggie garden or your perennial beds, we invite you to get creative and dream big. All materials will be provided but feel free to bring in your own pictures, magazines, Pinterest board or favorite garden journal. This is a free “drop-in” program and you can come and go as you please. No prior registration required.

12:00 PM - 2:00 pm FOCUS on soil, from testing to amending with Chad Donovan

If you have ever sent in a soil sample and don’t know what to do with the results or you’re curious what healthy, fertile soil looks like, this is the time to stop in. This is a free “drop-in” program and you can come and go as you please. No prior registration required.

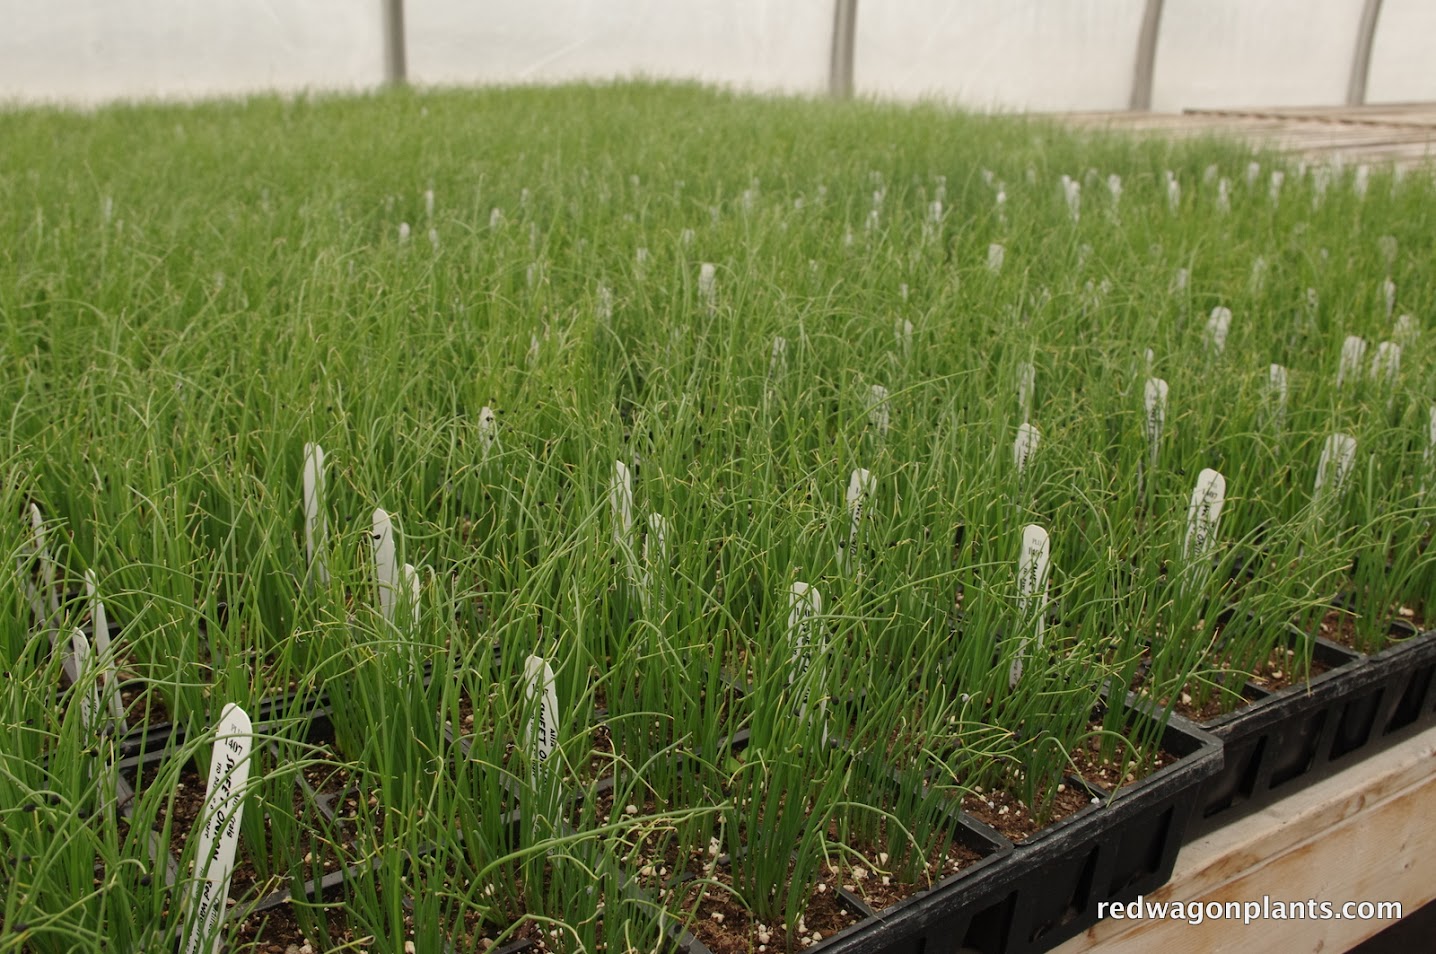
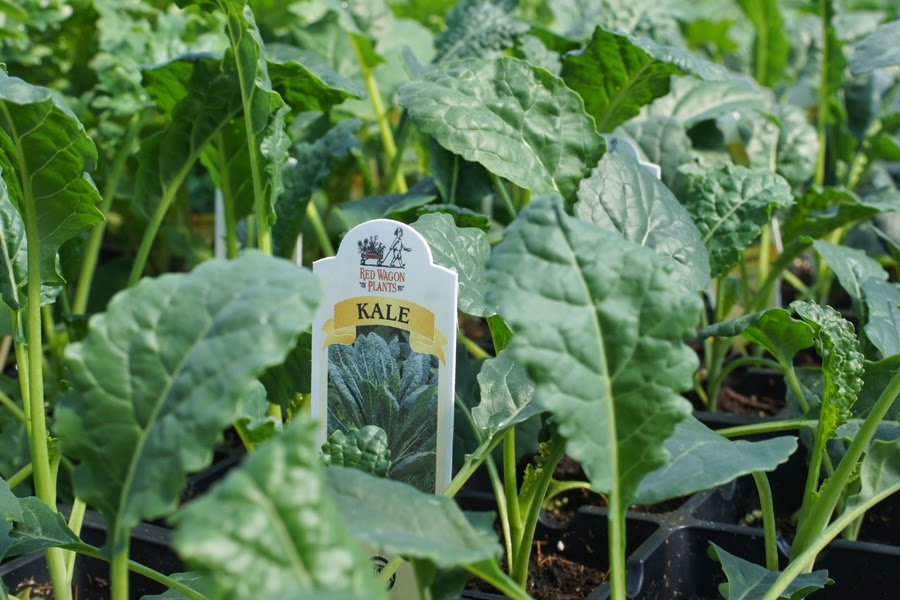
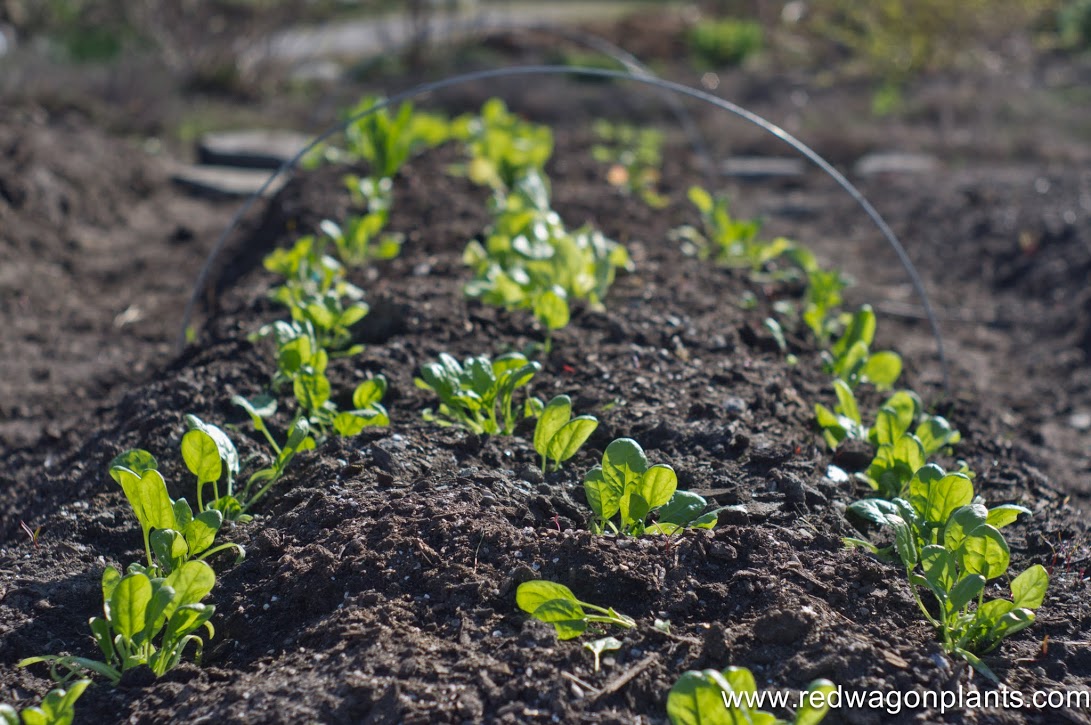
2:00 pm - 4:00 pm Focus on Seeds - starting them indoors, outdoors, reseeding and more with Kat Consler

Some plants like to be transplanted, others prefer to have their roots be undisturbed. Kat will help you determine the best way to get your plant babies off to a great start. This is a free “drop-in” program and you can come and go as you please. No prior registration required.

WORKSHOPS

Three workshops fill out this Gardening 101 day. They cost $25 each and are limited to 12 participants so we recommend that you sign up ahead of time.

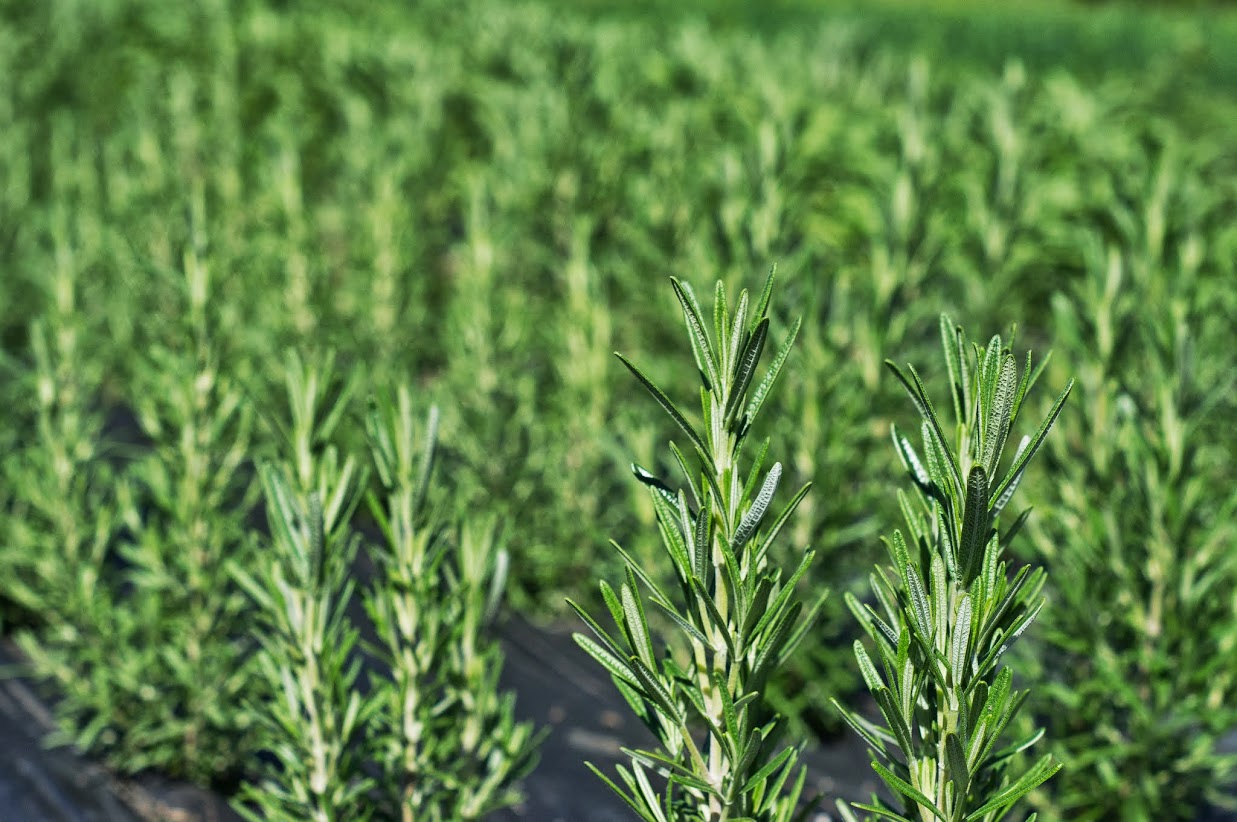
10:00 am - 11:30 am Vegetative Propagation with Jacob Holzberg-Pill

Learn how to make more of your favorite plants with Jacob Holzberg-Pill. This workshop will offer a broad overview on many different types of vegetative propagation: crown division, root cuttings, scaling, tip layering, softwood and hardwood cuttings. In this hands-on workshop we will explore which asexual techniques work best for different species and genera. Participants will practice some of these techniques and take home some fun new plants. Sign up here.

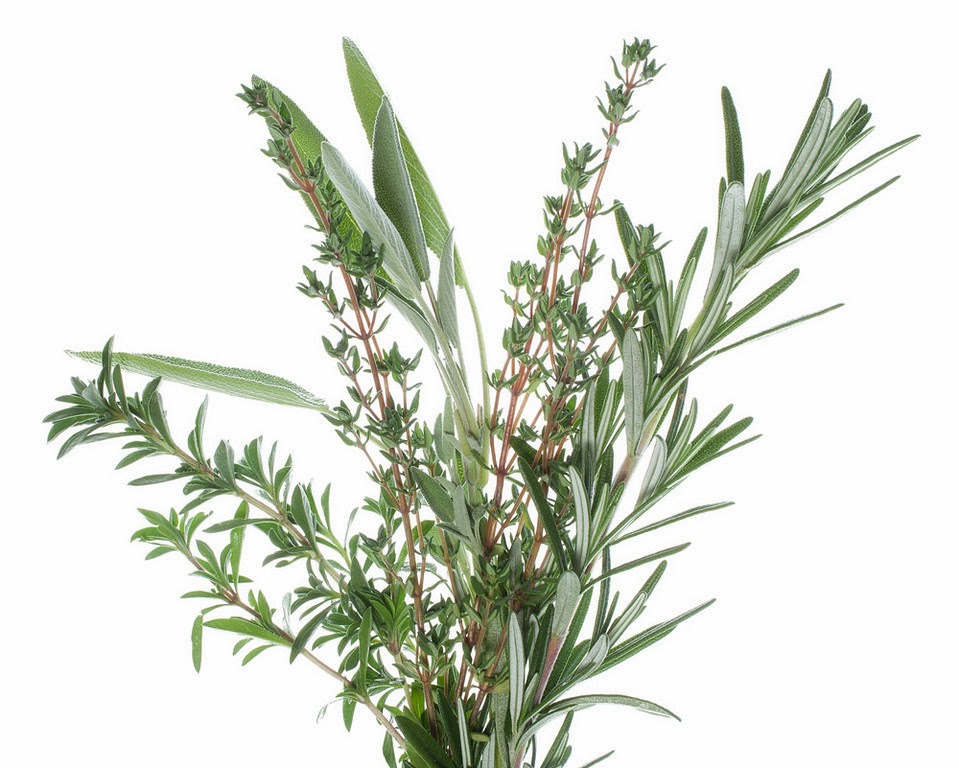
12:30 Pm - 2:00 pm Favorite tools for the veggie garden with Julie Rubaud and Kat Consler

We all have our favorite tools to use in the garden. From trellising supports and row cover to weeding tools and gloves. Julie and Kat will talk about their successes and failures with various materials and how to get the most use out of their favorite garden tools without having to purchase too many things. Sign up here.

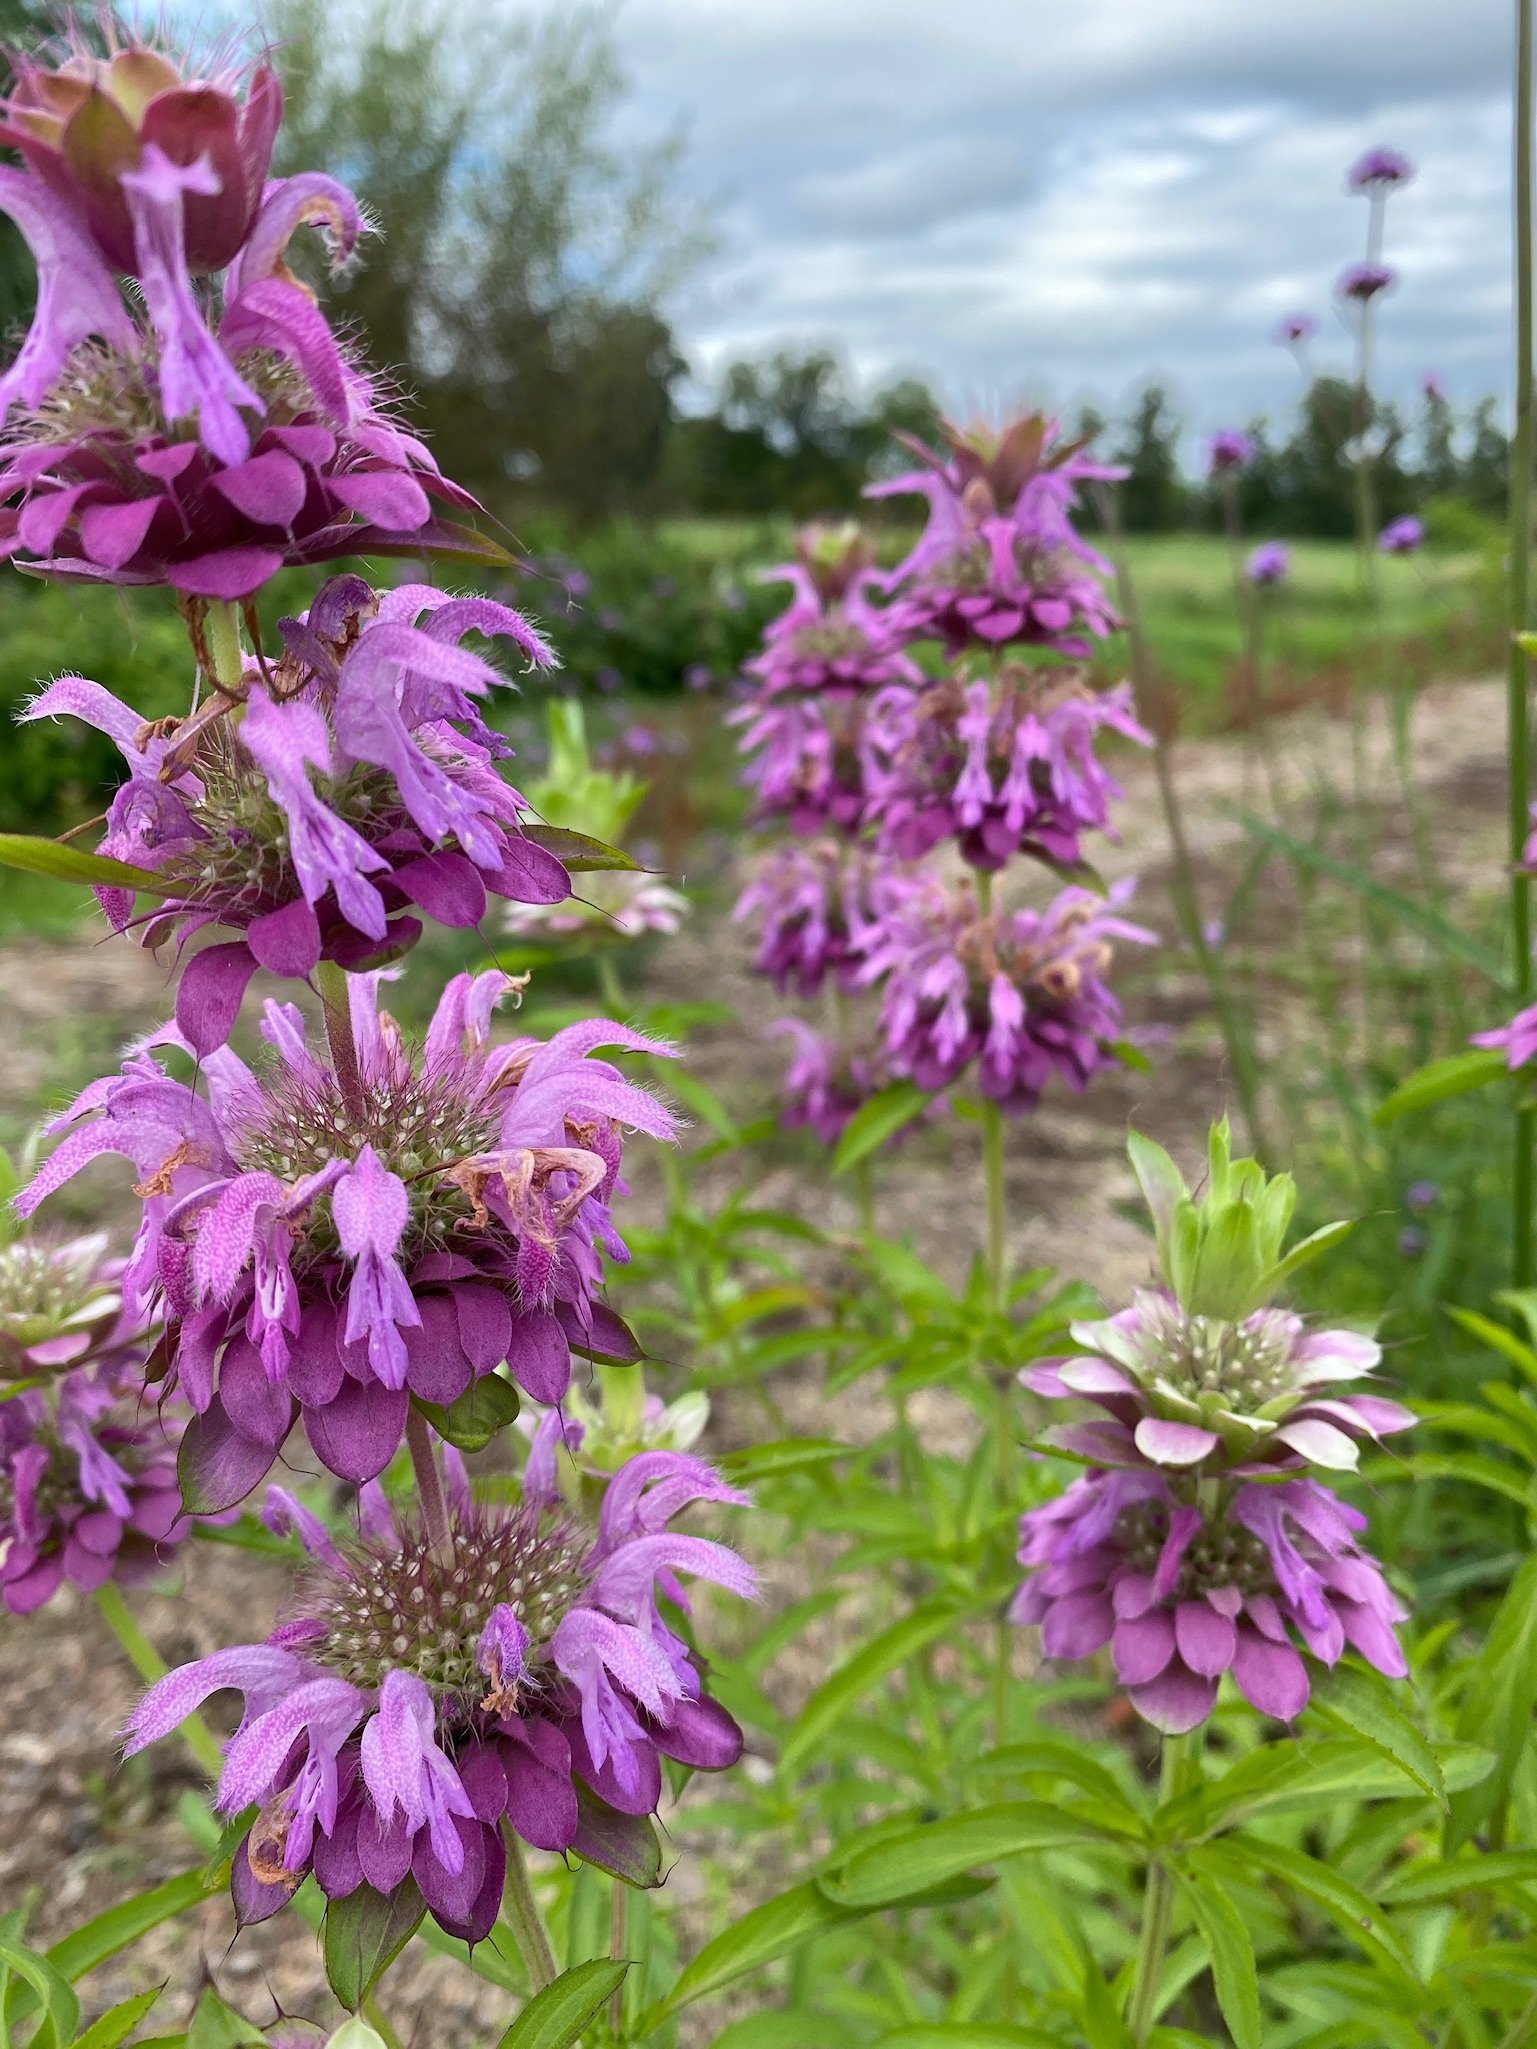
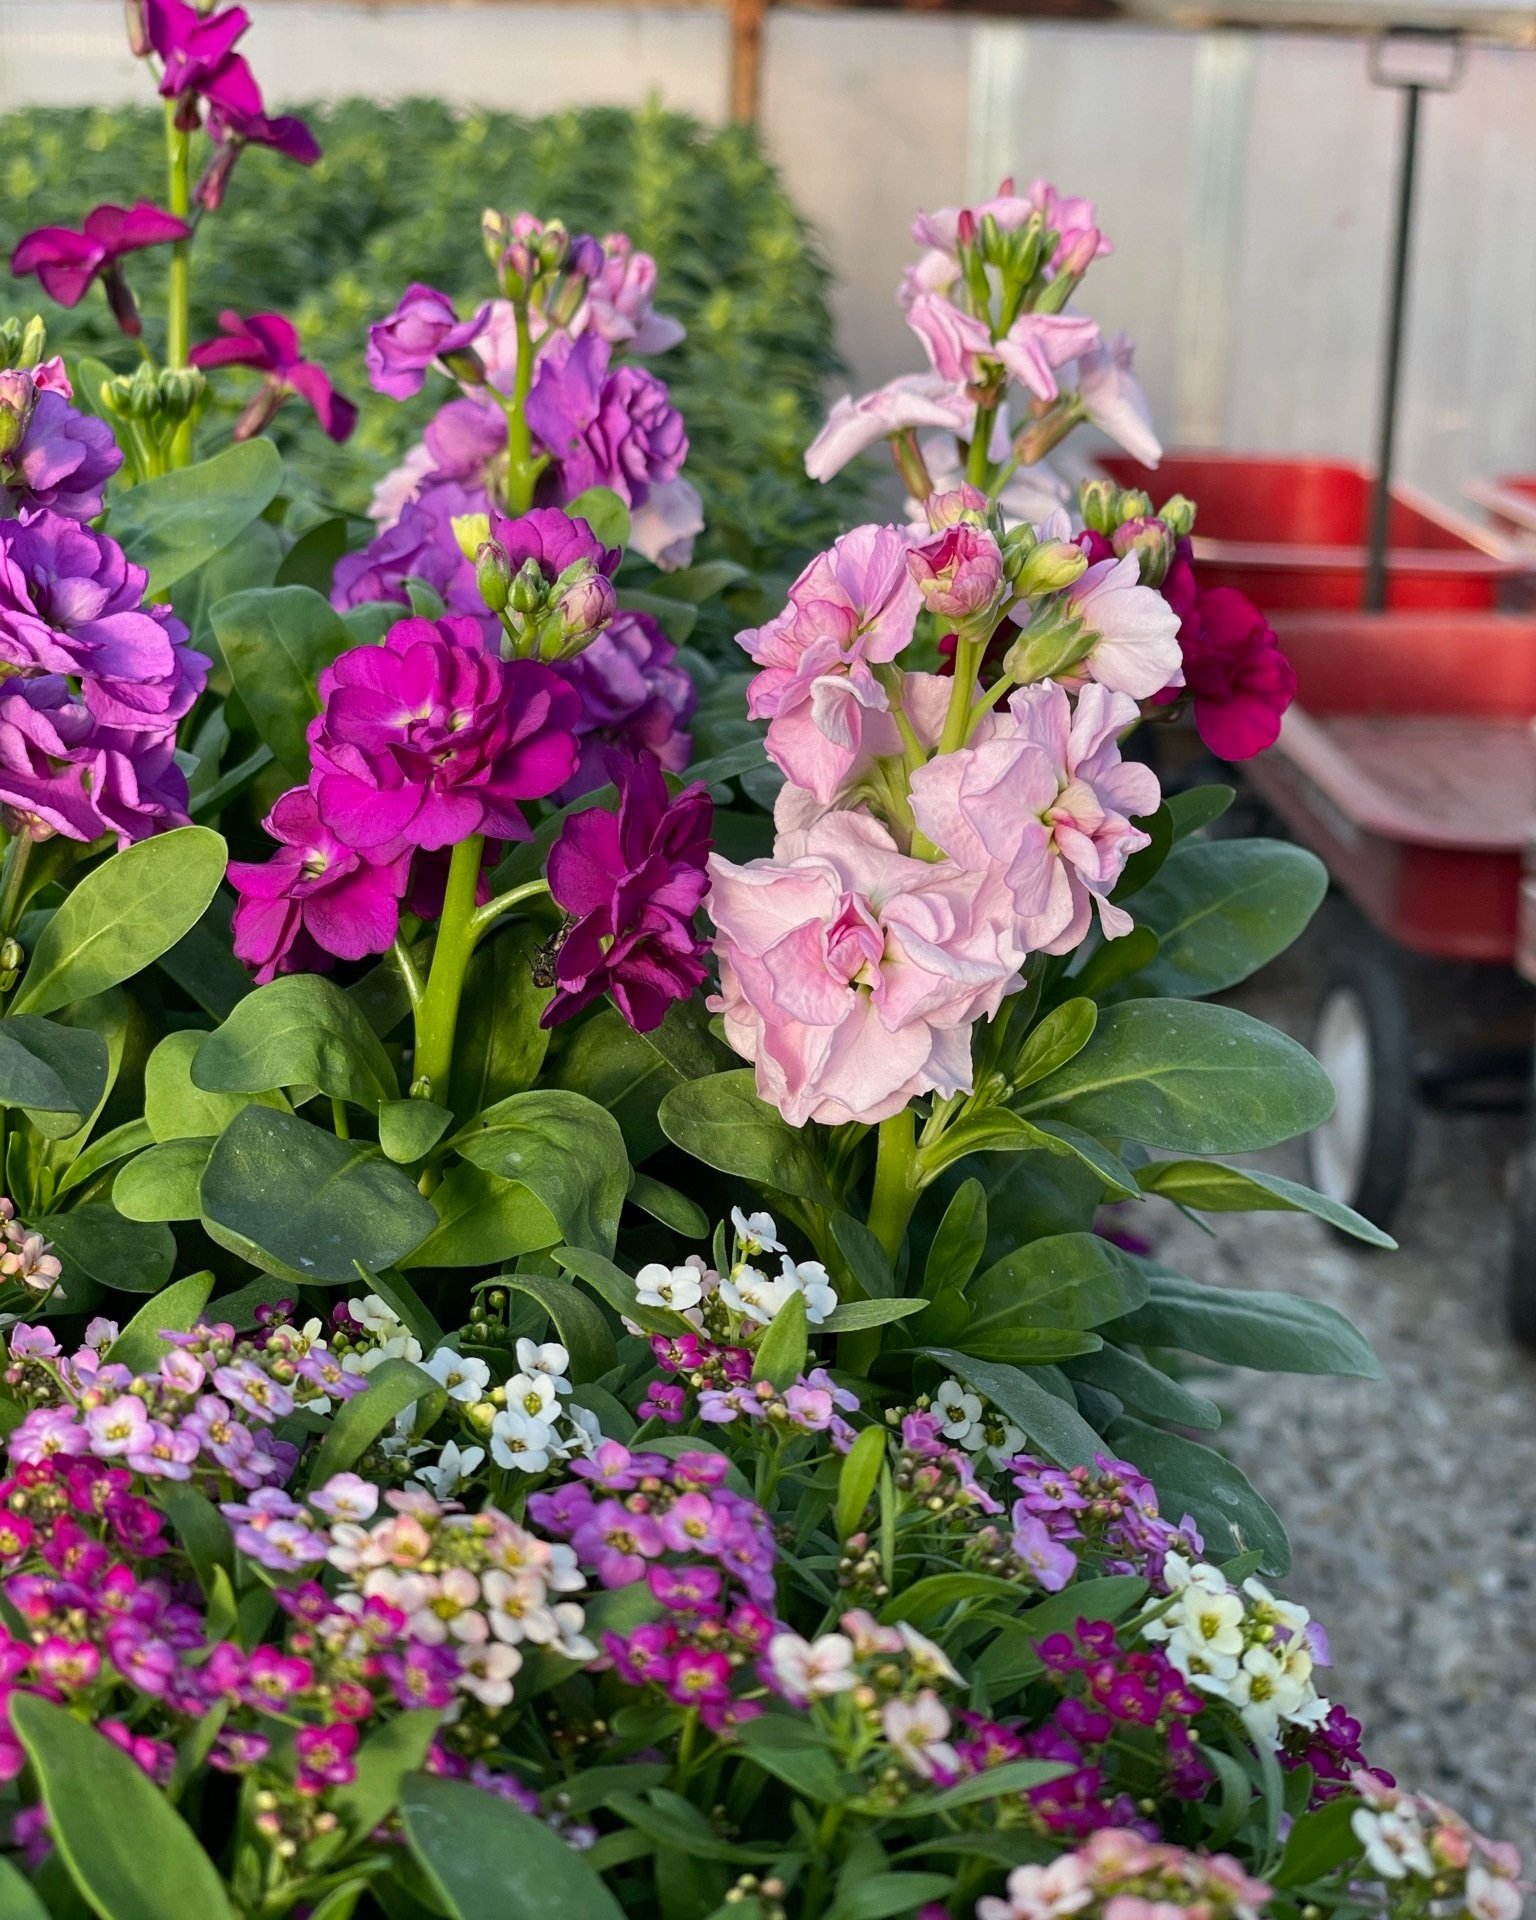
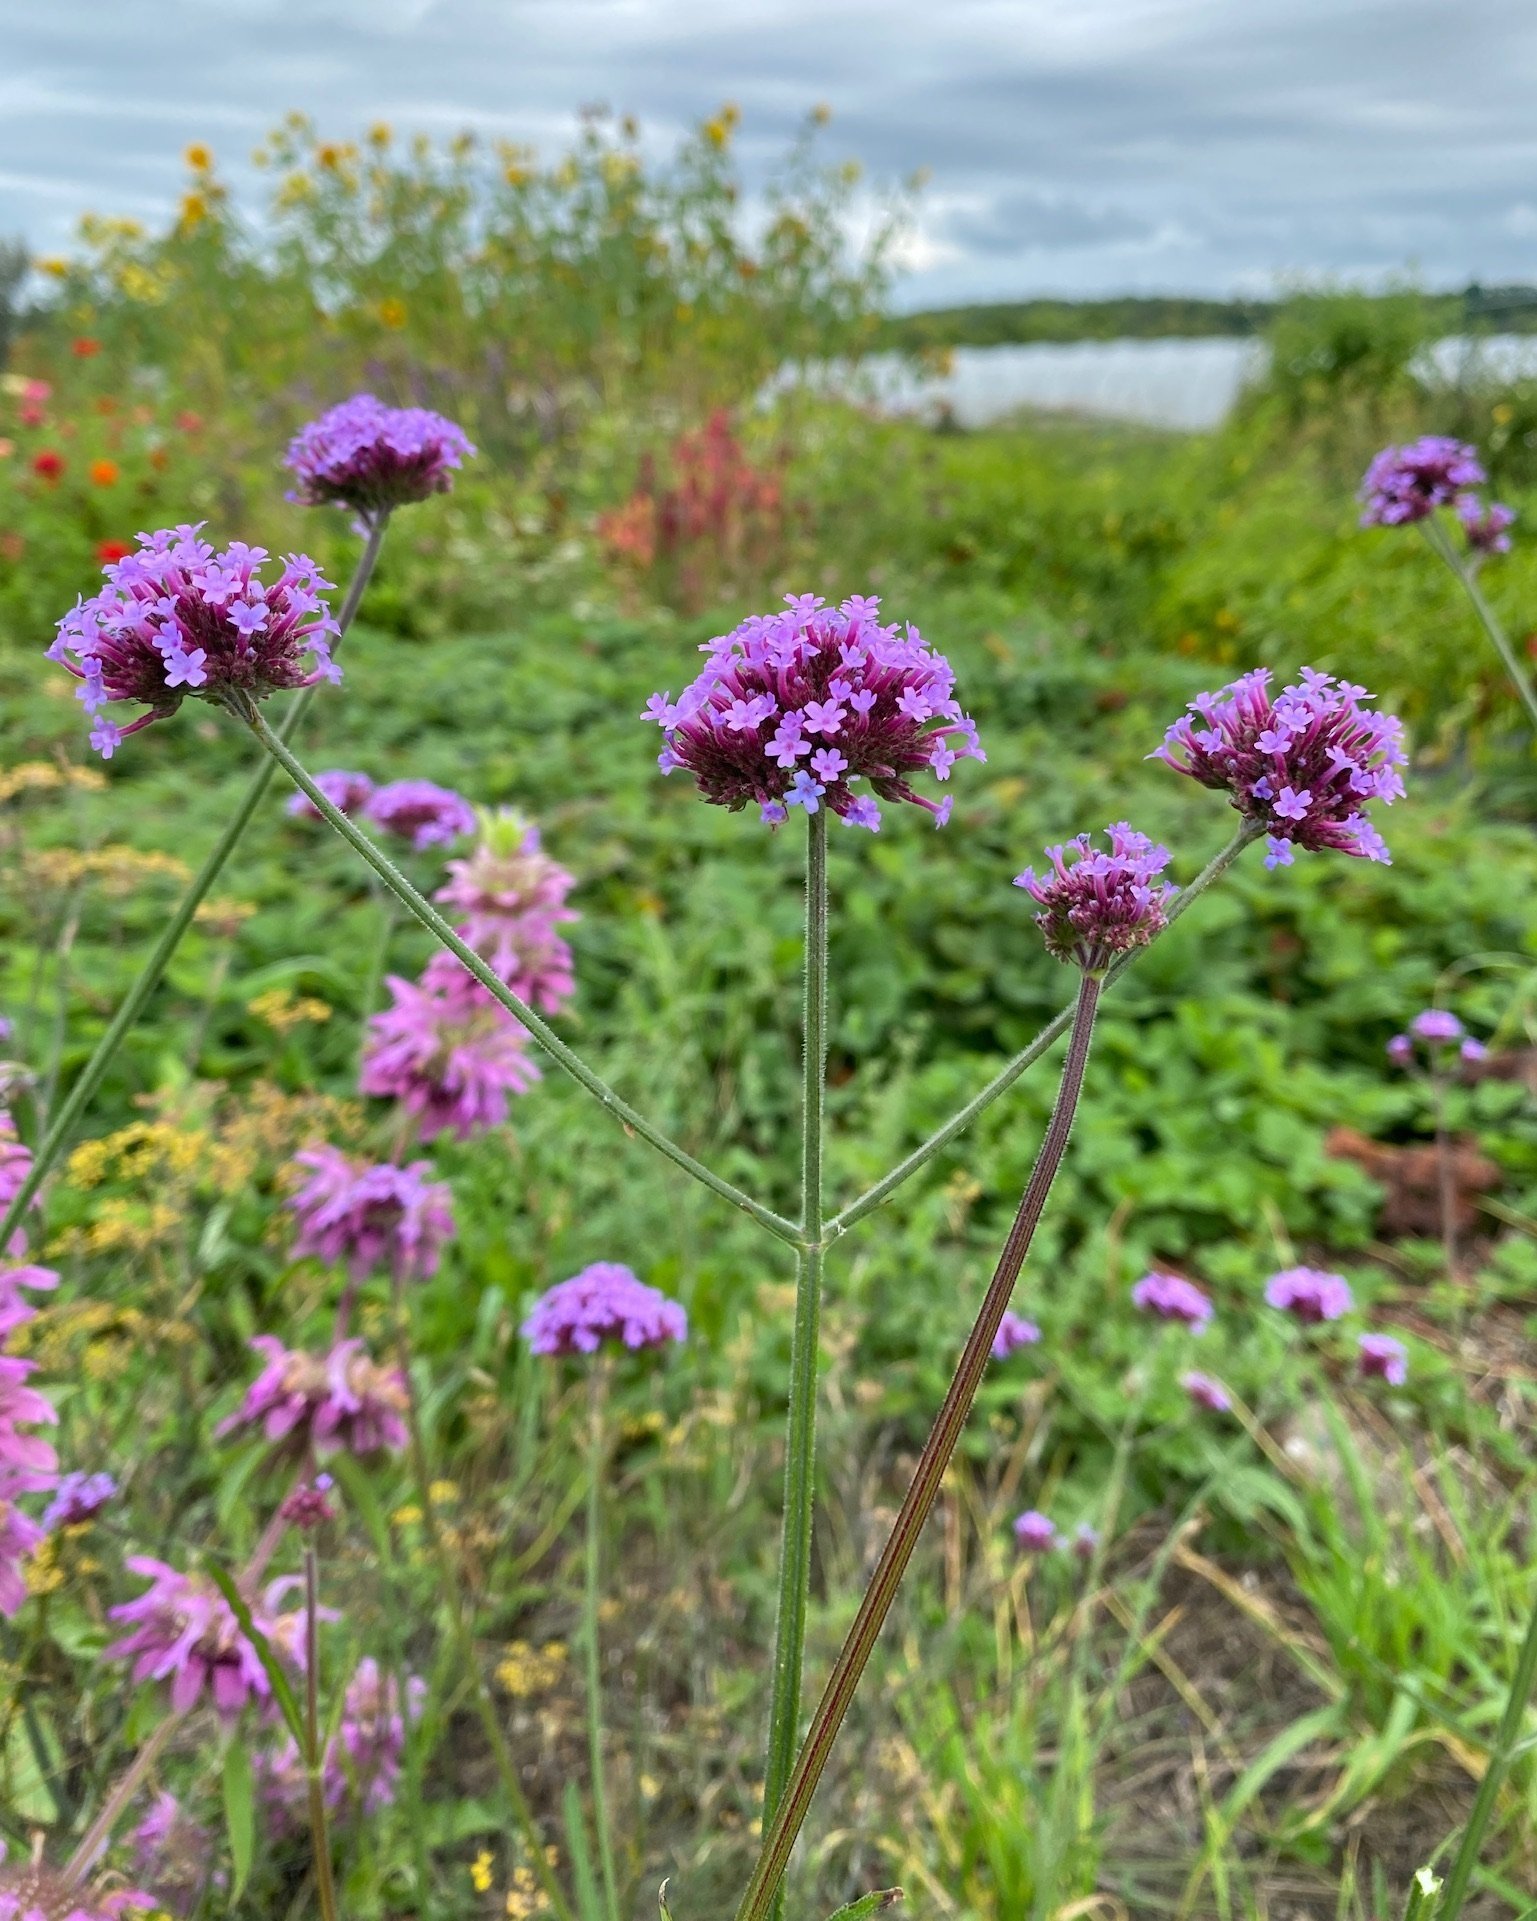
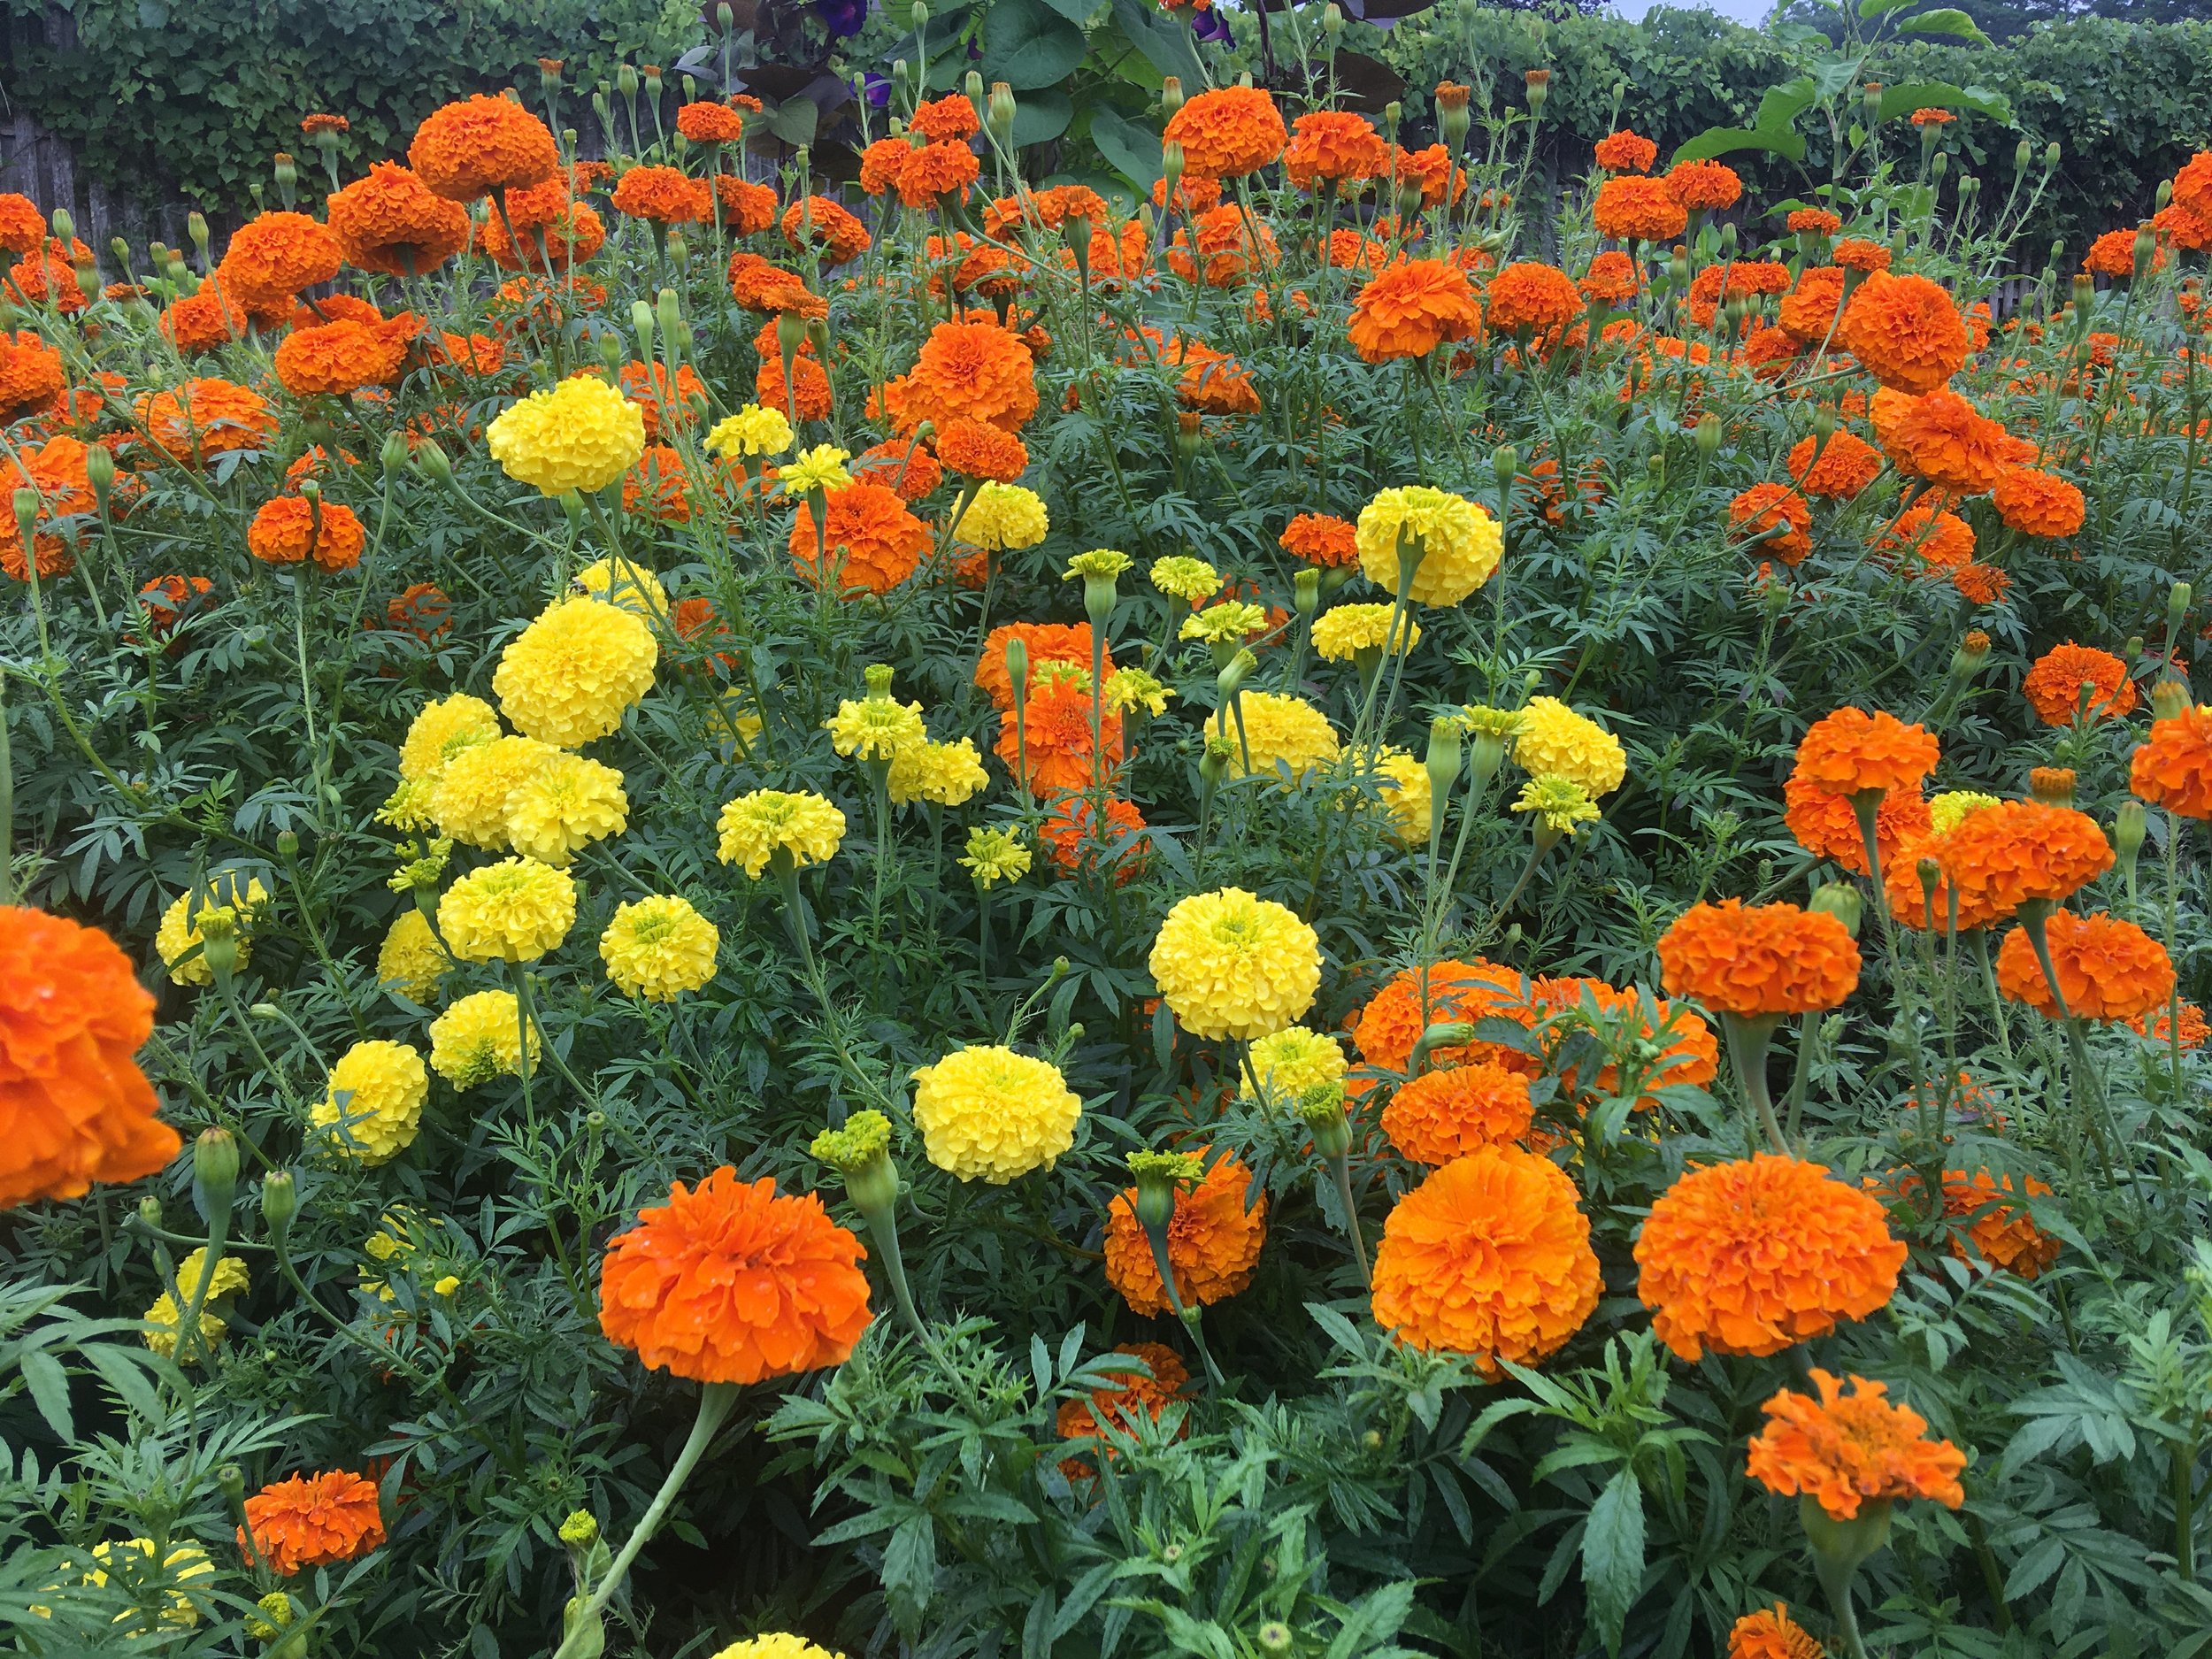
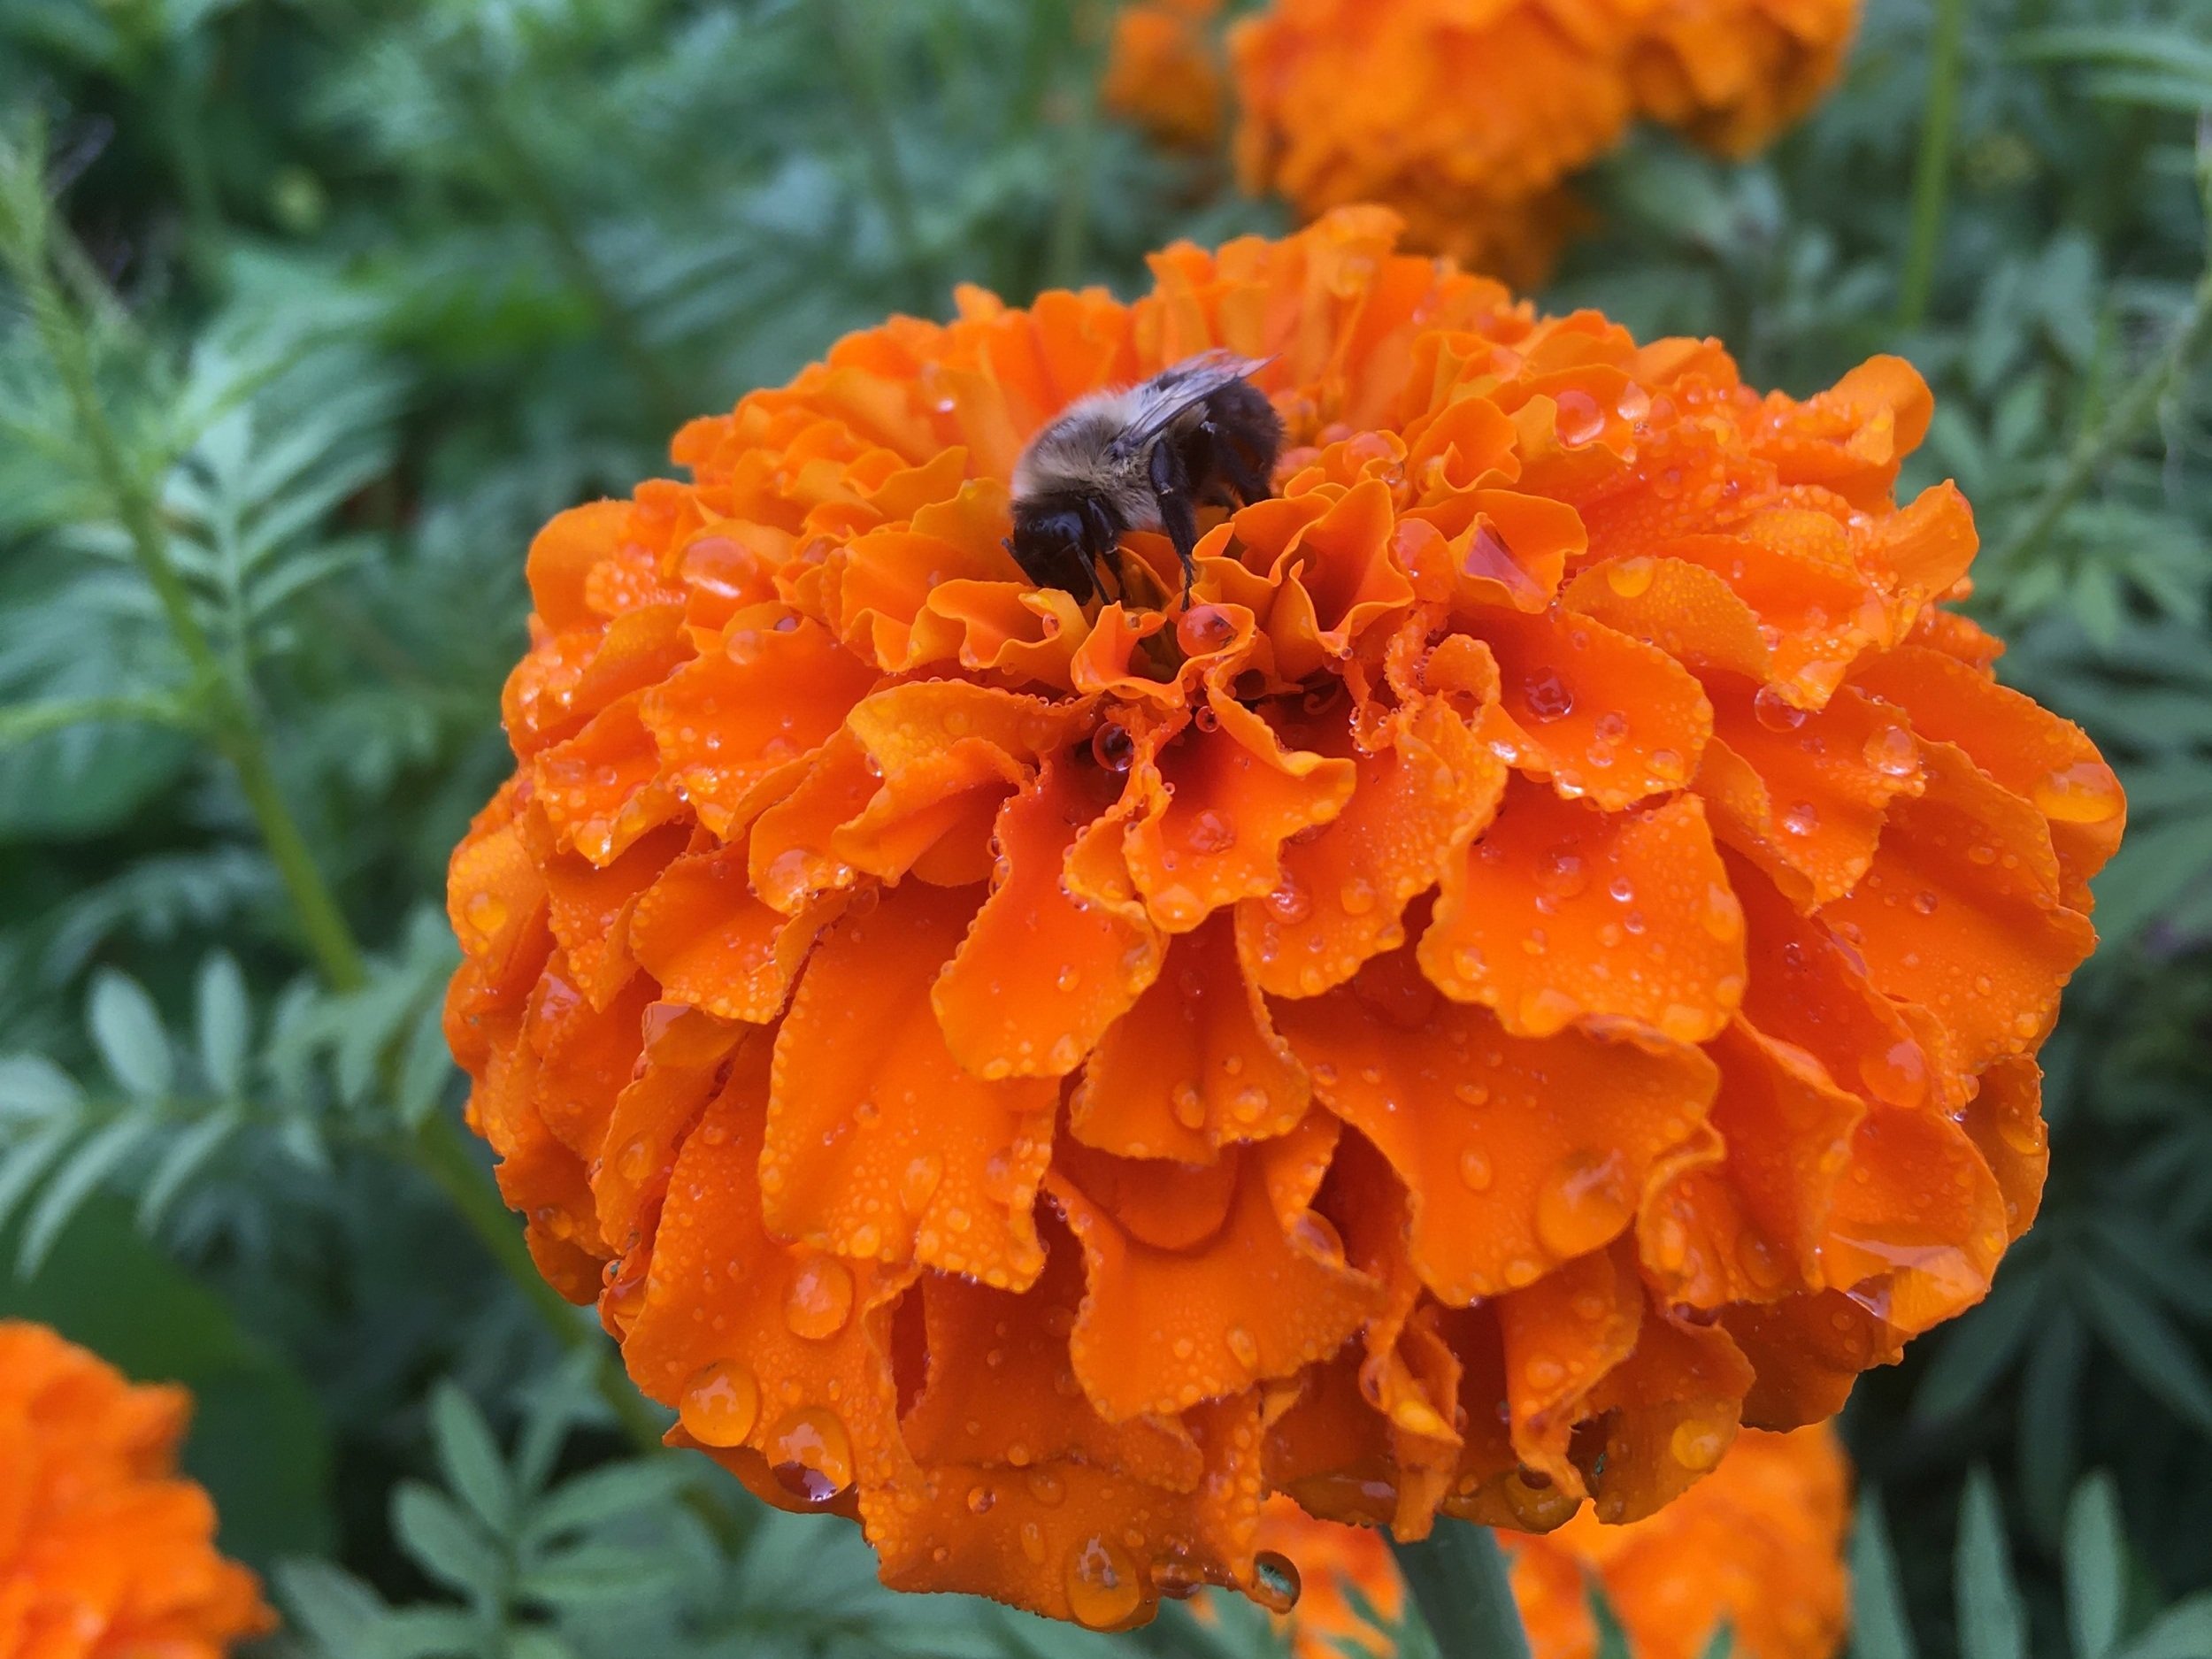
3:00 PM - 4:30 pm Growing Cut Flowers with Lily Belisle

Are you dreaming of endless summer bouquets? Lily will help you make that dream come true. In this class, she’ll talk about her favorite cutting flower varieties and which flowers and foliage plants to grow and harvest to keep bouquets on your table throughout the seasons. You’ll get tips for successful growing and learn which tools to use to increase abundance and ease. Please bring all your cutting flower questions and leave with inspiration and plant wish lists. Sign up here.

We look forward to seeing you! Our greenhouses will be open normal hours, 8:00 AM to 6:00 PM.

The Lemon-Scented Garden

Lemon bergamot

If you wander through the herb section of our greenhouse, you’ll notice quite a few plants with “lemon” in their name. While their aromas and flavors differ slightly, these herbs all offer a bright, citrusy scent that will perfume the herb garden as well as your kitchen. 

Many of these lemony herbs are actually in the mint family (Lamiaceae), a group of plants already well known for their diverse and potent aromas, thanks to high concentrations of volatile oils that are encased in bubble-like trichomes on the leaves and flowers. When the leaves are rubbed or dropped into hot water the trichomes open up, offering the heady aromas and flavors we have come to love.

Lemon balm (Melissa officinalis) is a beloved herbal remedy that is as tasty as it is healing (we love it so much we already wrote a whole blog post about it). The plant itself is a mounding perennial that grows about two feet high and up to three feet wide. Harvesting the leaves for fresh or dry tea will also help this plant keep its shape.

In the kitchen garden, lemon basil and lemon thyme are indispensable. At Red Wagon, we love layering piles of fresh lemon basil underneath a chicken before grilling or roasting it. And lemon thyme is fabulous both fresh and dried. Crumble the dried leaves into soups, rubs, and marinades to impart a citrusy zest all season long- no real lemons required. Lemon basil is an annual, but lemon thyme may perennialize if it’s happy, similarly to lavender in the northern garden.

The fourth member of the lemon-scented Mint family is lemon bergamot (Monarda citriodora), with no relation to the citrus plant Bergamot orange. This plant has a lovely upright habit and tall pink flower spikes that pollinators adore. Use the leaves and flowers in tea, where it offers a lemony, floral aroma with a hint of spice, although less potent than its cousins, lavender and scarlet bee balm. Unlike those species, M. citrodora is an annual, although it may self seed in the garden. Try planting alongside Verbena bonariensis and clary sage for a riot of fragrance and pollinator attraction.

Lemon verbena (Aloysia tryphilla) is one of the most potently fragrant lemon-scented herbs. Grown as a woody perennial in warmer climates, in Vermont it does well in a pot, brought inside to overwinter. The coarse, lanceolate leaves are full of citrusy aroma and flavor. Bring bunches inside to perfume the home, and blend into teas and simple syrups. For a very Mediterranean tea blend, toss a few lemon verbena leaves and a sprig of fresh rosemary into a cup and fill with hot water. It’s a simple afternoon pick-me-up with no caffeine and a delicious, easy-to-love flavor.


Perhaps the most well known lemony herb is lemongrass (Cymbopogon citratus). While the cool Vermont summer doesn’t produce stems that are quite as thick as what you will see in stores, it’s still easy to grow this grassy annual in a pot or herb garden for fresh use. To best retain the full flavor, cut back and freeze the stalks at the end of the season- you will capture more of the citrusy essence than with dried leaves. The leaves have a tough texture, so they’re best used similarly to a bay leaf and removed after cooking. We like to infuse coconut milk with homegrown lemongrass before adding it to soups and curries.

Lemon verbena in our high tunnel

This blog post was written by Sophie Cassel, Red Wagon’s wholesale coordinator and community outreach team member. Sophie is an herbalist and educator. You can find her workshops here.

Edible Annual Flowers

Many of our beloved annual flowers have applications beyond their beauty in the garden or the vase. You may already be growing edible flowers without realizing it! These flowers are great for adding color and flavor to summer dishes or freezing in ice cube trays for magical floral beverages. Choose from this list when growing a kid-friendly cutting garden to allow for as much hands on interaction as possible.

It’s important to note that “edible” does not necessarily translate to “delicious”. But many of these flowers do offer a nice addition of flavor, and those that are more bland or bitter are still worthwhile choices for decorating cakes or using as a garnish. 

Additionally, as with anything headed for the kitchen, it’s important to either grow from seed or purchase plants from an organic greenhouse like Red Wagon, so that you know they haven’t been treated with chemicals that would render the flowers less than lovely to eat.

Stock and Sweet Alyssum, both edible flowers in the Brassica family

Sweet Alyssum (Lobularia maritima): This sprawling member of the Brassica family has the four-petaled flowers that identify that genus, and the leaves and flowers are characteristically peppery. Include in an arugula salad for some color and extra zing. As a bonus, alyssum (and its bigger cousin, the Lobularia cultivar) provide some helpful early pollinator habitat and pest protection when planted in the vegetable garden.
Violets and Pansies (Viola spp.): The colorful violas and pansies found early in spring at the greenhouse are nearly identical to those sweet spring flowers poking through the grass in your backyard, and all parts of the plant are edible. The fresh flowers have a sweet, almost wintergreen-like flavor and look gorgeous when candied and pressed into cookies or iced cakes.

Calendula and Marigold (Tagetes spp.): We’re such big fans of these two genus we made a whole other blog post about them! Calendula has long been used as a tea herb, and the different marigold species have a wide array of edible and medicinal uses dating back to Aztec times. 

Bachelor Buttons (Centaurea cyanus): One of the easiest “true blue” flowers to grow, Bachelor’s Button flowers also come in a sweet array of purples, whites and pinks, with a mildly sweet and vegetal flavor. The petals retain their blue color quite well when dried, so be sure to harvest and dry some to brighten up herbal tea blends this winter. 

White Snapdragons against a backdrop of African Blue basil

Snapdragons (Antirrhinum spp.): While the flowers of this eye-catching species certainly aren’t going to win any taste tests (they are typically described as “bland” and “bitter”), they are in fact edible. Pluck the petals from the bitter base of the flower and arrange on a platter to create a showstopper garnish for any summer meal. 

Nasturtium (Tropaeolum spp.): Nasturtiums are one of the most commonly used edible flowers, and are well known for their bright, spicy flavor. Add leaves and flowers to salads, infuse a flower vinegar, pickle the buds and seed pods… the possibilities are only limited by your imagination and affinity for their peppery bite.

Stock (Matthiola incana): A longtime favorite of florists, four-petaled stock is in the Brassica family like sweet alyssum. The flowers are peppery and clove-like, so try adding them to salads or atop grilled fish and vegetables for a colorful kick.

Dianthus (Dianthus caryophyllus): The annual species of this classic carnation has been in cultivation for well over 2,000 years. The flower petals are fragrant and have a mild clove-like flavor, perfect for adding to iced beverages and fancy desserts. Pluck petals off the bitter green base before use.

Scarlet Runner Bean ‘Painted Lady’ (Phaseolus coccineus): This vining relative of the common bush bean is native to the highlands of Central America. The beautiful red and white flowers can be enjoyed as a snack or in salads, or left to ripen to mature beans which can be eaten fresh or dried down. 

Hyacinth Bean Vine (Lablab purpureus):This gorgeous vining bean is similar in habit and use to scarlet runner bean, and has been cultivated as a food crop in Africa and the tropics for millenia. The elegant purple leaves make a good cooking green, and the beans are edible when fully cooked.

Ruby Moon Hyacinth bean vine

Grow a Purple Food Garden

Purple Napa cabbage ‘Merlot’

If you thought that color-coordination was reserved for the flower garden, try expanding your palette (and your palate) this year. These purple-hued veggie and herb varieties combine to make a dramatic edible display, whether grown together or interspersed in the garden. In addition to being stunners in the garden, highly pigmented foods tend to contain high levels of antioxidant anthocyanins, elevating healthful eating from garden to plate.

Early in the season, tuck vivid purple alyssum alongside herbs and salad greens like ‘Red Batavia’ lettuce, one of our favorite head lettuces for its vibrant color and sweet tender leaves. The alyssum will continue to bloom even as spring lettuces are replaced by summer herbs. Purple basil and purple shiso are both grown in a similar manner- pinch back after transplanting to encourage bushier growth, harvest leaves for culinary use or allow them to flower for a more ornamental look. Purple basil is used just like green Genovese basil, and shiso is a popular Japanese herb with a flavor like cumin and clove. Use the leaves to make lettuce wraps or color radish pickles a vibrant red.

If you have the room and patience, cauliflower offers a fun payoff, and the ‘Graffiti’ variety boasts a wild purple head peeking out from blue-green leaves. Cauliflower can be sown in spring as long as they are kept watered through summer (and maybe offered some purple shade using ‘Hopi Red Dye’ amaranth); sow mid-summer for a fall harvest.

While traditional red cabbage always deserves a place in the garden, this year we are thrilled to be growing purple Napa cabbage, which offers all the versatility and crunch of green Napa in a stunning wine color. We can’t wait to chop it into colorful slaws and kimchi later this year.

Freshly dug garden potatoes are easy to grow and very rewarding, and digging up ‘Adirondack Blue’ potatoes really feels like unearthing buried jewels from the garden. The reddish-purple skin reveals violet flesh that holds its color even when cooked, making for stunning roasted or mashed potatoes.

Another unusual addition to the purple garden is the ‘Colorado Star’ artichoke, whose spiny 1-3’ tall plants produce a relatively high yield of buds in a range of purple hues. This artichoke variety matures earlier than others, making it a good option for our relatively short season. Grow them as an annual, and combine with purple-topped Verbena bonariensis and flavorful bronze fennel to create height and architectural interest in a garden that transcends the boundaries between edible and ornamental.

Verbena bonariensis

This blog post was written by Sophie Cassel, Red Wagon’s wholesale coordinator and community outreach team member. Sophie is an herbalist and educator. You can find her workshops here.

Many Marigolds

Giant African Marigolds in the garden of RWP friend Bob Furrer

Marigold: even the common name evokes a sense of radiance and joy, which is exactly what these plants bring to the garden. But not all members of the Tagetes genus are the same, and it can be confusing for the new gardener to know which type is best suited to which part of their planting plan. Read on to learn about some commonly confused species and a few other marigolds you’ll want to include in your garden. All marigold petals can be dried and used as a seasoning in winter time.

French Marigold

Tagetes patula, French Marigold. This cute, compact species is often planted as a companion in vegetable gardens, as it attracts beneficial insects and produces alpha-terthienyl, which helps deter nematodes and other pests. T. patula only reaches about a foot tall at most, and doesn’t have a spreading habit, so it’s easy to tuck in between tomato plants or around the edges of the garden bed. They come in a rich display of saturated sunset colors on 2” blooms, with many cultivars boasting variegation on the petals and a crested, double bloom.

Tagetes erecta, African Marigold, American Marigold, Mexican Marigold. Also known as Giant Marigold, which is a helpful reminder that this species can grow well above 3’ tall depending on the cultivar. T. erecta has large 3” blooms with dozens of petals packed tightly together, and come in single colors of vivid yellow and orange. Strategically placed, these tall flowers can provide afternoon shade for greens like arugula and cilantro, which tend to bolt in the hot summer sun. They provide the same beneficial insect and pest protection as T. patula in a larger, showy package. They also work beautifully in a cut flower garden alongside Benary’s Giant zinnias and tall snapdragons. Pick off flowers regularly to encourage blooming all summer. Giant marigolds are especially useful as dye plants and make gorgeous flower garlands, which are important elements in marriage and death rituals around the world. 

African Marigold, ‘Crackerjack’

Both of these species are technically edible, though not particularly delicious. The aromatic petals should be removed from the base of the flower, which tends to be quite bitter. Add to a pot of rice for a saffron-like effect, or include in baked goods for a splash of edible color. Read on for two more less common Tagetes species that are definitely must-haves for the edible flower garden.

Lemon Gem Marigold

Tagetes tenuifolia, Gem Marigold. These plants are a favorite at Red Wagon for their feathery foliage, compact clumping habit, and profuse blooms. Their petite flowers attract insects and keep blooming even without consistent harvest. Plant gem marigolds in their own containers or include in the herb and vegetable garden. Your imagination is the limit with how to include these flowers in your kitchen: top salads, pizzas or pastas with the bright petals, or decorate cupcakes for summer birthday celebrations. The green sepals and stems can be bitter, so remove those before eating.

Mexican Mint Marigold

Tagetes lucida, Mexican Mint Marigold, Mexican Tarragon. Easily the most delicious of all of the Tagetes species, Mexican Mint Marigold has small, yellow flowers that are primarily employed for their sweet licorice flavor, which can be added to beverages and salads. The Aztecs considered T. lucida sacred and used the plant in the preparation of their famous drinking chocolate. True to its native habitat, this compact plant thrives in heat and full sun, and will bloom from late summer through fall.

Calendula officinalis ‘Alpha’

An honorable mention goes to Calendula officinalis, often referred to as Pot Marigold. Although Calendula is not in the Tagetes genus, it does, like marigold, share a place in the Asteraceae or Daisy family. Calendula has oblong, waxy leaves and a flower that looks more similar to a tiny sunflower than a true marigold. Calendula has been similarly bred to display single and double blooms in a wide array of yellows, oranges and reds, and is held in high esteem as an herbal remedy (see our post about it here). Use the whole flower heads in fresh or dry tea blends, pluck the petals from the bitter center and sprinkle them on salads and cookies, or use as medieval folk did and throw a handful of the dried flowers into broths and stocks, where it lends rich color, flavor and medicinal benefit to soups all winter long. 

Whether planted for their beauty, defensive strategies, or edible petals, marigolds will provide a dash of sunshine well after the garden has been put to bed. With a variety of cultivars in each species, you could be forgiven for filling up your entire garden in Tagetes (and Calendula) flowers this year. You can find a list of all the marigolds we grow here.

Turning Towards the Garden

As always, the garden has been a refuge during difficult times for many of us. And the fresh snow that just came through does not have to hinder that practice. We can retreat into planning mode, escape into the creative process and find solace in what is to come. The garden is a place for hope and renewal.

Chad Donovan, Red Wagon horticulturist and all around great human, showed me some pictures he took earlier this winter after he stomped around in the snow to map our 2022 display gardens. He is reworking the layout so that it is well suited to classes, tours and work parties. I just loved his process and had never seen that before and am eager to share it with you. What a creative way to map out the garden in real space, and to see just how it fits into the landscape. And it is a fun thing to do with kids or grandkids. Speaking of those, have yours been on school vacation this week? Maybe you would you like to plan your veggie garden with them in mind. Some of our favorite ways to do that can be found here, in a blog post Sophie wrote about some of our favorite vegetable varieties to grow for little helpers who want to snack while they “work”.

Every garden should be built with use and practicality in mind, with beauty not far behind. The month of March is a great time to work on garden plans and designs. We are here to help, and have lots of resources to offer you in that vein.

Ellen Ecker Ogden, who designed the beautiful garden in the middle image above (illustration by Ramsay Gourd, from Ellen’s book The Complete Kitchen Garden), will be teaching an online course for us on The Art of Kitchen Garden Design. She will highlight some of her favorite ways to approach the vegetable garden with an artistic eye so that you can create a space that is welcoming and special. You can register for her class and see our 2022 curriculum by clicking the button below.

If you are just starting out with vegetable gardening, our owner, Julie Rubaud, will be teaching an in-person class geared towards first time gardeners on March 19th. You can find out more here.

We also have our complete 2022 plant list up on the website. You can find that here. Making a plant list is a great place to start with garden planning, and Sarah M. has been very diligent in updating our website so that it reflects all of the 1200+ varieties we are growing. Please take a look and tell us about your favorites! We love feedback on varieties, so also tell us which ones are duds in your experience.

Blast Off!

watering.jpg

The last week of February is when we typically start up the greenhouses. That means we turn on the heaters, run the water, clean up and sanitize all the surfaces of each greenhouse, and get some seeds into the soil. Our spring starts now, with more time in the greenhouse touching plants and dirt and feeling the sun warm us up. While we fast track ourselves out of winter with the help of the greenhouses, here are a few things you could do at home to follow along.

  1. Start seeds. If you have grow lights, now is a great time to start leeks, onions, shallots, and certain perennials. If you don’t have grow lights, you could sprout seeds in a mason jar or start some edible shoots in a sunny window. Mustard greens are the quickest, and the most forgiving of poor light. Here is a blog post on how to start your own shoots and micro-greens indoors. You can order seeds in our online store and pick up your order Friday afternoon (or get in touch to arrange a time that suits you). Our bagged soil has started to come in too. You can s find that here. More soil and seeds coming soon!

  2. Make a plant list. Here is what we are growing this year. This is a perfect time to get out the graph paper, the garden journal or the art supplies and dream up your garden plan. Some people make “mood boards” by cutting out pictures from garden magazines. You can create a digital version using Pinterest, Google Slides, or Powerpoint. Or, if you are like me, you can simply make lists of plant names. I just love keeping a list of plants in a notebook, or on my phone that I can keep adding to as I the mood strikes or as I learn about a new variety. There are so many ways to plan a garden, and they are all correct. Let us know if you want help!

  3. Learn about something new you would like to grow. This year, I really want to get into forcing Belgian endive. I am learning about it on You Tube and by talking to other growers. It is one of my favorite things to eat, but it requires some planning. You can learn more about how it is done on a big commercial scale here, . Chicories in general are on my list for this year. This video by Charles Dowding is a great introduction if you are curious too.

  4. Mark your calendar! We will be opening for walk in shopping on Friday, April 16th. Please keep your eye out for more information about in-person shopping, hours, and COVID protocols. We cannot wait to see you and share the greenhouses with you again.

With gratitude for all of your support,

Julie

PS.

We want to let you know that Family Cow Farmstand will be closing at the end of this week. We are so sad to say goodbye to Aubrey and Scott, and we wish them well on their next adventure. They have been the absolute best farmers, neighbors and friends. We eagerly await their next iteration. For now, come to the farm stand and stock up in the next few days.

A perfect gift from Aubrey this winter - chicories grown in Massachusetts at Kitchen Garden Farm. This photo has inspired my 2021 garden plan and set the bar quite high for improved radicchio growing in our display garden. I cannot wait.

A perfect gift from Aubrey this winter - chicories grown in Massachusetts at Kitchen Garden Farm. This photo has inspired my 2021 garden plan and set the bar quite high for improved radicchio growing in our display garden. I cannot wait.

Vegetable Garden Planning - Seeds vs Transplants

romaine.JPG

It can be confusing to know which vegetables and herbs you start from seed directly in the ground and which ones you start as seedlings that have been started indoors or in a greenhouse. Here is a handy guide to help you with those decisions when planning this year’s garden.

seed rack.jpg


8 Plants to Grow for Your Home Medicine Chest

Thyme. Photo courtesy of Lisa Cassel Arms

Thyme. Photo courtesy of Lisa Cassel Arms

8 Plants for Your Medicine Chest

This year, make the commitment to add plant-based, home grown remedies to your life! Whether in the bathroom cabinet, the first aid kit, or the spice rack, medicinal herbs deserve a place in your home. Below are eight easy-to-grow herbs that you can grow and process to provide your family with plenty of herbal TLC. If you’re looking for more guidance on growing and using herbs this year, we’ll be discussing medicinal gardening in full on March 28th from 10-12 in the Red Wagon classroom!

  1. Yarrow (Achillea millefolium): This common roadside “weed” is actually a treasured medicinal wunderkind. The genus refers to its alleged use by the warrior Achilles, who brought the plant into battle to staunch the sword wounds of his soldiers. Swords aside, yarrow is the premier first aid herb for all sorts of cuts and scrapes. It is both styptic (staunching bleeding) and antimicrobial, so it is quite safe to put directly on a wound. When fresh, the leaves and flowers can be mashed or chewed into a juicy poultice and put directly on the skin. For year-round use, simply dry the aerial parts of the plant (as flowers begin to open), and powder the leaves and flowers. This can be stored in a first aid kit for easy access, and will keep for a couple years. Yarrow is a popular ornamental, so while the wild white variety is traditionally used medicinally, the brightly colored ornamental varieties can also be used in a pinch.

  2. Calendula (Calendula officinalis): Sunny, cheery “pot marigold” is one of the first flowers to burst forth in June, and one of the last to die back as frost looms in October. Harvesting is as simple as plucking the flowers from the stem as they open and drying them for a couple days in a warm, sunny location, then storing in a dark place. Once the plants start flowering, harvest can happen as frequently as every other day, which helps keep the plant in bloom consistently. Calendula is healing to all damaged tissue, internal and external, and can help foster immunity and a bright spirit in the depths of winter. Deb Soule of Avena Botanicals in Maine encourages everyone to “Grow a Row” of calendula as a way of supporting folks healing from abuse and trauma. 

  3. Echinacea (Echinacea purpurea, angustifolia): Many folks already have Echinacea growing as an easy native ornamental in their perennial gardens, but haven’t harvested it before. A favorite of nectar-seeking butterflies, both the flowers and roots of the plant are harvested for medicine. Pop the matured flower heads off the stalk through the late summer (leaving plenty for the pollinators), and either dry for tea or chop up and cover with vodka to make your own immune-boosting tincture. Harvest roots in late fall and add to the vodka, and in a month you’ll have enough Echinacea tincture to keep your loved ones healthy through the winter! 

  4. Tulsi (Ocimum sanctum, tenuiflorum): A relative of basil, tulsi brings joy to the garden with its heavenly scent and flower stalks that attract all manner of pollinating insects. Tulsi leaves and flowers can be harvested fresh for tea, or hung in a dry, warm place to dry, then stripped off their stems and stored for a burst of sweetness throughout the year. Though native to farm warmer climates, this plant thrives through our northern summers and is a favorite tea plant for children and adults alike.

  5. Thyme (Thymus vulgaris): We offer a few varieties of thyme at Red Wagon, and this culinary staple is equally useful as infection-fighting medicine. My favorite to dry for tea is the French variety, which is a bit more floral and sweet than the German variety. Harvest by giving the plant a “haircut” right as it begins to set blossoms, and dry in a basket or paper bag, then strip from the stem. Strong thyme tea with a bit of honey provides welcome warmth during cold and flu season, and it can be added to biscuits and other baked goods for a dash of herbaceous brightness.

  6. Rose (Rosa spp.): Growing roses can be as simple or as complicated as you like, but harvesting their bounty is easy regardless of the species you cultivate. As the flowers bloom, pluck the petals and allow to dry in a basket out of the sun. You can certainly harvest the buds, but that robs the pollinators of the nectar, and reduces the showiness of your plants. Often once the bloom has been pollinated, it will begin to drop its fragrant petals on its own, and you can come along with your basket to catch them! Rose petals brighten and sweeten any tea blend, add luxury to chocolate treats, and are a classic skin-soothing secret. To learn more about using roses in skincare, join us June 30th for a Make-and-Take skin spray class at RWP!

  7. Mint (Mentha spp): This year at Red Wagon we’re growing fifteen different kinds of mint varieties, all with distinct aromatic profiles! I’m personally a big fan of the Kentucky Colonel and Chocolate mints, but it’s tremendously fun to plant a variety (in pots if you’re concerned about spreading) and see which types work best in your kitchen. Mint dries well, and I often will combine a few varieties into a tea blend for greater depth of flavor. In addition to settling digestion and brightening the spirit, mint can be used to literally cool down in the heat of summer- a strong mint tea can be chilled, and applied with a washcloth to the face and neck after sun exposure (as well as drunk for maximum cooling!)

  8. Lavender (Lavandula spp.): What could be more classic in the garden than lavender? With its beautiful purple blossoms and sturdy upright habit, it’s the definition of classic English gardening. We have quite a few lavender varieties in the greenhouses. For harvesting, the Phenomenal (L. intermedia) type seems to be a frontrunner in terms of quantity and fragrance of blooms, but Hidcote and Provence also work well. Cut flower stalks in early bloom and make a fresh lavender wand, or dry flowers and leaves to crush for homemade sachets. I also love infusing lavender into bath salts, and drying to use in the winter for uplifting facial steams


I hope this list piques your interest in planning your herb garden this year! There’s more inspiration to be found on the Red Wagon Herbs We Grow list, so be sure to peruse before the planting season begins!

Classes and Events 2020

Our workshop space is lush and changes with the seasons from cold hardy violas in March to heat loving tropical plants in high summer. We set the stage each week to reflect the themes at hand and to help our visitors orient to the micro-changes of t…

Our workshop space is lush and changes with the seasons from cold hardy violas in March to heat loving tropical plants in high summer. We set the stage each week to reflect the themes at hand and to help our visitors orient to the micro-changes of the gardening cycle.

Photo credit to Kate Bentley

We are so excited to introduce our 2020 program. Please head over to the events page to see all the details.

New this year: our $5 Thursday 101 classes. Each one hour class is focused on a specific topic and is a quick and dynamic introduction to one type of plant. We hope to encourage a deeper understanding of the specific plants we grow, and to do so in an accessible and fun way.

We have expanded our Herb Farm Kitchen classes with lots of fun projects involving herbs, hot peppers and two very special classes with master jam maker, V Smiley. She will show us how to use honey, herbs, flowers, and fruit to preserve the garden bounty as sunshine in a jar.

Our popular Tuesday evening “Make and Take” classes are back. These are fun project parties in our greenhouses in the beautiful light of sunset . We provide you with the space, instructions and materials; you can customize the experience by choosing from a wide array of plants. We provide snacks and you are free to supply your own (grown up) beverages if desired. This is really fun with a group of friends or a family get together.

And finally, our Saturday Seminars each focus on an in depth topic that will improve any gardener’s skill set when it comes to planning, maintaining and establishing all types of gardens.

We are so grateful for the community of plant lovers that make up Red Wagon Plants. Thank you for making this teaching and growing opportunity an integral part of our business. Please spread the word about these classes and events. And WELCOME to a whole new year.

Hardening Off Those Plants

Curious about what "hardening off" means and why it's important? Here's a blog from our archives to help you prep your cold-season transplants for the great outdoors. 

Plants need to be hardened off before being transplanted. What does this mean? It is the process you take them through to get used to direct sunlight, wind, cold, heat, dryness, and any other weather conditions they will be asked to live through during their lives. When plants are started in the greenhouse, in trays or pots, their world is sheltered and comfortable; food is readily available in the compost-fortified soil, and the temperatures are carefully regulated. Once it is time to go out into the harsh world of the garden, the goods and services become a little more scarce for those baby plants and they go through a bit of withdrawal known as "transplant shock."  Hardening them off gives them a gradual adjustment to this new world.  It is best to start out by putting the plants outside for a few hours, and then bringing them back in; this gives them a small taste of direct sunlight. In any greenhouse, the plastic film filters out 10 to 25% of the sun's rays and the tender plants are literally sun-burned when they first encounter that unmediated light.  Here is how I do it at my house. When you buy plants that were grown by Red Wagon Plants, they have already been hardened off and you can put them right in the ground. The following method is important to follow if you are working with plants that you know are not hardened off yet.

Once they have gotten used to a few hours of sunlight at a time, they can stay outside overnight, but under a protective row cover.

The cover comes off in the daytime and the plants are acclimated to being where they will be planted for a few days.

If the temperatures drop down below freezing, cover them again. Cold hardy plants such as broccoli, cabbage, kale, hardy lettuces, hardy herbs, escarole, scallions, onions can take a frost without a problem, but they will do it with more grace and strength if they have been gradually introduced to those temperatures.

Once the plants have had a few cold nights, under cover, they can have a couple more nights without cover, and then are properly hardened off and ready to go in the ground.

It's also a good idea to give cold-weather transplants a little extra compost or a fish/seaweed emulsion watering at transplant time. It is hard for plant roots to uptake nutrients in cool weather and this will aid their transition as well.

Planting the Fussy Onion

Onions are some of the first things to go in the ground each spring. You may not know this, but onions are finely tuned creatures with a rigid hormonal profile. They are completely and utterly dependent on the sun's cycle to grow into the lovely round orbs we think of as onions. Those plump layers only grow in relationship to the lengthening days of spring. If onions are planted too late, they will never bulb out and become big and round. An onion that has been planted too late, let's say after the middle of May, will never quite size up, but will create a thick stem, and a barely bulbous orb. The engorged stem will not create rounded layers at all but rather look more like a slightly ovate leek. These are still fine to eat, but won't really be onions you can store through the winter.

We recommend that people plant onions in mid-April. When it is muddy, and cold, and you think there is no way a plant wants to go into the garden, well guess what? The onions really want to go into that cold earth. The way we grow onion plants for sale is that we seed about 80 plants into a 4 pack, and your job as the gardener is simple:

  • Prepare a bed in the garden - deep, well worked, rich soil is best. I prepare my onion beds in the fall, that way they are ready for onion plants first thing in the spring.
  • Gently pull the clumps of soil and roots and plants out of the 4 pack.
  • Separate each plant and shake off the excess soil. The individual plants are like tiny blades of grass, but each one will grow into a big onion plant.
  • Make a trench about 4 inches deep the length of your planting area. Onion rows can be about 8 inches apart, so depending on the size of your bed, you can plant up to 4 rows of onions in one bed and still reach across the bed to weed comfortably.
  • Plant the individual plants in the trench, about 4 to 6 inches deep. Only a few inches of the thin green stems will be above ground. You should have about 2-3 inches between plants.
  • Tamp the earth tightly around each plant.

The onions plants won't grow much at first, but they are just hanging out in the cold soil, programming themselves to grow once the soil warms up. It is these cold, long days that help make onions nice. I know, it is hard to believe that they prefer this, but they do. Southern growers, who have shorter summer days than northern growers, have entirely different onion varieties than we do. That illustrates just how much onions are day-length sensitive. A few degrees difference in latitude necessitates a whole different set of genetics.

The other things to keep in mind with onions:

  • Keep them well watered. Water and day length is what makes onions big. Some straw mulch applied in late June is a good idea for keeping the moisture even and consistent.
  • Keep them well weeded. Onions plants are slender and upright. They do not create any shade, therefore weeds like to grow near them, in the sunny under-story of the onion patch and because onions really don't want to compete for food, water and sunlight. They are not good at sharing.
  • Keep them well fed. An application of Compost Plus in May is a good idea. It will help them get big and strong.
  • Growing onions in black plastic mulch is a good option if you want to eliminate weed pressure and heat up the soil. Once onions are big, they like it hot.
  • Harvest onions once the tops start to flop over. You can eat them fresh, as "green onions" or you can cure them by laying them out in a dry, airy place, away from direct sunlight. This usually happens in late July or early August. It depends on the varieties you grow and on the kind of weather we are having.

Onions are best stored in a dark, cool, airy place. A damp basement is not a good storage spot. A cold, dry, dark attic is better. Or an unheated closet, or a garage that does not get too cold. Ideal onion storing temperature is about 35F. That is pretty cold - colder than most basements.

Some onion relatives can be planted later in the season. This includes scallions, mini-purplette onions, pearl onions, and shallots. Leeks are also tolerant of a later planting, and can be planted multiple times throughout the gardening season if you would like to harvest baby leeks. 

The onion varieties we grow each year:

Cipollini Gold Coin - a flat, disc like onion that stores very well in the winter. It is a strong flavored onion which mellows when cooked and is delicious caramelized, glazed, or roasted. One of our favorites for flavor.

Yellow Storage Cortland - a huge, good keeper which means that it stores well all winter. Dry the onion once harvested in a cool, airy spot, and you will be eating it until March or April of next year. 

Red Storage Onion Mars - also quite big, and also a good winter keeper. Slightly milder in flavor than Cortland and can be eaten raw when sliced thinly. Red Onions develop their red interior only once they have been cured. Once harvested, coll in an airy dark spot until the tops are completely dried and can be pulled off by hand. That is the curing process for all storage onions.

Sweet Onion Walla Walla and Ailsa Craig - both are gigantic sweet onions. They do very well with lots of water and mulch. Sweet onions do not keep over the winter. They do not need to be cured, but rather get refrigerated once harvested. They are delicious roasted, grilled, or eaten raw in sandwiches. 

Scallions - These can be planted in clumps of 10 or so plants. They can be planted every few weeks for a continuous harvest. If you do not want to buy scallion plants or seeds, you can eat young onion plants as scallions.

Shallots - These store very well after being cured like onions. They add a sweet and complex flavor to winter dishes, marinades, and dressings. 

Mini-purplette - these are lovely purple pearl onions that are delicious in a spring braise with salad turnips and peas. They can be planted in clumps of 4 to 6 plants and can be planted multiple times throughout the season for more than one harvest. They also make great pickles. About 1" to 2" across.

Cold Season Gardening

As soon as the ground thaws, and dries out, I will be ready to plant. After chomping at the bit through this long, never ending winter, I long to get my hands in cool dirt and ceremoniously plant the first seedlings. A cold frame helps to rush the job along, and I can't wait to open ours up, fluff up the tired soil, add some compost and amendments, and dig in. My cold season garden is pretty predictable each year. I crave certain things, stick to those, eat only that the entire period of time it is ready, and then usually it is out of mind the rest of the year. Asparagus for example. It is pretty much a part of every meal during asparagus season, and then I never think about it the other 47 weeks of the year.  And it is ready before many other things, so why not give it the star treatment it deserves?  It takes up a good chunk of my garden for a reason....homegrown asparagus absolutely cannot compare to what you buy in the store.  There are so many delicate flavors in asparagus that are lost after any period of refrigeration, and I greedily await that first harvest each year.

And then there is bok choi. For some reason, I don't think about this vegetable too much 11 months out of the year,  but it is so cold hardy and so quick to grow, that earliest spring is the only logical time to insert it into the garden and into our kitchen. We grow 4 kinds of boc choi to give our gardens a real array of size, color, and harvest time. Violetta is quick to grow to baby size, and has shiny, dark purple leaves with pale purple and white stems. It is gorgeous and delicate and ready in just 3 weeks from the time I stick it in the ground.  Shanghai Baby Bok Choi is another quick and tiny one, but the palest green, with the most tender flesh. Red Choi is a medium sized boc choi with a more mustard like flavor, and the regular boc choi we grow, Joi Choi, grows up to be huge, heavy, and gorgeous (see below). These are all delicious chopped up and stir fried with ginger, hot pepper flakes, and garlic;  or thinly slivered and eaten raw as a salad or slaw or dropped into a warm bowl of broth.

Scallions are another cold hardy, quick to grow vegetable that makes it into all my early gardens. They can be planted in little clumps in tight spaces and harvested over a long period of time. I harvest them three or four at a time and leave the rest to grow for a later picking or two.

Next up are the salad greens, bitter greens and mustards. All of these can take multiple frosts and are happy to go into the garden long before the others.

In this picture from last year, we have Tokyo Bekana mustard in the bottom left corner. It is a light green, tender mustard delicious steamed or eaten raw. I especially like it in soups and broths with soba noodles and tofu. In the center is my favorite bitter green, Frisée ('Tres Fine Maraîchère") which I love to eat with a mustardy, garlicky vinaigrette. Behind that is some arugula which really should be planted multiple times throughout the season (just rip out the old plants and sow new seeds or seedlings). In the top right corner is a little bit of bulb fennel Zefa Fino poking into the frame. This is another great option for for those of us needing cold hardy and interesting garden plants. In the kitchen, I simply slice up the bulbs into long, thick wedges and roast in a 400F oven with olive oil, herbs and seas salt. And the bottom right corner is the soldier of the spring garden: Natacha escarole. This chicory relative is huge, easy to grow, and equally perfect cooked in a braise or sautéed or eaten raw in a salad, again with that garlicky Dijon vinaigrette. Escarole withstands multiple hard frosts, grows quickly to a 3 pound head, and is frankly one of the better values in the garden. A small to medium escarole in the grocery store can cost close to $4. And from one 4 pack, you can easily have twelve times the yield for about the same amount of money.

Here we have Lily sampling a bit of Lacinato kale. also known as dinosaur kale, Tuscan kale, or cavolo negro. We love it for its nutty flavor and the fact that a few plants stuck in the ground in April will produce until December. Again, a pretty good value! In front of the kale is more boc choi, Red Choi. And in front of that is ruby red chard. Chard is the least cold tolerant of all these greens, but it can take a few light frosts. The others can survive a few dips even into the 20's and come out fine.

From seed, I like to start radishes and spinach and peas, because really, who can resist this sight:

Get ready, set, go. Spring is coming, and we want to help you get ready. And soon, we will be looking at this:

Herb Thoughts

Herb garden planning is not a lot of work, but here are some thoughts I have put together on the topic. Herbs are easy to grow for the most part, but they are a big category of plants (we grow 100 varieties of herbs) and it helps to break them down and organize them into categories. This will help any gardener plant the right plant in the right place and give it the preferred amount of water, sunlight, food, and water.

Why grow herbs? For flavor, fragrance, and beauty - it is the easiest way to improve the flavor of what you cook. It is also one of the easiest ways to have a container garden on your porch or deck.  Herb gardening is intimate - you get close to the plants, smell them, taste them, see them respond to regular clippings. They are a perfect way to better understand plant physiology and the best short cut to great food made with little effort.

Propagation: Plants vs. Seeds

All herbs can be planted from plants, and some can be planted directly into the ground as seeds. The herbs that you can seed directly in the ground and expect great results are: cilantro, dill,  and chamomile. Everything else will do much better if you start the seeds in containers in a sheltered environment. You can start your own herb transplants easily if you have grow lights and a heat mat. Many herbs take a long time to germinate and many herbs are propagated only from cuttings. Making your own rooted cuttings is possible too, but that takes a little more of a sophisticated set up with misters, rooting hormone of some sort, and humidity domes. For those herbs, it is generally easier to purchase the plants.

Herbs from Seed:

  • Parsley
  • Chives
  • Cilantro
  • Dill
  • Chamomile
  • Savory (winter and summer)
  • Marjoram
  • Basil (all kinds)
  • Common Mint
  • Sage
  • Catnip
  • Chervil
  • Oregano (basic varieties)
  • Thyme (basic varieties)
  • Shiso
  • Sorrel
  • Lovage
  • Lemon Balm
  • Fennel
  • Salad Burnet

Herbs from Cuttings:

  • Rosemary
  • Lavender
  • Mints that are true to type (spearmint, peppermint, pineapple mint, etc)
  • Tarragon
  • Specialty Thymes (lemon, variegated, silver, etc)
  • Specialty Oregano (golden, ‘Hot and Spicy’, variegated, etc)
  • Specialty Sage (purple, tricolor, golden, etc)

Containers vs. in the Ground

Some plants love to be planted in the ground and others would prefer to be in pots.  Generally speaking, the herbs that like it dry and warm will prefer to be in a clay pot that breathes like Italian terra cotta. Plants that like it wet and cool might prefer to be in the ground, but they can also be grown in pots if the right conditions are given (more watering, a glazed or plastic pot, heavier potting soil, a little shade).

Herbs that like to grow easily in the ground in Vermont:

Cilantro, Dill, Parsley, Rosemary, Savory, and Chervil

Herbs that prefer to be in containers in Vermont: EVERYTHING ELSE!

This does not mean that you cannot grow herbs in the ground, it just means that in containers, it can be a little easier.

Some herbs do really well as tiny shoots for micro-greens: chervil, dill, cilantro, basil, fennel are our favorites.  And they are easy to grow indoors year round – just pat down some moist potting soil in a shallow container (only need 2” or so of soil) with holes in the bottom, press in the seeds, cover very lightly with a thin layer of soil, and keep moist. When the first set of true leaves begin to emerge, they are ready to eat. You can also grow pea shoots and sunflower sprouts this way. A south facing, sunny window is sufficient.

You can bring in potted herbs in the fall and keep them in a sunny window for use during the winter. The herbs that do best with this treatment: sage, parsley, rosemary, thyme, and savory. Basil can be brought in as well, but it won’t be terribly happy unless you have grow lights for it.  If you had some of these herbs planted in the ground, you can dig them up and slowly acclimate them to being in a pot and being indoors.

Herbs can be dried or frozen or infused in vinegar or simple syrup for year round use. Pesto or herb pastes made with oil or water can be frozen in small containers.  Drying is very simple or very elaborate – you choose! A dehydrator can be used, and the leaves can be stripped off of the stems once dried and stored in jars in a dark place. Or you can go the simple route and just harvest whole branches of the woody herbs such as thyme, oregano, rosemary, sage, and winter savory. Place the branches in woven baskets and keep in a dark, well-ventilated space. They will dry just fine on their own, and you can keep them covered with paper bags or kitchen linens and use as needed.

Related Upcoming Events

Cooking with Herbs with Molly Stevens and Julie Rubaud – a class and dinner.

South End Kitchen, Burlington, Vermont

March 19th.,  6pm

Red Wagon Plants pre-season Open House

April 4th 10 am to 3 pm. Tour the greenhouses and see behind the scenes.

Herbal Cocktail Party with Caledonia Spirits

April 17th, Red Wagon Plants 6 pm to 9 pm

Help us kick off our season with a bang!

Potatoes


All of our potato seed stock is grown by the Chapelle Family Farm, and this is our fourth year providing you with this high quality, Vermont grown, potato seed. Barbara and Robert Chappelle have been growing potatoes in Vermont for over 30 years and they are one of the quiet heroes of the vegetable farming world in Vermont. You don't hear a lot about them in the media, but they are incredibly respected for all of their hard work, and the quality of their potatoes. It is from Barbara and Robert that all the best vegetable growers in this area purchase their potato seed. And at Red Wagon, you can too! This is one of the few places home gardeners can purchase Chappelle potato seed. Here are the varieties we have chosen for you this year. 

Adirondack Blue

Adirondack Red

La Ratte Fingerling

Amarosa Fingerling

Red Norland

Chieftain

Yukon Gold

Yukon Nugget

Carola

Kennebec

Green Mountain

Russet Burbank

German Butterball


Pollinator Habitat Restoration for the Home Gardener, Part 2: Butterflies and Hummingbirds

By Hope Johnson (Part 2 of a series. See Part 1 to learn about promoting bee habitat)

Of 339 species of hummingbirds, only two inhabit the area East of the Mississippi-the very rare Rufous and common Ruby-throated hummingbirds. There are many butterfly species in our state  (see Vermont Center for Ecostudies’ Vermont Butterfly Survey and The Butterfly Site’s List of Butterflies of Vermont).

Both Hummingbirds and butterflies are attracted to nectar-rich flowers.  Butterflies prefer purple and yellow flowers and hummingbirds are attracted more to red and blue. Site your nectar plants in an open area of the yard, and be sure to include host plants which provide forage for caterpillars. Remember, some butterflies don’t live on nectar from flowers but instead feed on soft and over-ripe fruit. (See The Nature Conservancy’s Gardening with Vermont Native Plants.)

Wondering what to plant? Here's a list of Top Ten flowers for Hummingbirds and Butterflies:

1.  Yellow cosmos

2. Phlox: Meadow phlox, P. maculata and Garden phlox P. paniculata.

3. Cardinal flower, Lobelia cardinalis

4. Goldenrods, Solidago spp.,  attract monarchs.

5. Butterfly weed, Asclepius tuberosa.

6. Purple coneflower, Echinacea purpurea.

7. Columbines, Aquilegia spp.

8. Scarlet sage, Salvia splendens.

9. Red buckeye, Aesculus pavia, small tree.

10. Spiderflower, Cleome.

What else do butterflies and hummingbirds need? Water! Hummingbirds naturally use the smooth leaves of deciduous trees such as dogwoods, eastern redbud and sugar maple as birdbaths, but also appreciate misting sprinklers. For drinking, butterflies require a thin film of water such as around puddle edges or in slight depressions on rock surfaces.

What else can we do to provide habitat? Butterflies roost in trees and some hibernate in the winter. Leave sites for overwintering such as sheltered spots where caterpillars or pupae can survive the cold weather. Leaf and plant debris shelter chrysalises and pupae and provide a hibernation box in areas devoid of natural debris. Native shade trees provide protection from hot sun, heavy winds and driving rain. Consider a hedgerow for protection from prevailing winds. Perennials with wide leaves such as hosta provide cover for butterflies. In the East, nest sites for hummingbirds include common native trees such as oaks, hickories junipers, hemlocks and pines. Open branching shrubs such as spicebush (Lindera benzoin), hawthorns (Crataegus spp) and willow (Salix spp) are preferred for perching sites. You can provide a source of nesting materials by putting out a suet feeder filled with natural fibers such as cotton fluff and small feathers.

Lastly, avoid use entirely of insecticides in gardens intended for butterflies. These include malathion, Sevin and diazinon. Bacillus thuringiensis is lethal to caterpillars. Most butterfly caterpillars do not cause the leaf damage like that made by tent caterpillars and gypsy moths. Let those butterfly caterpillars do their thing and watch as these pollinators enjoy your garden!

References

Attracting Native Pollinators: Protecting North America’s Bees and Butterflies, The Xerces Society Guide, Storey Publishing, 2011.

Attracting Butterflies and Hummingbirds to Your Backyard, Roth, Sally.   Rodale, Inc., 2001.

Website: How to Attract Butterflies to Your Garden, National Wildlife Federation, nwf.org.


Pollinator Habitat Restoration for the Home Gardener, Part 1: Bees

By Hope Johnson

(Part 1 of 2. See Part 2 for information about promoting butterfly and hummingbird habitat).

Habitat loss, degradation, and fragmentation are serious threats to the survival of pollinators.  There are three basic pollinator habitat requirements:

1.  Flower-rich foraging areas and water source.

2.  Suitable host plants or nests where they can lay eggs and/or raise brood.

3. Environment free of pesticides.

This blog series will focus on the habitat needs of bees (social and native solitary), and the butterflies and hummingbirds which are the pollinators we most often encounter and recognize in our home gardens.

Bees

Of the 20,000 species of bees worldwide, 4,000 are native to the U.S. and 90% of these are solitary. These include bumble, mason, and ground-nesting bees. The domesticated honeybee is a European import.

Bees prefer purple, yellow and white flowers and see ultraviolet color patterns, such as shape and color ‘nectar guide” patterns that provide clues to the location of nectar in the flower.  Not surprisingly, sequential bloom  is important for forage all season long. So, what to plant?

Here's a list of Top Ten Perennials for bees and other pollinators from Annie White at University of Vermont:

1. Monarda fistulosa, Bee Balm.  More resistant to powdery mildew than M. didyma (red).

2. Aster Nova-angliae. late season nectar source (for Monarchs, too).

3. Eupatorium purpureum, Joe Pye weed.

4. Penstemon digitalis, foxglove beardtongue, native.

5. Veronicastrum virginicum, Culver’s root. Blooms late summer.

6. Helenium autumnale, Sneezeweed.  Deer and rabbit repellant.

7. Lupinis premis, Sundial lupine.  Host plant for butterflies and native to Vermont.

8. Lonicera sempervirens, Trumpet honeysuckle. Native and blooms June to September.

9. Echinacea purpurea, purple coneflower.  native to NY and CT, composite flower.

10. Agastache foeniculum, anise hyssop.  Native to NY and NH.

Other ways to promote habitat? Seventy percent of bees live in the ground and these include the squash bees that nest in the ground near the squash and cucumbers they pollinate.  Preserve areas of bare or sparsely vegetated well-drained soil and avoid compaction of same. Also preserve dead or dying trees and hold the fall clean-up since tunnel nesting bees rest in the debris. Create your own wooden net blocks or bundles of hollow stems.

Avoid using insecticides containing systemic neurotoxin neonicotinoids especially Imidacloprid and Clothianidin that linger in the soil and can remain active for a year or more. Neonics are absorbed by the plant and dispersed in plant tissues including pollen and nectar and they are toxic to bees and beneficial insects. Although there is conflicting evidence that neonicotinoids cause colony collapse disorder for honeybees, there is increasing evidence that topical or ingested exposure in bees retards colony growth, impairs navigation and foraging behavior and may increase their susceptibility to other pathogens such as mites, bacteria and fungal infections. See Friends of the Earth Bee Safe Gardening Tips for a full list of neonics to avoid.

Bee in squash blossom

Local Resources

“The Buzz on Designing Pollinator Friendly Landscapes”

Annie White, UVM Graduate Research Assistant.  Presented at 2013 Flower and Garden Show, Burlington, VT.  At PollinatorGardens.org, see “Top ten perennial plant choices for pollinators” and  “Designing pollinator-friendly  landscapes”.

“Enhancing Pollinator Populations for Farms and Gardens”, presentation by John and Nancy Hayden of The Farm Between at NOFA Winter Conference 2014.   At thefarmbetween.com, see full powerpoint presentation and info on June 30th, 2014 Pollinator Workshop.

“Attracting and Conserving Native Pollinators”, presented by Anne Dannenberg, Pollinator Habitat Consultant, a One Night University class at Access CVU, 3/10/14. Contact:  acd@gmavt.net

Echinacea purpurea

What to Plant in Late June

Has your garden been producing lots of vegetables yet? We have been harvesting for a while thanks to some season extension and some early plantings.  Boc choi, lettuce, escarole, radishes, asparagus, chard and kale have all been making regular appearances in our meals and keeping us out of the produce aisle at the grocery store. So now, there is a little room in the garden where some of these plants have been harvested. What to plant next? There are so many options, and we like to take these "gaps" as a time to experiment, or add some diversity to the garden, or take advantage of short season crops that can be ready before planting a fall crop, or put in another generation of a warm weather crops to ensure a healthy harvest for as long as possible. Here are a few ideas......

Experiment

An empty spot or two is the perfect place for planting something new. Preferably something that does not take up too much room, and something that grows vertically so that it does not crowd its neighbors. Celery, fennel, scallions, boc choi and chard are all great candidates. Or a new variety of lettuce, or some arugula or mustard green you've been wanting to try. These are all crops that are fairly quick to harvest and will help maximize your harvest  in that precious garden real estate.

Add some diversity

Small spots are just perfect for adding flowers to the garden that will attract pollinators, provide habitat for beneficial insects, and will give you blooms to enjoy in the garden or in a bouquet. There are many great annual flowers that grow well in tight places and they break up the wide expanse of vegetable plants. By punctuating the garden with blossoms, you make it harder for predator insects to find your vegetables and you create a more diverse ecosystem, in miniature. Going for the most diversity possible in a small space is a great move in your over all pest control strategy. Some flowers we recommend for tight spaces:

Cosmos

Verbena Bonariensis

Zinnias

Sneak in a short season crop

Arugula, baby boc choi, spinach, lettuce, radishes, dill, cilantro and scallions all grow quickly and can take a bit of shade from their neighbors. This means you can plant them in close proximity to taller plants, and they won't mind one bit. They even enjoy the shade in the heat of summer. These can all be started from seed or transplants this time of year, and are a great way to add something to your table that you may not have planned on. Keep salads fresh with new lettuces, don't keep eating those bitter old ones! Same with arugula that has bolted or is too holy from flea beetle damage.....start with some fresh ones for those July salads.

Add a second generation of a warm weather crop

This is a great time to plant another round of cucumbers, cantaloupe, a short season tomato, hot pepper, summer squash or zucchini. You can try out a new variety to mix it up, and even grow a vining crop on a trellis to save space. The plants were planted a month ago are going to be producing pretty soon, and when they get tired out or have a pest or disease issue, your new plants will be just maturing and ready to provide you with a new round of goodies. You can maximize the bounty this way, and you won't be tempted to keep an old and diseased plant in the garden if there is a new one ready to report for duty.   This will also help with your disease and pest prevention over all.

Remember that the more you keep up with the garden, the tastier your meals, and the healthier your plants. There are so many reasons to garden, and keeping the plot looking and tasting good will keep you motivated to maintain your garden and to eat really well!

What can you plant now?

Lots of things can go in the garden now. Take advantage of some season extension, gentle April rains, and your spring garden eating will be taking place a little sooner. Season extension - row covers, cold frames, and mini greenhouses......

Crops that like it cold.....

Cabbage

Leeks

Onions

Artichokes

Bok Choi

Kale

Spinach

You can use row covers to extend the season and create a little spring heat in this cold year. We use a white, floating row cover (called Reemay sometimes) over hoops made out of 9 gauge wire, which can be found at farm supply stores. You can buy fancier hoops in garden centers, but the home made wire hoops work really well and cost a fraction of the price. You will need bolt cutters to cut the wire.

Happy cold time gardening, and please don't hesitate to get in touch if you have any questions!

Planning Now for Great Eating all Year Long

Lori and Doug's Garden

Garden Planning for the Seasonal Kitchen

Growing vegetables in your backyard, community garden or in some containers by the kitchen door is a great way to feed yourself -- whether it be just a few ripe tomatoes in August or a full-fledged homesteader's garden, you are on the right path to feeding yourself and your family. Gardening is a great way to improve how you eat while spending some contemplative time outside. With all of these benefits in mind, it is easy to jump into gardening enthusiastically, and you will reap even more rewards with a little bit of planning.

In Vermont, our gardening season seems short but can be stretched almost year round with a few simple tips. I always recommend that people take a look at how their vegetable gardens have been in the past and find just one or two things they would like to improve so that they can grow more of it for a longer season. For example a common question I hear is "how can I keep cilantro from bolting?" Well, in short, you can't! But with a few changes in your gardening practices, you can grow it all spring, summer, and fall without ever seeing it go to seed. The trick is to understand the life cycle of each vegetable or herb and how to best plant it to maximize it's harvest. With certain crops, like zucchini, it is best to understand how prolific they are and to plant them conservatively so that the entire garden (and thereby your diet and your neighbors' diet) is not taken over with just one thing. It is also helpful to plant things seasonally so that the harvest is not so overwhelming in August with little to eat before or after. Or sometimes we just want fresh salads all summer, but don't replant and are left salad-less after July 1st.

Succession Planting for Successful Gardening

Certain crops should be planted multiple times throughout the season to ensure a continuous harvest. This is called succession planting. How often you plant is a matter of taste and space and time. The following list describes the maximum you could do with each crop, but adjust according to your needs and priorities -- this is just a guide. If you want to make sure you have a certain vegetable all summer long, then you can follow the guidelines. If you want it a little less, then create your own modified planting schedule.

Planting Guide

Lettuce can be grown from seed or from transplants. Seed grown lettuce is often grown in a row that can be cut and will re- grow a few times - think of mesclun. Transplanted lettuce can be grown to produce full heads like what you find in the store. Both methods require regular planting every week or two for a continuous harvest.

  • It can be planted from seed in mid-April to mid-August for cut greens
  • Or it transplanted for full heads from late April / early May through early August.

Some people will transplant a few plants and plant some seeds at the same time in a different area; this method provides two generations of lettuce and two types of salad greens. Once the cut lettuce becomes bitter in the heat of summer, it is best to pull it up, recondition the soil with compost, and plant something else. If the goal is to always have fresh lettuce, it is very simple to do if you remember to replant it. You can even purchase a number of plants and hold some in their pots in a shady spot and only plant out a few each week. You can seed it yourself in trays or pots and follow this same method. Having several varieties, cold-tolerant ones for spring and fall plantings, and heat-tolerant ones for mid-summer, will produce the best flavor.

Cilantro is very similar to lettuce in its growing habits. It will grow up to a point and then goes to seed, called bolting. It will bolt more quickly in summer heat and, conversely, will stand ready to harvest for many weeks in the cool weather of fall--even early winter. It is good to time plantings so that cilantro is ready to harvest before June 21 (the solstice), and then plant more afterward. It can be transplanted or grown from seed. Like lettuce, it is simple to do both at the same time, thereby giving the gardener two generations. Cilantro seed is coriander, so it does have a use if you enjoy that flavor. There is nothing you can do to prevent cilantro from bolting entirely, but you can slow the process down by placing your mid-summer plantings in a partly-shady spot.

Dill can be treated just like cilantro, and, like coriander seed, dill seed heads have a use in the kitchen, so it is fine to let some of the dill patch go to seed. The seed heads can be used in pickles. you can also let them self-sow or save the fully dried seeds in a paper bag for replanting.

Basil can be planted multiple times for best results. Plants can be pinched to slow down the flowering, but best flavor will come from newly replanted basil plants. This is a heat loving plant. Should only be planted once soil temps are in the upper 50's - usually last week in May or first week in June. Basil's flavor is at its peak right before it starts to make flowers.

Cucumbers, cantaloupes, and zucchini and summer squash are best in quality when well tended.Just a single plant or two of any of those is usually enough for the home gardener, but by planting it two to three different times, the quality will always be good.

  • The best planting dates are: June 1st (or last week in May if you are in a warm spot), July 1st and July 15th.

This method will ensure a continuous harvest of prime looking vegetables. Just remember to pull out and discard the pest- and disease- prone older plants. If your compost gets very hot and is well managed, it is okay to compost these plants. Pest problems will diminish when the older, less healthy plants are removed.

Arugula, Cress, and other cutting greens for saladsare best if sown or transplanted on a weekly or biweekly basis. Again, a small amount can be seeded next to the transplanted crops in order to give you 2 generations at once. This way you can have smaller quantities coming in at various times.

Broccoli gives the gardener a couple of options.

  • It is best if transplanted and can be planted 3 dates in the spring and 3 dates in late summer for a continuous harvest.
  • I would choose late April, early May and mid May for the spring plantings and
  • then Early August, mid August and early September for the fall plantings. Full heads can be harvested and the plants can stay in the ground to produce side shoots.

Green Beans are best when fresh and young. The seed is relatively cheap, so it is better to rip out old plants and have new ones coming along regularly. Having smaller, multiple plantings also means that no on is stuck picking beans for hours on end. Sow new seeds when the previous or first generation is about 6 inches high.

Boc Choi, Cabbage, Scallions, and Cauliflower can also be planted multiple times. Cabbage holds well in the heat and

  • can be planted every couple of weeks late April through early August.
  • Boc Choi and Cauliflower are not as heat tolerant and should be planted around the same dates as broccoli (see above).
  • It is best to use row cover like Reemay on these young transplants so that flea beetles do not destroy the plants.

Spinach is another one that does not do well in the heat, but can be planted multiple times in spring and late summer. It can also overwinter with a little straw mulch for very early spring eating.

  • Frequency of planting can happen every week mid April to early June and then early August to mid September. T
  • he last plantings in September are the ones which will be over-wintered and eaten the following spring.

Apply straw mulch on overwintering spinach in December once the ground is frozen.

Beets, Carrots, Turnipscan be planted every two or three weeks from mid-April until about the third week in July. Summer carrots are not the same as fall carrots and certain varieties do better in summer than in fall. The flavor of fall carrots is much sweeter, so I usually plant a larger patch in the fall. Fall carrots can also be stored all winter without going bad due to their lower moisture content. I don't love summer carrots, so I often skip those. Remember, it is all about what you like to eat.

Celery and Celeriac are slower growing and

  • can be planted 1 to 3 times during the season, from mid May until early July.

These need lots of water and benefit from straw mulch to hold the moisture evenly around the roots. Bulb Fennel and radishes are similar to lettuce -- they can be planted each week if really loved, but they bolt in the heat and do best in the cooler temperatures of spring and fall.

  • They are best if planted late April to early June and then again late August to mid September.

They are cold tolerant and hold well in late fall. Radishes are grown from seeds and fennel is best transplanted. Fennel also benefits from a straw mulch - even moisture around the roots is what helps it make larger roots. Corn -- it is possible to do multiple plantings over different weeks, but an easier method is to plant all at once, but with various varieties that have different days to maturity. There can be a 40 day span between early and late varieties.

Peas can be planted every week, but this requires a lot of harvesting, irrigating, trellising, and variety research. It is possible though. More practically,

  • the home gardener can sow 2 or 3 varieties in late April with various days to maturity.
  • Fall plantings are sometimes successful but are weather-dependent. These should be done in mid August.

The following are generally planted just once a year, but the harvest can be staggered with a few tricks

Tomatoes, Peppers, Eggplant -- try a few varieties of each in order to not have everything at once. Determinate tomatoes will provide you with a big harvest all at once which is a good thing for people who make big batches of sauce for canning or freezing. Determinate tomatoes are the ones that grow until a certain height and then mature all at once. Indeterminate tomatoes are the ones that grow indefinitely until the frost and the fruit ripens gradually August until frost or disease kills the plant.

Peppers and eggplant are best if transplanted in early June once the soil warms up. One planting is usually plenty, but again an assortment of varieties will keep the harvest varied, staggered and interesting.

Onions and Potatoes are generally planted all at once, and again a few different varieties will provide you with a longer period of fresh eating. Both onions and potatoes can be stored for long periods of time in cool and dark conditions. Both can also be eaten fresh as young, green onions or new potatoes. Both can be harvested, cured, and stored for eating year round, though some onion varieties store much longer than others.

Winter Squash is another crop that is planted just once and can be stored. It is best cured for a week or two in a warm spot before eating.