Herb garden planning is not a lot of work, but here are some thoughts I have put together on the topic. Herbs are easy to grow for the most part, but they are a big category of plants (we grow 100 varieties of herbs) and it helps to break them down and organize them into categories. This will help any gardener plant the right plant in the right place and give it the preferred amount of water, sunlight, food, and water.
Why grow herbs? For flavor, fragrance, and beauty - it is the easiest way to improve the flavor of what you cook. It is also one of the easiest ways to have a container garden on your porch or deck. Herb gardening is intimate - you get close to the plants, smell them, taste them, see them respond to regular clippings. They are a perfect way to better understand plant physiology and the best short cut to great food made with little effort.
Propagation: Plants vs. Seeds
All herbs can be planted from plants, and some can be planted directly into the ground as seeds. The herbs that you can seed directly in the ground and expect great results are: cilantro, dill, and chamomile. Everything else will do much better if you start the seeds in containers in a sheltered environment. You can start your own herb transplants easily if you have grow lights and a heat mat. Many herbs take a long time to germinate and many herbs are propagated only from cuttings. Making your own rooted cuttings is possible too, but that takes a little more of a sophisticated set up with misters, rooting hormone of some sort, and humidity domes. For those herbs, it is generally easier to purchase the plants.
Herbs from Seed:
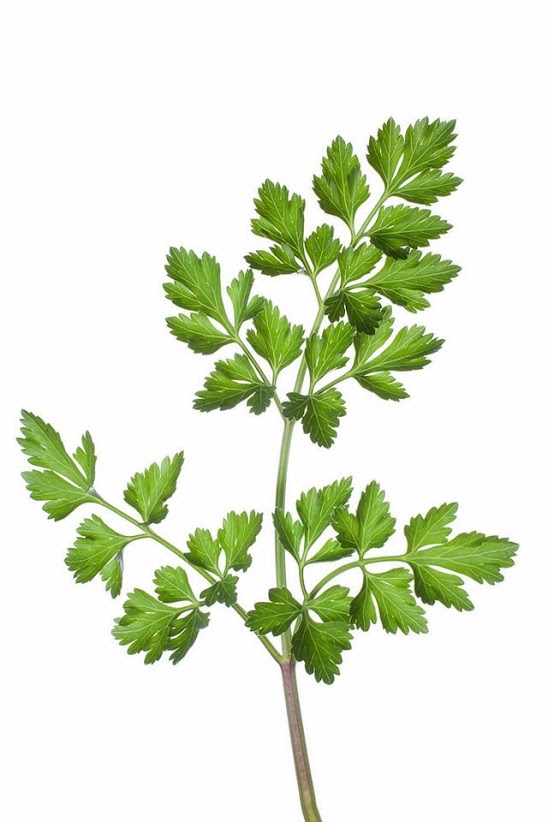
- Parsley
- Chives
- Cilantro
- Dill
- Chamomile
- Savory (winter and summer)
- Marjoram
- Basil (all kinds)
- Common Mint
- Sage
- Catnip
- Chervil
- Oregano (basic varieties)
- Thyme (basic varieties)
- Shiso
- Sorrel
- Lovage
- Lemon Balm
- Fennel
- Salad Burnet
Herbs from Cuttings:
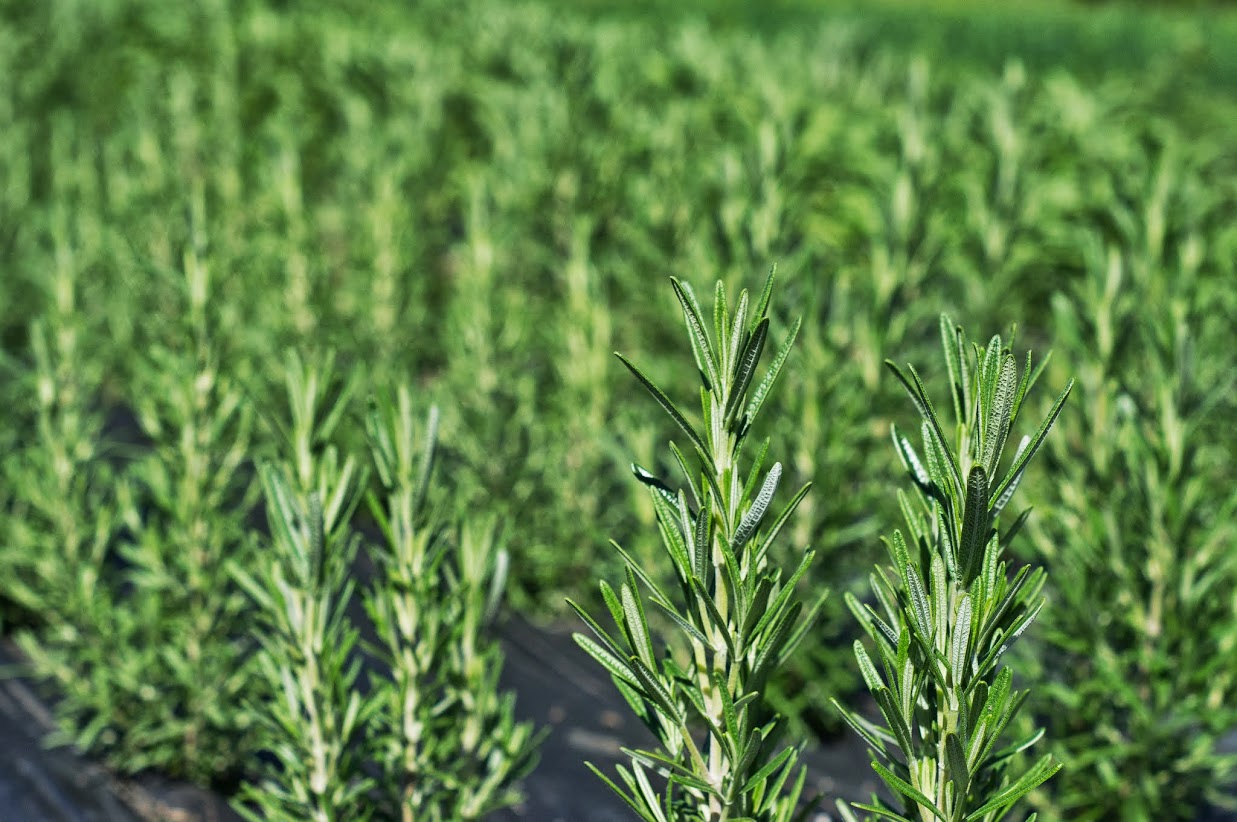
- Rosemary
- Lavender
- Mints that are true to type (spearmint, peppermint, pineapple mint, etc)
- Tarragon
- Specialty Thymes (lemon, variegated, silver, etc)
- Specialty Oregano (golden, ‘Hot and Spicy’, variegated, etc)
- Specialty Sage (purple, tricolor, golden, etc)
Containers vs. in the Ground
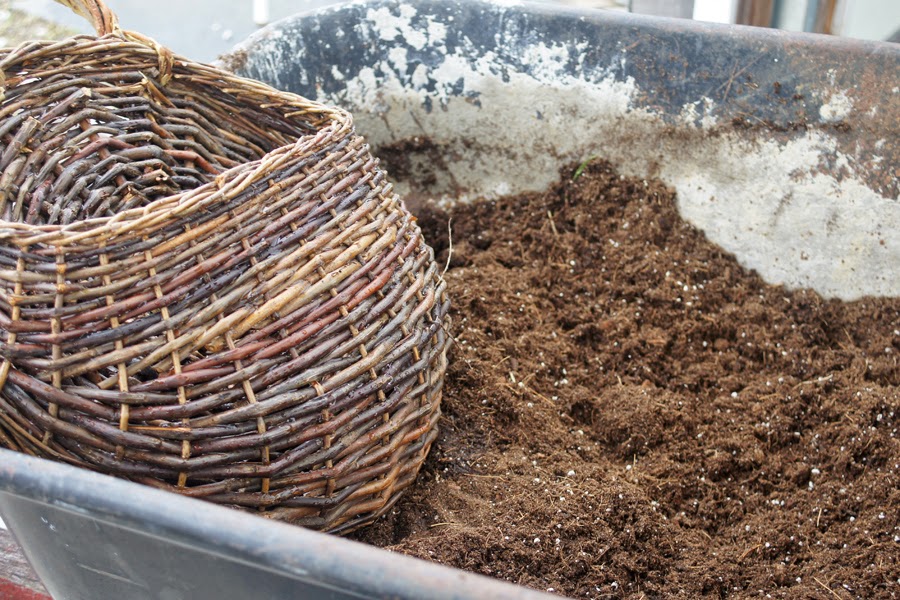
Some plants love to be planted in the ground and others would prefer to be in pots. Generally speaking, the herbs that like it dry and warm will prefer to be in a clay pot that breathes like Italian terra cotta. Plants that like it wet and cool might prefer to be in the ground, but they can also be grown in pots if the right conditions are given (more watering, a glazed or plastic pot, heavier potting soil, a little shade).
Herbs that like to grow easily in the ground in Vermont:
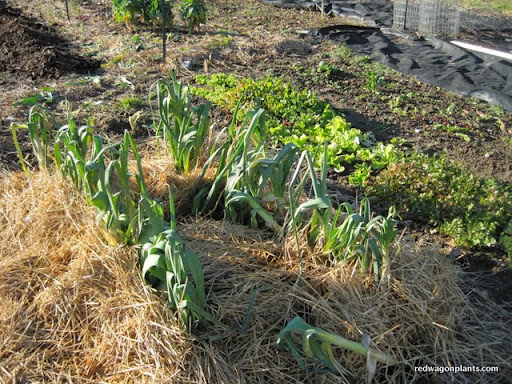
Cilantro, Dill, Parsley, Rosemary, Savory, and Chervil
Herbs that prefer to be in containers in Vermont: EVERYTHING ELSE!
This does not mean that you cannot grow herbs in the ground, it just means that in containers, it can be a little easier.
Some herbs do really well as tiny shoots for micro-greens: chervil, dill, cilantro, basil, fennel are our favorites. And they are easy to grow indoors year round – just pat down some moist potting soil in a shallow container (only need 2” or so of soil) with holes in the bottom, press in the seeds, cover very lightly with a thin layer of soil, and keep moist. When the first set of true leaves begin to emerge, they are ready to eat. You can also grow pea shoots and sunflower sprouts this way. A south facing, sunny window is sufficient.
You can bring in potted herbs in the fall and keep them in a sunny window for use during the winter. The herbs that do best with this treatment: sage, parsley, rosemary, thyme, and savory. Basil can be brought in as well, but it won’t be terribly happy unless you have grow lights for it. If you had some of these herbs planted in the ground, you can dig them up and slowly acclimate them to being in a pot and being indoors.
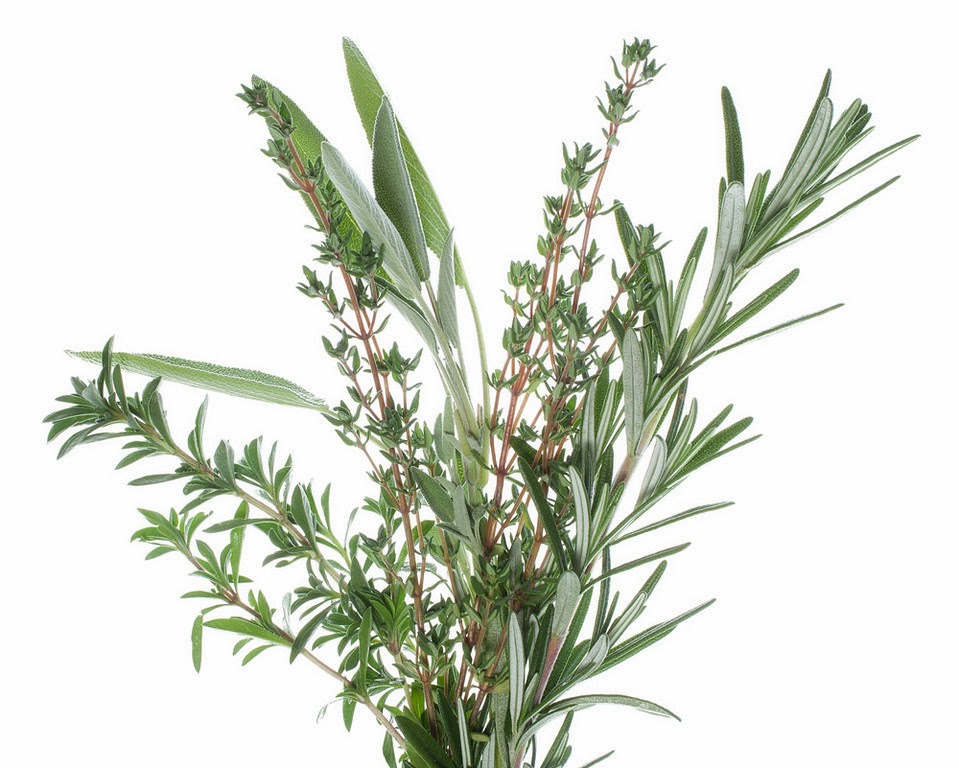
Herbs can be dried or frozen or infused in vinegar or simple syrup for year round use. Pesto or herb pastes made with oil or water can be frozen in small containers. Drying is very simple or very elaborate – you choose! A dehydrator can be used, and the leaves can be stripped off of the stems once dried and stored in jars in a dark place. Or you can go the simple route and just harvest whole branches of the woody herbs such as thyme, oregano, rosemary, sage, and winter savory. Place the branches in woven baskets and keep in a dark, well-ventilated space. They will dry just fine on their own, and you can keep them covered with paper bags or kitchen linens and use as needed.
Related Upcoming Events
Cooking with Herbs with Molly Stevens and Julie Rubaud – a class and dinner.
South End Kitchen, Burlington, Vermont
March 19th., 6pm
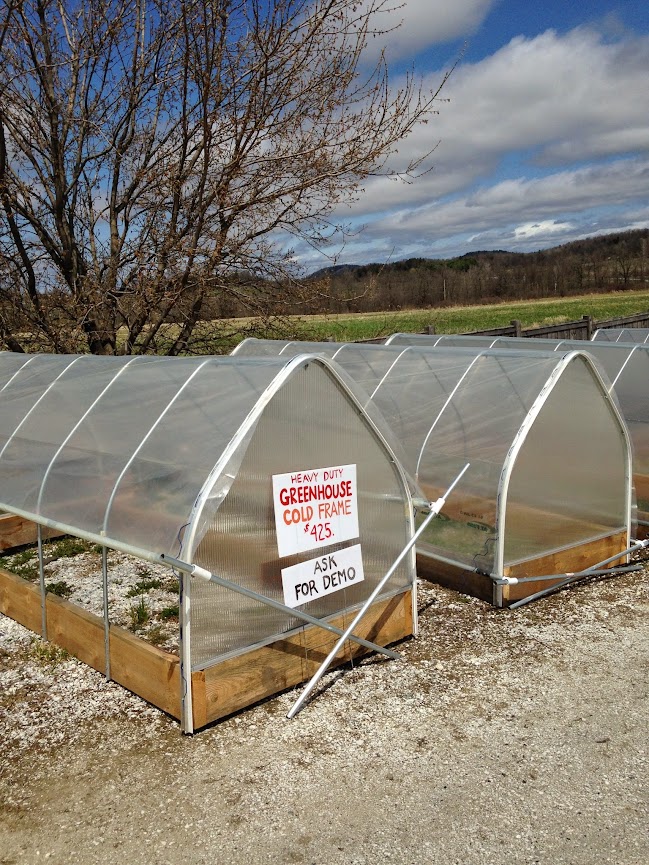
Red Wagon Plants pre-season Open House
April 4th 10 am to 3 pm. Tour the greenhouses and see behind the scenes.
Herbal Cocktail Party with Caledonia Spirits
April 17th, Red Wagon Plants 6 pm to 9 pm
Help us kick off our season with a bang!


")