vermont

Plant of the Week: Buckets and Baskets and Crates, Oh My!

5FBEAEC8-F174-4C45-8DC8-52F1B89D0C80.jpeg

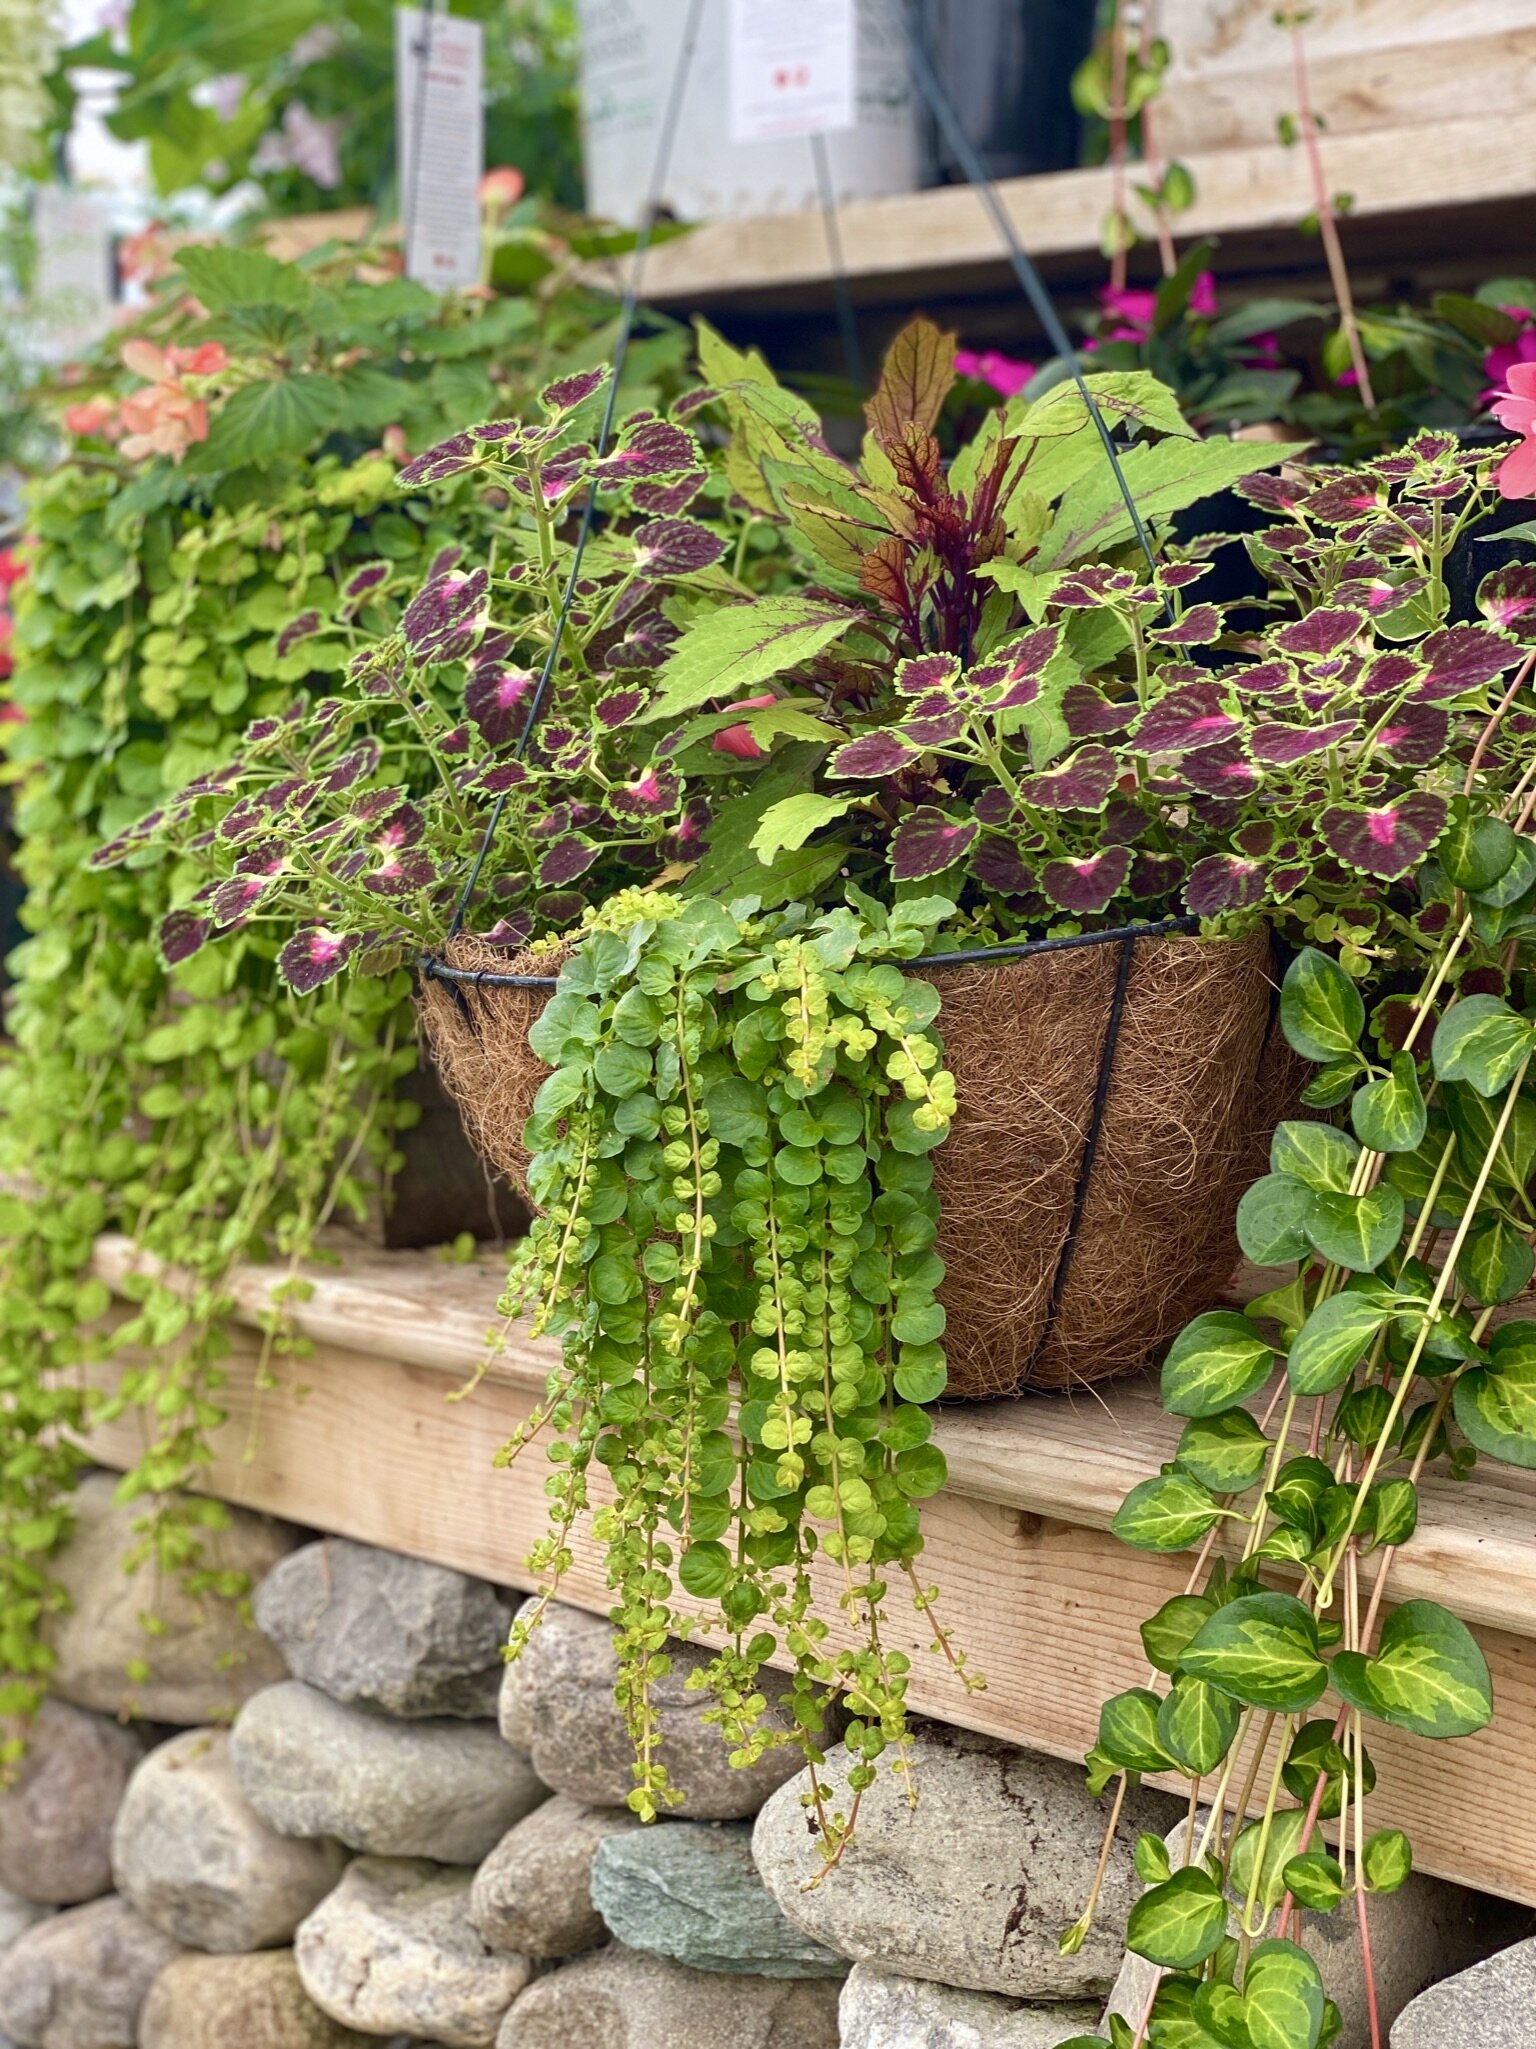
This week we’re featuring one of our best deals yet: Buy one large planter, get one free! If you need some late season color for the porch or patio, we’ve got you covered with vining hanging baskets, gorgeous sap bucket planters, and locally made apple crates from our neighbors at Clifford Lumber that are overflowing with blooms.

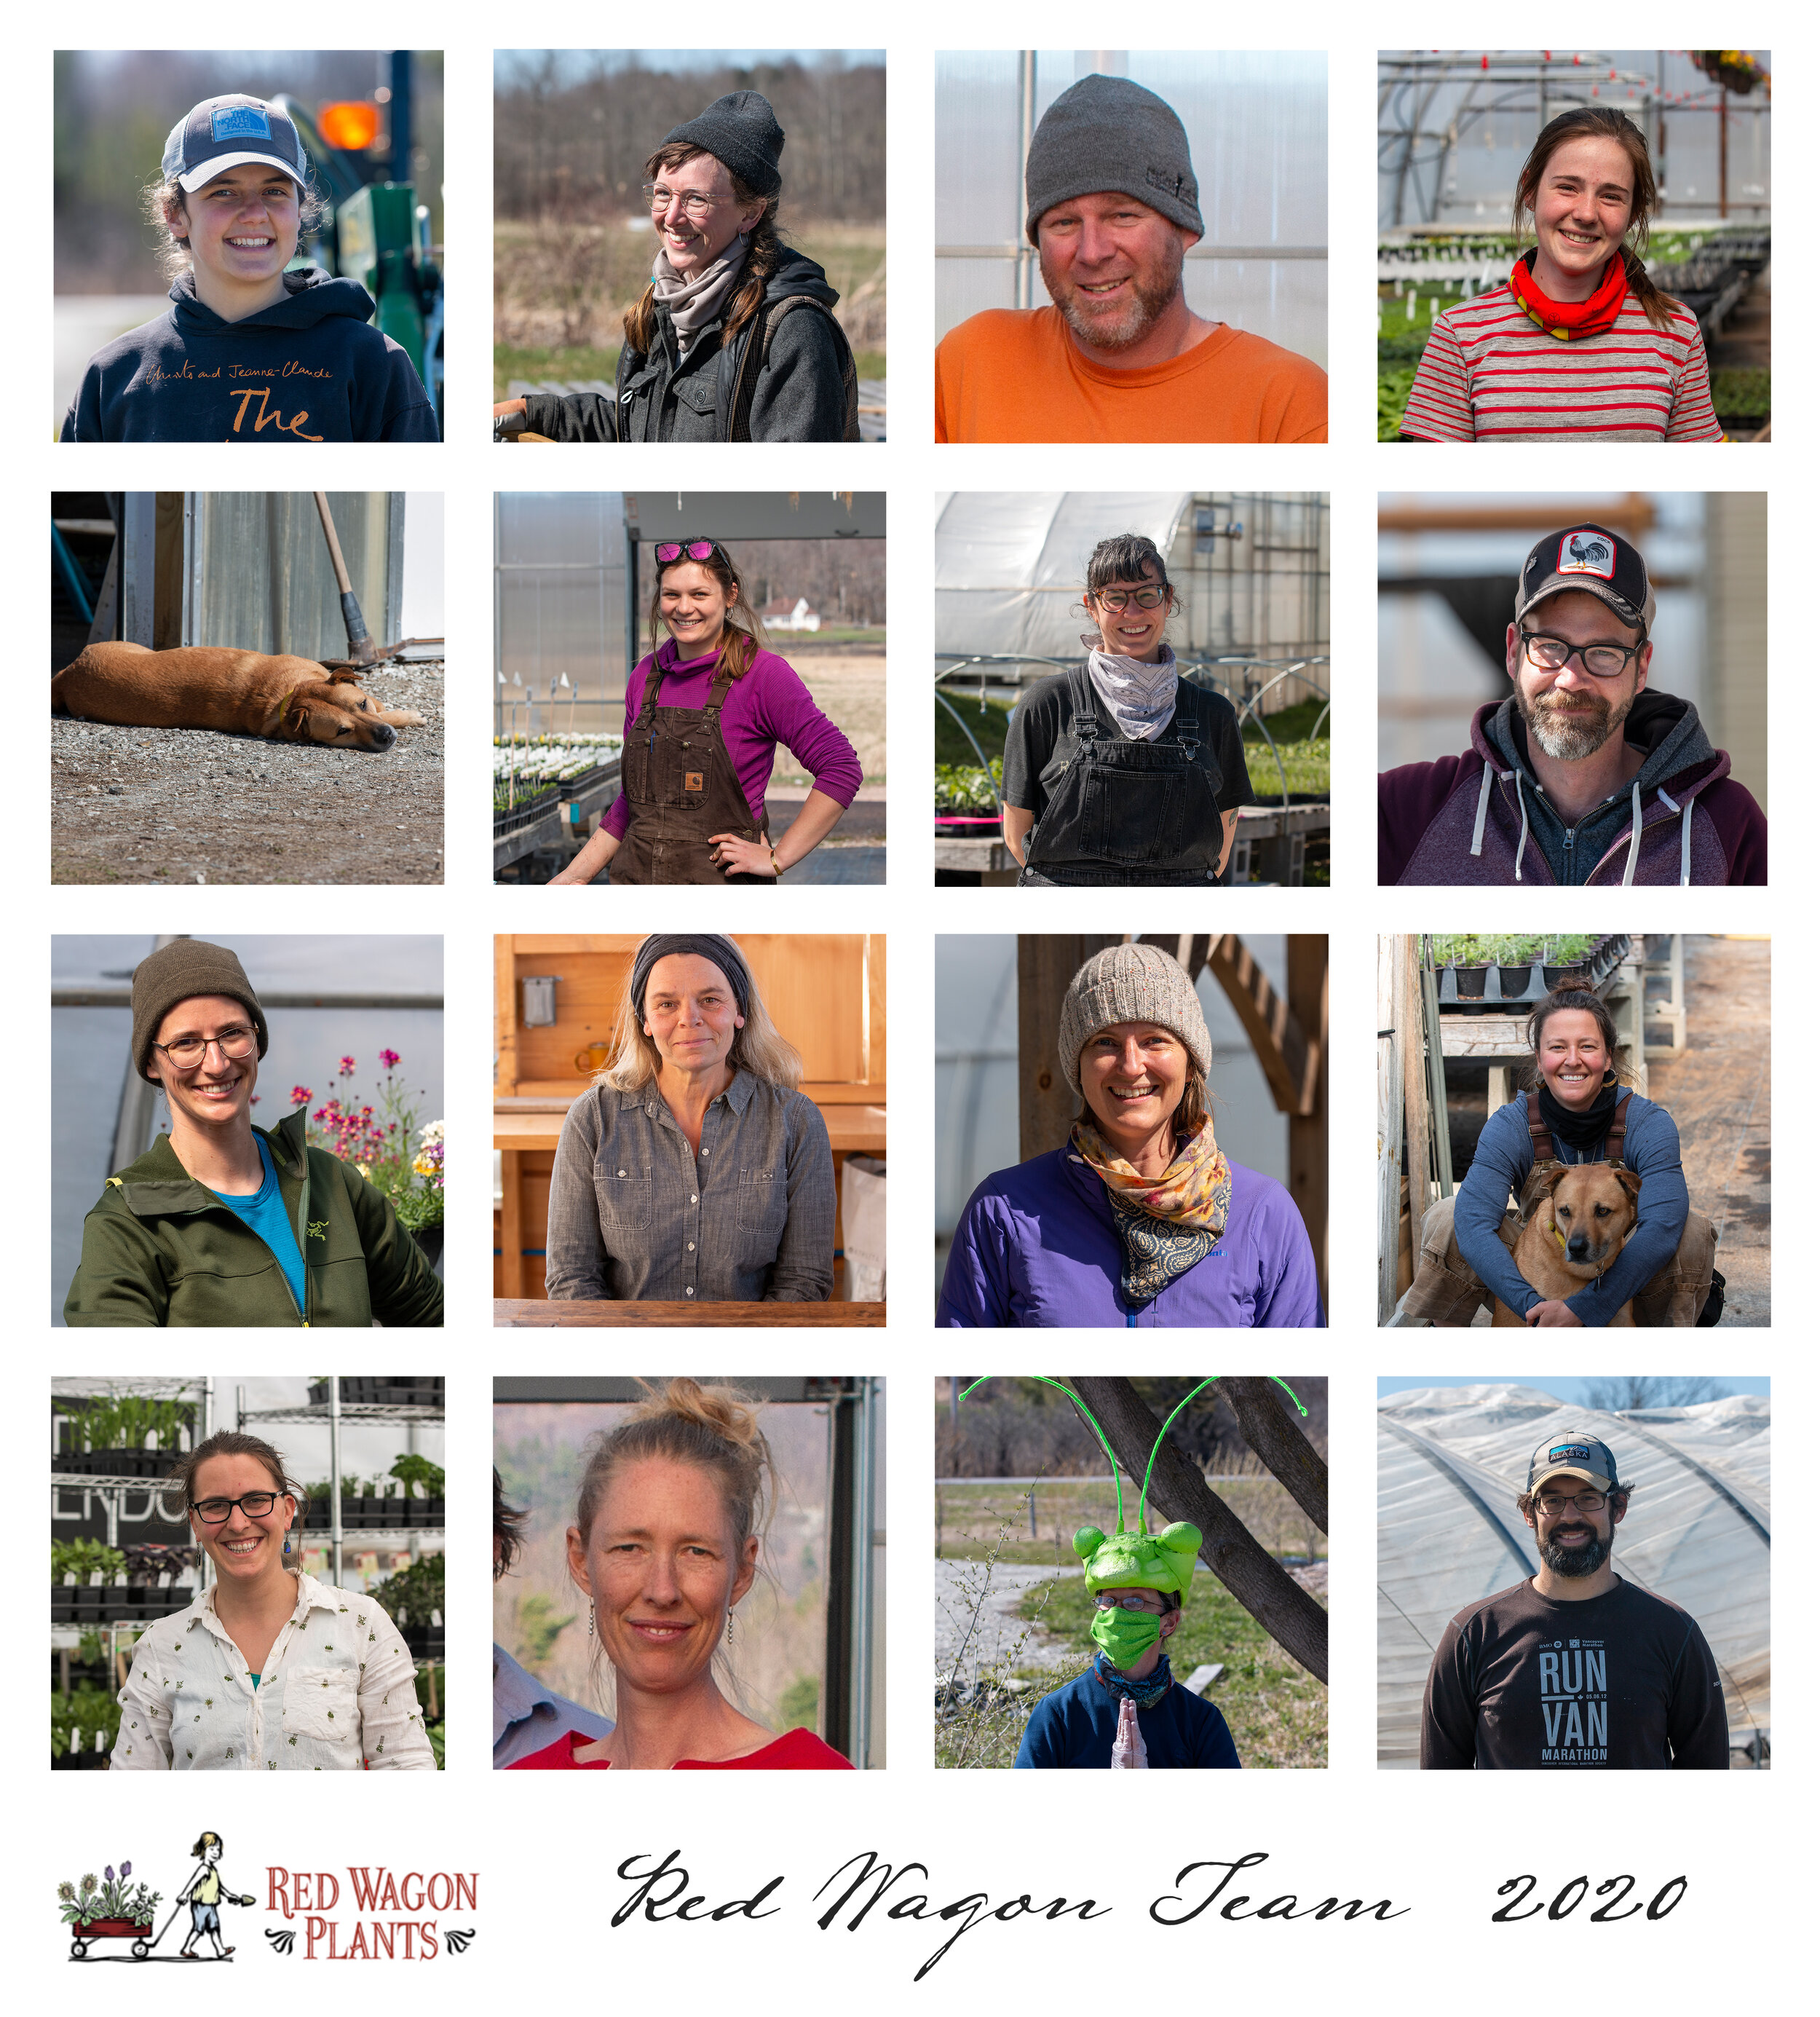
Our friend and retail staff member Hope Johnson is to thank for designing many of our annual combinations. Hope brings a keen eye and a mastery of color and form to everything she does, whether it’s arranging planters or designing her stunning bee quilts. We’re lucky to have an artist like Hope on our team.

Below is a list of the many containers we have available. Prices range between $15.99 and $60, so finding symmetry in your patio garden is particularly economical this week!

  • Thunbergia: Also known as Black-eyed Susan Vine, with pops of butter yellow and orange flowers that peek out from draping foliage. Place in a hot, sunny spot where it can trellis along a fence or drape down from the hanging basket.

  • Mandevilla: A tropical plant with bold pink blooms that we eagerly anticipate every summer. These plants love the heat, but can also be brought indoors to overwinter.

  • Passionflower: We have two varieties of this stunning vine- “Aphrodite’s Nightie'‘ + “Blue Bahama”. Both will produce lush climbing foliage and totally unique blooms through the summer and fall. And did you know it has a calming effect when used as a tea herb?

  • Lophospermum: This year we are finally carrying this sweet flowering vine in “Wine Red” and it could not be easier to grow. Just place the basket in part to full sun and enjoy the burgundy flowers all season long.

  • Nasturtium: A kid favorite! Edible flowers and leaves cascade out of these sweet baskets. Infuse into vinegar for a spicy salad dressing, or pickle the seed pods for a highly local take on capers.

  • Herb Trios: 12” oval pots that feature mixed basil varieties and classic culinary herbs. Bring to your next potluck and place in the center of the table for on-demand garnishes.

  • Tomato Buckets: Trellised in 3 gallon pots, these tomatoes are great for patio snacking or adding some additional cherry tomato varieties to your collection. For folks who are summering in Vermont, they also offer a late planting opportunity.

  • Shade Baskets: If you’re working with part to full shade, fear not. Our fiber baskets are full of sturdy foliage and flowers that look good through the season. Our friends at Stone Soup fill their awning with them every year for long-lasting color and texture.

  • Sap Buckets and Apple Crates: These make wonderful gifts, as they come ready to display and provide cut flower options close by when placed near an entrance or by the kitchen door. This week, you can find the perfect one for a friend- and get one free to keep for yourself.

Passionflower “Blue Bahama”

Passionflower “Blue Bahama”

In the Garden

Have you been cutting back your annual flowers? While it’s important to leave some blossoms for the pollinators to enjoy, cutting annual flowers prolongs their bloom time and provides you with fresh backyard bouquets every day. Additionally, flowers that have been pollinated tend not to last nearly as long in a vase as those that are cut before the insects find them. Now is a good time to scan your cutting garden and prune back any spent flower heads or those that have gone to seed- think of it as a haircut for your garden.

With all the rain we’ve been getting, it’s a good idea to add fertility to your flowers and vegetables now, especially if you have loamy or sandy soil. We like to use Vermont Compost Company’s Compost Plus for gentle, long-lasting feedings that will keep the produce and flowers in peak production.

As always, our retail greenhouses are open from 8-6 every day, and we’re happy to answer questions and help you find your new favorite plants. You can join us in person on August 5th for our free First Thursday event; this month Chad will be talking about pests and diseases of the home garden.

Happy gardening,

Sophie

P.S. If your kitchen ambitions are larger than what your garden can provide, we have bulk fresh herbs available to purchase: Use the secret code BASIL for $5 off your order of Sweet Genovese Basil.

Growing Indoor Greens - a great project to do with kids.

Tokyo Bekana and Ruby Streaks

We all have the spring fever itch around late February, and it can be scratched a little by growing some edible greens indoors. We recommend mustard greens because they tolerate low light, can be eaten while small and they grow relatively quickly.

Just fill a shallow tray with good potting soil that you have moistened well. It should feel like a sponge that has just been wrung out - not drippy, but not dry either. Place seeds on top, about ¼” apart; it does not have to be exact. Gently press the seeds into the soil, and sprinkle a very small dusting of soil over the seeds. It is best to NOT bury them deeply, they don’t need that and it will just slow down the germination.

Keep the soil in the tray moist by watering regularly, and then start to eat the greens when they are anywhere from sprout sized to 4” or so in height. They probably won’t regrow much indoors, but you can experiment and see how they do. The types of seeds you use and the soil and the amount of light you have and how much you water all are factors that affect the rate of growth. Try different varieties, different watering methods and see what works best for you. You can usually have a small “micro-green” harvest within 2 to 3 weeks.

Here are some varieties we recommend for your indoor shoots and micro-greens:

Arugula

Spicy Blend

Mustards

Blast Off!

watering.jpg

The last week of February is when we typically start up the greenhouses. That means we turn on the heaters, run the water, clean up and sanitize all the surfaces of each greenhouse, and get some seeds into the soil. Our spring starts now, with more time in the greenhouse touching plants and dirt and feeling the sun warm us up. While we fast track ourselves out of winter with the help of the greenhouses, here are a few things you could do at home to follow along.

  1. Start seeds. If you have grow lights, now is a great time to start leeks, onions, shallots, and certain perennials. If you don’t have grow lights, you could sprout seeds in a mason jar or start some edible shoots in a sunny window. Mustard greens are the quickest, and the most forgiving of poor light. Here is a blog post on how to start your own shoots and micro-greens indoors. You can order seeds in our online store and pick up your order Friday afternoon (or get in touch to arrange a time that suits you). Our bagged soil has started to come in too. You can s find that here. More soil and seeds coming soon!

  2. Make a plant list. Here is what we are growing this year. This is a perfect time to get out the graph paper, the garden journal or the art supplies and dream up your garden plan. Some people make “mood boards” by cutting out pictures from garden magazines. You can create a digital version using Pinterest, Google Slides, or Powerpoint. Or, if you are like me, you can simply make lists of plant names. I just love keeping a list of plants in a notebook, or on my phone that I can keep adding to as I the mood strikes or as I learn about a new variety. There are so many ways to plan a garden, and they are all correct. Let us know if you want help!

  3. Learn about something new you would like to grow. This year, I really want to get into forcing Belgian endive. I am learning about it on You Tube and by talking to other growers. It is one of my favorite things to eat, but it requires some planning. You can learn more about how it is done on a big commercial scale here, . Chicories in general are on my list for this year. This video by Charles Dowding is a great introduction if you are curious too.

  4. Mark your calendar! We will be opening for walk in shopping on Friday, April 16th. Please keep your eye out for more information about in-person shopping, hours, and COVID protocols. We cannot wait to see you and share the greenhouses with you again.

With gratitude for all of your support,

Julie

PS.

We want to let you know that Family Cow Farmstand will be closing at the end of this week. We are so sad to say goodbye to Aubrey and Scott, and we wish them well on their next adventure. They have been the absolute best farmers, neighbors and friends. We eagerly await their next iteration. For now, come to the farm stand and stock up in the next few days.

A perfect gift from Aubrey this winter - chicories grown in Massachusetts at Kitchen Garden Farm. This photo has inspired my 2021 garden plan and set the bar quite high for improved radicchio growing in our display garden. I cannot wait.

A perfect gift from Aubrey this winter - chicories grown in Massachusetts at Kitchen Garden Farm. This photo has inspired my 2021 garden plan and set the bar quite high for improved radicchio growing in our display garden. I cannot wait.

Thank you, How to Find our Plants and Herbs, plus a Recipe

Thank you from all of us for an incredible, memorable, and unique season!

Thank you from all of us for an incredible, memorable, and unique season!

As our regular retail hours for 2020 end today at 5pm, our team would like to thank you for a wonderfully unique season. We are closing a little earlier than usual, but will keep up a once a week pick up with online sales and will continue twice a week deliveries to our wholesale partner stores. Read below to find out more!

During the month of August, we will be doing curbside pick up once a week, on Fridays between noon and 5. If you would like to order plants, please do so here, and we will have it ready the following Friday as long as orders are placed before midnight on Wednesday.

Our online store will carry an assortment of veggies and herbs for the fall kitchen garden, perennials, and houseplants. For the first time, we will also be offering directly to you the herbs and herbal products coming from our herb farm: freshly harvested herbs in bulk quantities for your drying and processing needs, herb salts, herbal vinegars, and pesto. Please check the website every Saturday for the latest updates, and place your orders by the following Wednesday at midnight for Friday pick ups between noon and 5.

If you need something sooner than the following Friday, just let us know and we can make another arrangement.

Confused? Have questions? Drop us a line at info@redwagonplants.com.

Thanks for a fantastic season in weird times. We are just so grateful for all of the orders and purchases you made this year. You kept our crew going, and you planted gardens like never before. We loved hearing from you and seeing you in person once we opened for shopping.

You can continue to find our plants at our wholesale partner stores:

  • Shelburne Supermarket

  • Gardeners Supply, Intervale and Williston locations

  • Healthy Living

  • CIty Market, South End and Downtown locations

  • Bibens Ace Hardware, North Ave location

Recipe for Herbes Salées (adapted from Spruce Eats)

Here is a traditional Quebecois way to preserve large amounts of herbs to use all winter.

Suggested uses: A teaspoon in hot water makes a soothing and instant herbal broth. Stir into soups and stews, mix into salad dressings and tomato sauce, mix with cream cheese or cottage cheese….the uses are endless and a jar of these preserved herbs will be a welcome reminder of summer and freshness during the depths of winter.

  • 1 cup chives (fresh, chopped)

  • 1 cup savory (fresh, chopped)

  • 1 cup parsley (fresh, chopped)

  • 1 cup chervil (fresh, chopped)

  • 1 cup carrots (grated)

  • 1 cup celery leaves or lovage or cutting celery (chopped)

  • 1 cup green onions (chopped)

  • 1/4 to 1/2 cup coarse salt

    In a large bowl, combine chopped chives, savory, parsley, chervil, carrots, celery leaves, and green onions.. Layer 1 inch of herb mixture in the bottom of a crock or glass bowl and sprinkle with some of the salt. Repeat layers until all of the herb mixture and salt is used.

    Cover and refrigerate for 2 weeks. Drain off accumulated liquid and pack herb mixture into sterilized jars. Refrigerate until ready to use. Can keep for up to a year in the refrigerator.

Herbes Salées photo by Kate Bentley

Herbes Salées photo by Kate Bentley

Ashwagandha, aka Winter Cherry or Indian Ginseng, Withania somnifera, Solanaceae

ashwaganda.jpg

If you’ve been tracking the various “wellness” industries in the past few years, or even just perused the supplement section at your local grocery store, you’ve likely noticed the name of Withania somnifera, commonly called ashwagandha or winter cherry. A powerful herb popularly used in Indian Ayurvedic medicine (among other medicinal traditions of southeast Asia and Africa), ashwagandha root has become something of a darling in the West, used in expensive skincare regimes and “biohacking” diets that pledge eternal life to the devoted. As a member of the class of herbs known as “adaptogens”, ashwagandha has been traditionally used to help with sleep, build adrenal reserves, and improve overall vitality. However, like any exotic remedy, there are very real concerns around the sustainability and ethical production of plants grown far away once an unprecedented demand for them has been created. 

Lucky for us, ashwagandha is a fun and relatively simple herb to grow in the home garden, and its very real health benefits provide an opportunity to easily upgrade your medicine chest. A member of the Solanaceae family, ashwagandha shares some characteristics with other family members like eggplants and peppers. It produces husk-enclosed fruits that look like tiny tomatillos, and appreciates plenty of heat and sunshine. However, ashwagandha is adapted to grow in sandy, dry conditions, and doesn’t need much in the way of water or fertility, just sweet, well-draining soil. Ashwagandha is prized for its long, tough roots, so well-worked soil is imperative to good root growth. The plants should be started indoors or purchased from a nursery (like Red Wagon) to give you a jump start on the season, and only transplanted outside or into a greenhouse once the soil has fully warmed up. I like to space my plants about a foot apart, which provides room for root growth but allows the plants to support each other once they reach their mature height of two to three feet tall.

Ashwagandha grows well alongside Tulsi or other sturdy mint family members like lemon balm, especially those that don’t mind a little shade cast by the ashwagandha leaves. I’ve planted calendula around my plants as well, but the calendula can become a bit leggy if they’re spaced too closely together. The same beetles that like to snack on tomatillo plants (called tomatillo beetles or three-lined potato beetles) will attempt to feast on your ashwagandha leaves. Check the leaves regularly for the tell-tale orange eggs, and if necessary put on some gloves and squash the mating adults and larvae when you see them. Even with a fair amount of leaf damage, the ashwagandha plants will soldier on, but I think it makes for better medicine when the plants are lovingly defended. While the flowers are fairly drab, the husked fruits make for a beautiful backdrop as they turn red in early fall.

Ashwagandha and Tulsi have similar cultural needs: they are warm-climate perennial plants that really thrive as annuals in our short northern summers. Plant ashwagandha in early June, and watch it take off through the whole summer, right up until frost. Harvest by loosening the soil and pulling the whole plant up, making sure not to break the roots in the process. Roots should be sprayed clean and chopped up immediately (a sharp pair of pruners will do the job). The first year I grew ashwagandha, I pulled up a plant and neglected to chop it up for a couple days. That was four years ago, and I still have that same root hanging as an ornament in my house- it grew so rock-hard that processing quickly became an impossible task. Once the roots have been chopped, you have a few options. You can use them whole (added to chai blends or tinctured in vodka), or you can further powder the root and add it to everything from drinks to baked goods. 

Honestly, the first time I smelled fresh ashwagandha root, I thought it smelled like a swimming pool. Since falling in love with its gentle, nourishing qualities, I now associate the smell with the plant’s own charisma. Once dried, the smell is reduced, and you’re left with a potent medicinal herb that carries the extra benefits of being locally grown and lovingly harvested.

Many of the constituents in ashwagandha are best extracted in a bit of fat, so I usually simmer it in a bit of milk or coconut oil when preparing it. Below is a simple recipe for hot chocolate. Try drinking before bedtime to ease into a restful sleep, or as a midday boost without added caffeine! And of course, always talk with your health care practitioner about any herbs or supplements you’re regularly utilizing.

Ashwagandha Hot Cocoa:

  • Ashwagandha root, chopped and dried

  • Cocoa powder

  • Dark chocolate chunks

  • Milk (cow or non-dairy, but make sure it has some fat in it)

  • Cinnamon

  • Sweetener of your choice (I like maple syrup)

    • Toss a handful of chocolate chunks into a saucepan, cover with water, and stir while simmering, until chocolate has thoroughly melted into the water. 

    • Add ashwagandha root (about a tablespoon per serving) and simmer for 5-10 minutes.

    • Add cocoa powder, milk, and cinnamon, and continue to cook on low heat for another 5-10 minutes.

    • Add sweetener to taste, strain out ashwagandha, and serve! The cooked roots can be reused a couple of times before composting. 

Resources:

Ashwagandha monograph: https://www.herbrally.com/monographs/ashwagandha 

Cech, Richo. Making Plant Medicine. Herbal Reads, 2000