FAQ #21: How can I keep arugula, cilantro, lettuce, and dill from bolting?

The first step to preventing bolting is to understand what causes it. Bolting, or going to seed, is a natural part of the plant's life cycle. Some plants have longer life cycles than others. Arugula, lettuce, cilantro and dill all have relatively short life cycles, so they will try to produce seed within 8 to 10 weeks of being planted. It is an inevitable part of the plant life cycle but can be postponed with good management. It can also be caused by shock during transplanting, by too much or too little water, and around the solstice when the days start getting shorter. Transplant shock can be minimized by careful hardening off and transplanting in late afternoon when the plants will not be exposed to intense midday heat. Water carefully and time your plantings so that a fresh generation is coming along before the previous generation goes to seed. Here is a helpful schedule to help you maximize the harvest:

Cilantro - plant every 3 weeks from late April to mid August. These are very cold tolerant and can be grown early and late to extend the season. If you are very eager to have cilantro for salsa, then make sure to plant some in early July so that it is ready to eat at the same time as your tomatoes are ripe. The flowers of cilantro are edible and are a lovely addition to salads and salsas.

Dill - like cilantro, is very cold tolerant and can be grown early and late in the season. This self seeds willingly, so you can always allow a patch to flower and drop its seeds giving you a perpetual patch. The flowers of dill are tasty in pickles and marinades.

Lettuce - lettuce can be grown at the baby leaf stage or the full head stage.  Please refer to our lettuce post to learn more about the timing of lettuce. It should be planted every week or two if you eat lots of salads and want fresh, non-bitter leaves on your plate. It can be planted from seeds or from plants. If you prefer the texture and flavor of full heads of lettuce, then transplant individual plants every 10" - about 4 to 8 transplants a week is plenty. If you prefer cut lettuce leaves, then use seeds, and sprinkle them in a row, about 2 or 3 seeds per inch. Cut lettuce leaves can grow back and provide you with a second harvest, but the quality goes down each time and the bitterness increases. It is best to replant a fresh row of seeds every couple of weeks.

Arugula - like lettuce, it can be grown from transplants or from seeds. It is best to plant it regularly as it does not grow back very well. Its flowers are edible, and can be a nice peppery additions to salads, sauces, and grilled fish.

FAQ #20: Which plants make good houseplants?

Red Wagon grows a number of plants that make good houseplants. The characteristics to look for are a tolerance of shade, a preference for hot conditions (such as tropical plants), and plants that are annuals (do not require cold winters). Some great choices are:

  • Colocasias (Elephant ear)
  • Banana plant
  • Sensitive plant (mimosa pudica)
  • Tuberous begonias
  • Geraniums (nice with dichondra)
  • Dracaena
  • Fuschia
  • Sempervivum (Hens and Chicks)
  • Ivy
  • Juncus
  • Boston Fern and other "annual' ferns
  • Oxalis
  • Scented Geraniums
  • Jade

FAQ #20: Do I have enough sunlight for this plant?

First you need to determine if you have full sun, partial sun, or full shade in the area you are considering. The best way to do this is to spend a day (with a clear sky) at home and note which areas come into sun and when, and when they are in shade again. Do this in spring when you have a realistic amount of sunlight, not in summer when the day is longest.

Full sun means at least 6, but preferably 8 hours of direct sun each day. Sun loving plants can usually survive with less but will not bloom as much.

Part sun and part shade plants prefer 3-6 hours of direct sunlight per day; however part sun plants can usually take more heat than part shade plants, which will want relief from strong afternoon sun.

Full shade means zero to 3 hours of direct sunlight. These plants do NOT want total darkness but rather filtered, or indirect light, such as that provided by a deciduous forest.

FAQ #19: How can I manage powdery mildew?

From Sophia: Powdery mildew is a white powder-like fungus that particularly grows on cucurbits such as cucumbers and squash, French tarragon, bee balm, and other plants under adverse conditions. Powdery mildew does not generally kill the plants but will reduce their productivity and vigor. You can help prevent the disease by giving plants plenty of air circulation, only watering in the morning when the plants have time to dry, not planting cucurbits in the same place two years in a row, and destroying insect pests when you find them.

Once you have powdery mildew, you can manage it by removing the worst affected leaves with pruners. DO NOT put the leaves in your compost pile! Either burn them or throw them in the trash. Wash hands and tools with soapy water or dilute bleach solution after handling affected foliage and before touching other plants. Plants can be sprayed with a copper- or sulphur-based organic fungicide, or with a mixture of 1 teaspoon baking soda to 1 quart of water, once per week on the upper and undersides of the leaves until 2 weeks before harvest. This should eliminate the disease.

FAQ #18: How do I make compost?

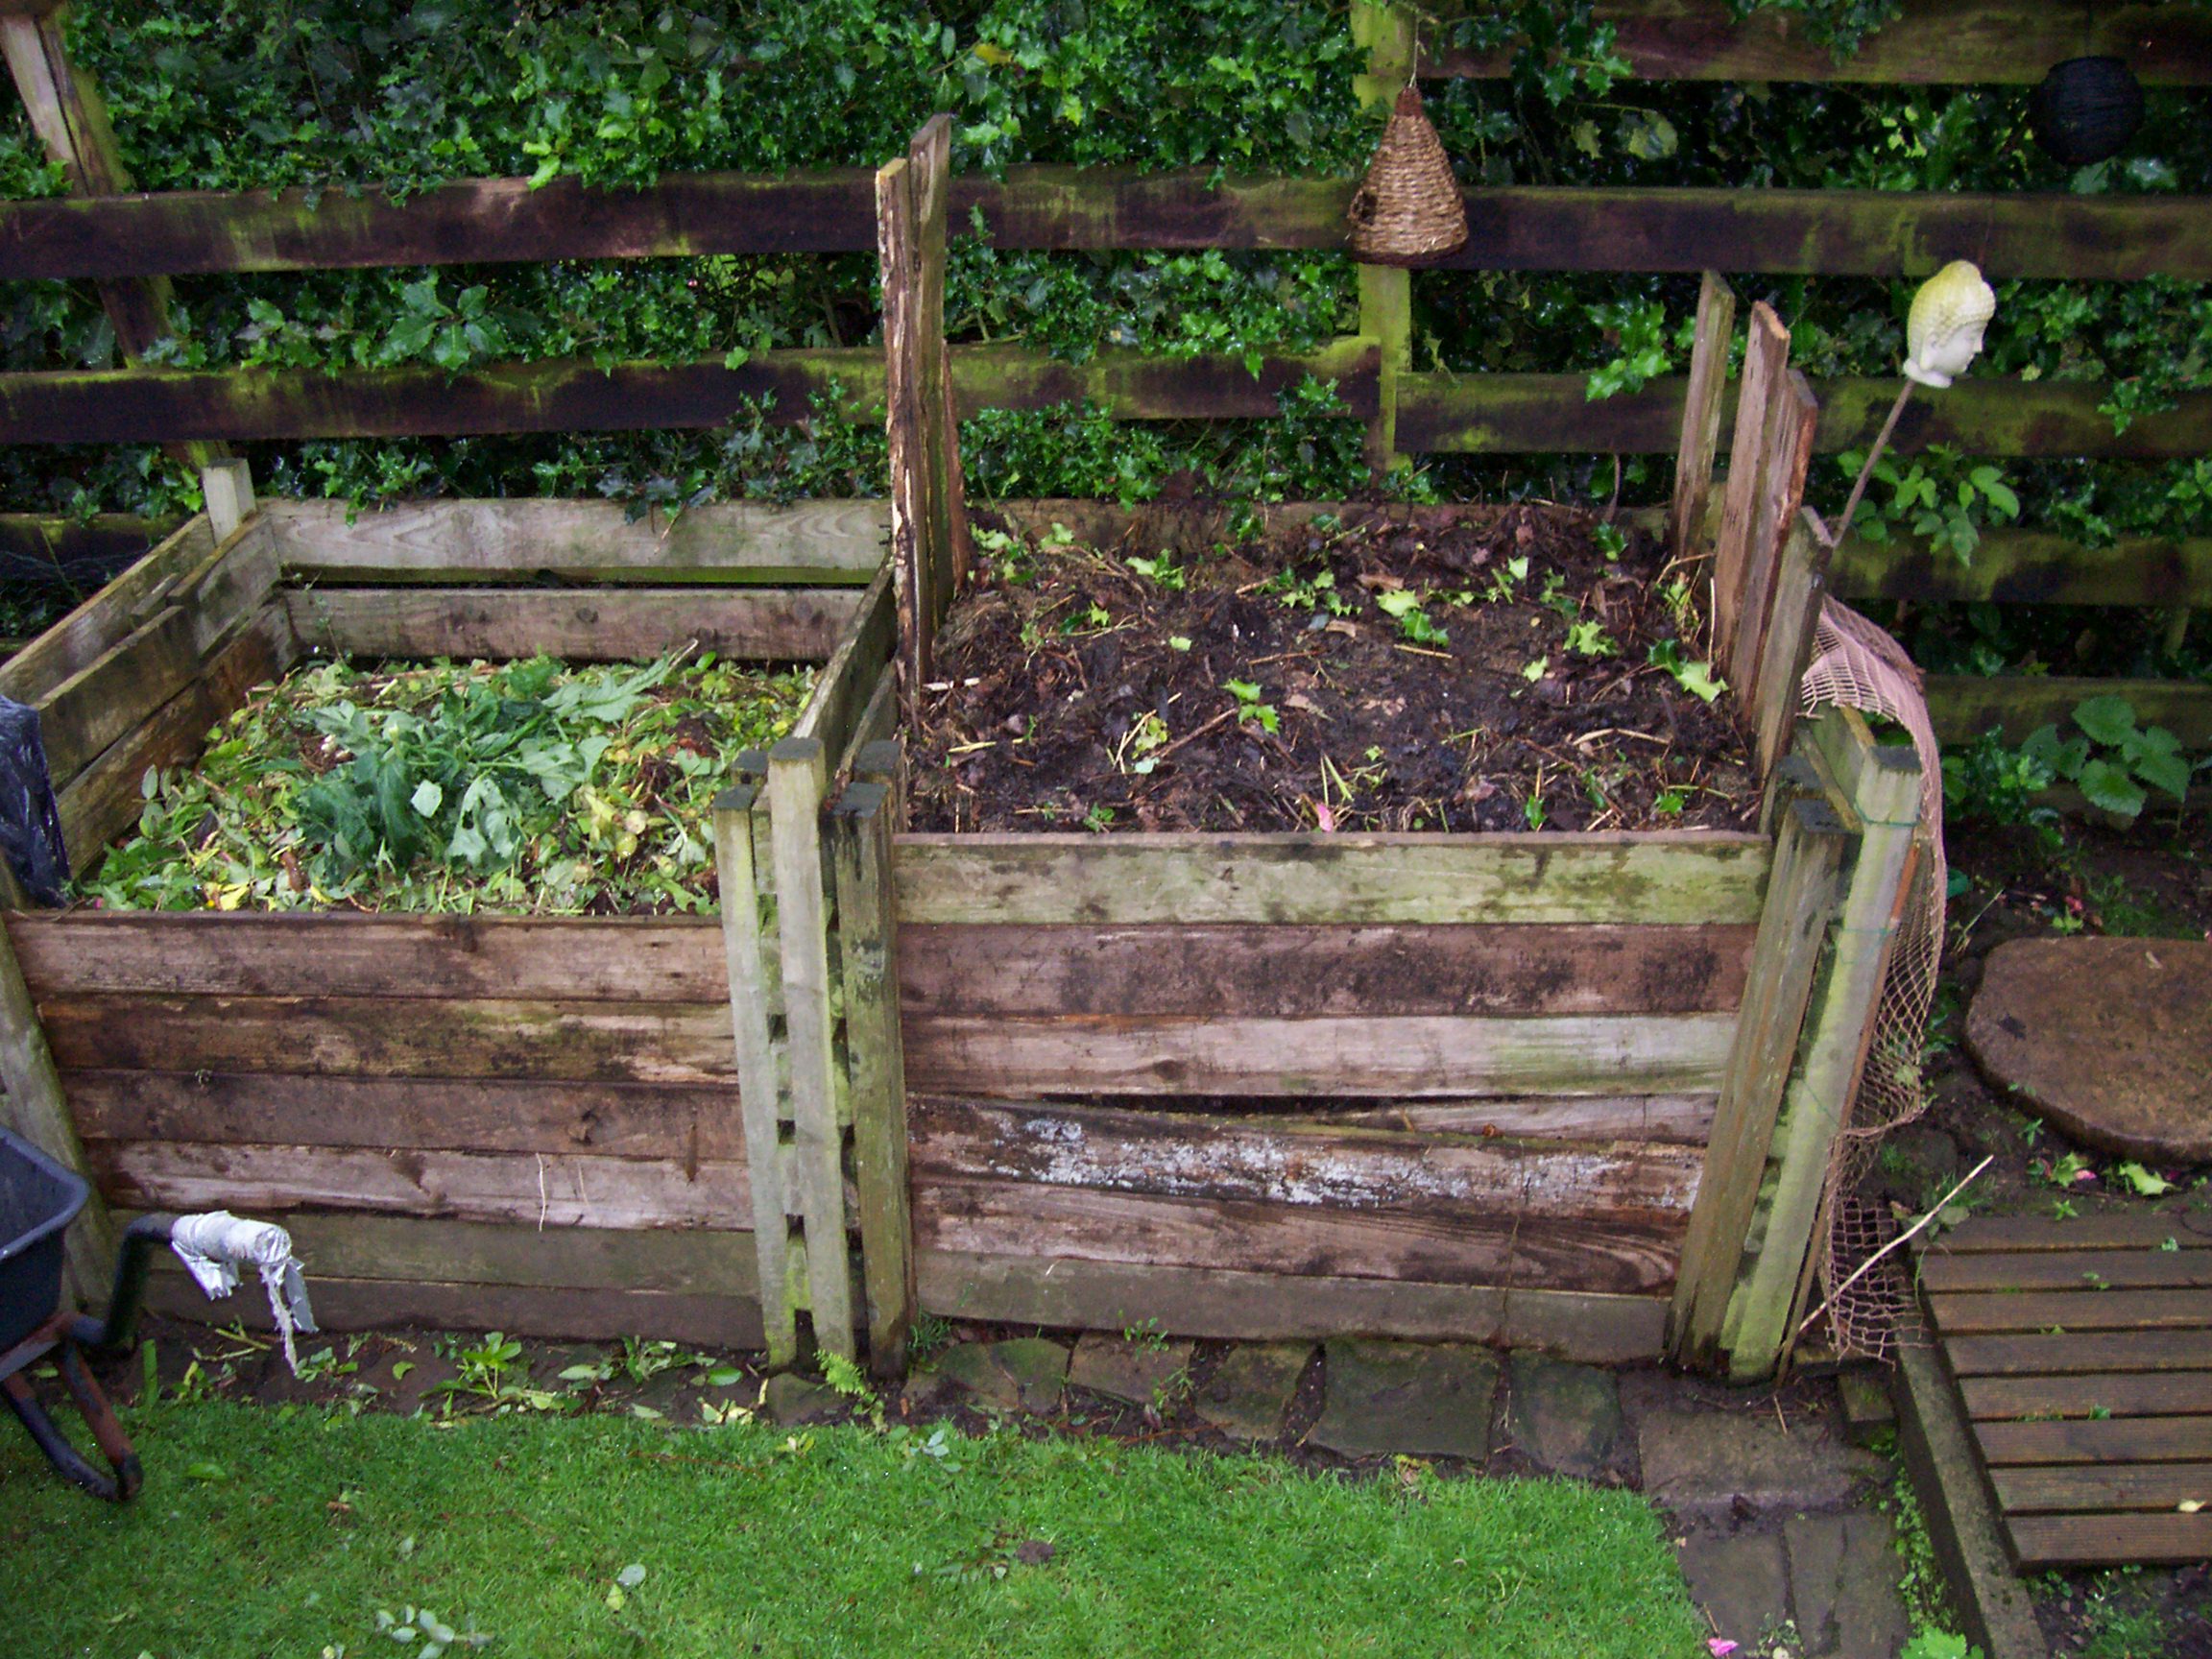
Make some kind of container about 3’ in diameter, such as a length of chicken wire or 4 pallets hitched together to make a square.  Put a layer of sticks on the bottom, just thrown in to allow air to flow into the pile.  Add a variety of plant material, in layers if you can, but it’s not really necessary.  You need some brown material, such as leaves, and some green material, like freshly pulled weeds, grass clippings or kitchen scraps.  Top with a few handfuls of manure, if you have it, or half-done compost.  This isn’t necessary, but speeds up the process.  Sprinkle with water so the pile feels like a damp sponge.  Don’t soak it, it needs air.   The pile should heat up.  When it stops, turn it.  A compost aerator makes turning the pile an easy matter, so I do it more often, but you can also use a shovel or garden fork. Having two compost piles makes it easier to use the finished compost, since one can be allowed to finish while you’re adding to the other. Use the finished compost on your garden.  Even if it’s not be finely screened compost, it will finish decomposing in the soil.

FAQ #17: Should I plant annuals or perennials and what’s the difference anyway?

It depends on what you want! Annuals have to be planted each year because they are tender and don’t overwinter in VT, so you have to buy new ones each season.  However, once they start blooming, they do so all summer, if you take good care of them.  At the end of the summer just pull them out and throw them in the compost pile.

Perennials are long lived, often indefinitely, but only bloom for a part of the season.  In order to have color all season, you need to plant a wide variety of plants.  Some need to be cut down after blooming and you may have an empty spot in your garden.  Most perennials need dividing in order to be at their best and not look scraggly or take over the garden. Often a mix of annuals and perennials works well to ensure constant color in the garden. Biennials are plants that live for two years but behave somewhat like perennials because they flower and self-seed in their second year, and the seedlings will return year after year. Hollyhocks are a good example.

FAQ #16: Which perennials bloom the longest?

Virtually all plants will bloom longer if you deadhead them.  Picking lots of blossoms encourages the plant to branch and so you get more. I’ve had especially good luck with these varieties: Heliopsis (False Sunflower), which sometimes blossoms for 10-12 weeks in the fall Rudbeckia (Black Eyed Susan) – 6-7 weeks Monarda (Bee Balm) - 8-12 weeks Coreopsis - 8-12 weeks Bleeding Heart (Dicentra) ‘Luxuriant’ - 10-14 weeks, Feverfew – 8-12 weeks if you let new plants grow and cut back the old ones

IMGP2057
IMGP2057

FAQ #15: Should I mulch my flower beds?

How much time do you want to spend weeding?  If you love to weed as I do, you don’t need to mulch.  However, mulching will save 80% of weeding time, so most people are happier with a mulched garden.  Use a fairly thin layer (2-3 inches) and put a thinner layer on in subsequent years.  Mulching also conserves water.  Make sure the soil is moist before mulching because the mulch sometimes inhibits moisture from getting to the roots.

IMGP2865-1
IMGP2865-1
IMGP2879-1
IMGP2879-1

FAQ #14: How can I keep my garden looking good without spending all my time weeding?

First of all, gardens need some maintenance, so if you want a nice looking garden, you will need to commit some time to caring for it.  Bark or straw mulch helps to keep down weeds and makes those that do grow easier to pull up.  One good way is to edge with a shovel then use a hand cultivator to pull away the grass that is “cut off”.  Edging makes weeding easier and makes the garden look really nice when you are done.  When pressed for time, I edge, then weed in about 12 to 18 inches.  If your garden is full, the weeds in the middle won’t even show and you give an impression of a well-maintained space. Planting ground covers such as mosses, alyssum, and vinca will reduce the space that weeds can take over. You can check out a video on edging with a shovel here.

FAQ #13: What plants are easiest to take care of?

Annuals:

Geraniums

Imaptiens

Pansies

Marigolds

Salvias

Sunflowers

New Guinea Impatiens

Perennials:

Bleeding Heart

Astilbe

Echinacea

Garden Phlox

Sedums

Rudbeckia

Bee Balm

Lady's Mantle

FAQ #12: What perennial plants will do well in my shady garden?

Hostas are always a good choice and there are so many of them!  Using varieties with lots of yellow or white in the leaves gives “color” to the shade garden. They can can be divided each year to fill the area. Bleeding Heart - both white and pink heart-shaped flowers add a splash of color Astilbe - plumes of white or pink flowers add elegance in the spring

Sweet Woodruff  - a nice spring ephemeral with abundant tiny white flowers and shiny green foliage Pulmonaria has stunning dark green leaves with white splotches and delicate flowers in spring

Ferns and mosses are a great choice for filling in shady areas with nice textures

Brunnera - this plant comes in many shades of silver, green, and gold, and adds lovely heart shaped leaves and texture to the shade garden.

Laminum - a wonderful groundcover that with silver foliage and small blue flowers

FAQ #11: What soil should I use in my planters?

Vermont Compost Co.
Vermont Compost Co.

Although it’s tempting to think you’ll save money by using garden soil, you won’t have as good success because garden soil does not hold moisture as well as potting soil. Proper moisture is essential for container plants because they dry out more quickly than plants in the ground. Using a high quality potting mix will ensure that the soil holds moisture and that it has the nutrients your plants need.  At Red Wagon we grow all of our plants in a great organic potting soil called  made by Vermont Compost Company. We also sell a variety of Vermont Compost Company products in our retail greenhouse. A good, compost-based mix will ensure that your plants thrive all summer long. Long flowering annuals such as petunias, fuschias, and gernaniums can benefit from some additional fertilizer during the season.

FAQ #10: How can I keep my hanging baskets looking good?

There are a few simple keys to keeping hanging baskets looking good. The first is proper watering - not too much, and not too little. A good method is to gently lift the plant in the morning. If it lifts easily and feels light, water thoroughly (until water runs out the bottom). If the pot feels solid and heavy, water lightly. If the pot feels very heavy, do not water it! Overwatering is a very common mistake. Check the pot again at the end of the day and water if it is light.

The next key is fertilizing. Hanging baskets usually have lots of flowers and therefore require lots of fertility. Watering every other week with liquid fertilizer (such as fish emulsion) will keep them looking good.  We like Neptune's organic fertilizers, though synthetic fertilizers like MiracleGro are more rapidly available to the plants if time is of the essence.

The final key is pruning. If you’ve done proper watering and fertilizing and the plant starts looking leggy or overgrown, give your hanging basket a good haircut  to get rid of its unhappy foliage and fertilize it. Within a few weeks it will be nicely filled in with new leaves and flowers. Transplanting into a larger container is also a good method of refreshing the plants.

FAQ #8: How much/often do I need to compost?

If your garden soil is naturally rich in organic matter, an inch or so of compost at the beginning of the season and again in midsummer is probably plenty. If you have very sandy or nutrient-depleted soil, provide as much compost as possible - several inches at the beginning of the season, a few handfuls for each plant at transplanting time, and a thick re-application in midsummer. If you have very poor soil it is also a good idea to rotate the growing area and grow nitrogen-fixing cover crops to increase the organic matter and nutrient content of the soil. The best way to determine your nutrient needs is to do a soil test. Soil can be tested using  a simple test from the garden garden center, but a professional soil test will provide more detailed information and recommendations for amendments. Soil samples can be sent to UVM Extension for soil testing for about $14. Find out more about soil testing here.

FAQ #7: What are some easy-to-grow veggies for containers?

Most garden favorites can be grown in containers as long as they are provided with plenty of soil, good drainage, light, and fertility. It is important to remember that container plants require more regular watering than plants grown in the ground since their roots cannot seek out water by growing deeper. The same goes for nutrients - fertilize at least every two weeks during the growing season. Some varieties have been bred especially for container growing, such as the “Tiny Tim” tomato.  

  • Tomatoes should be grown one plant to a five-gallon bucket or similar container with holes drilled in the sides 2” from the bottom to create a water reservoir. Determinate varieties can use a  small stake, whereas indeterminate varieties need heavy stakes in the ground or screwed to the container.
  • Peppers and eggplants require are least 8 inches of soil, so choose a nice deep container for them. Staking is recommended for plants that produce large fruits.
  • Cukes, squash, and other vines can do very well in containers at least 12” in diameter provided there is plenty of room for their vines. Varieties with smaller fruit can be staked or trellised to save space.
  • Greens such as lettuce and spinach can be grown in containers, but it is more challenging because they prefer cool conditions. Try growing them in a window box where they will be in shade during the hottest part of the day and make sure they get plenty of water.
  • Herbs can very easily be grown in containers (since most are drought-tolerant)  and can be overwintered indoors in a sunny window.

FAQ #3: I'm new to gardening - what's the best use of a 10x12' raised bed?

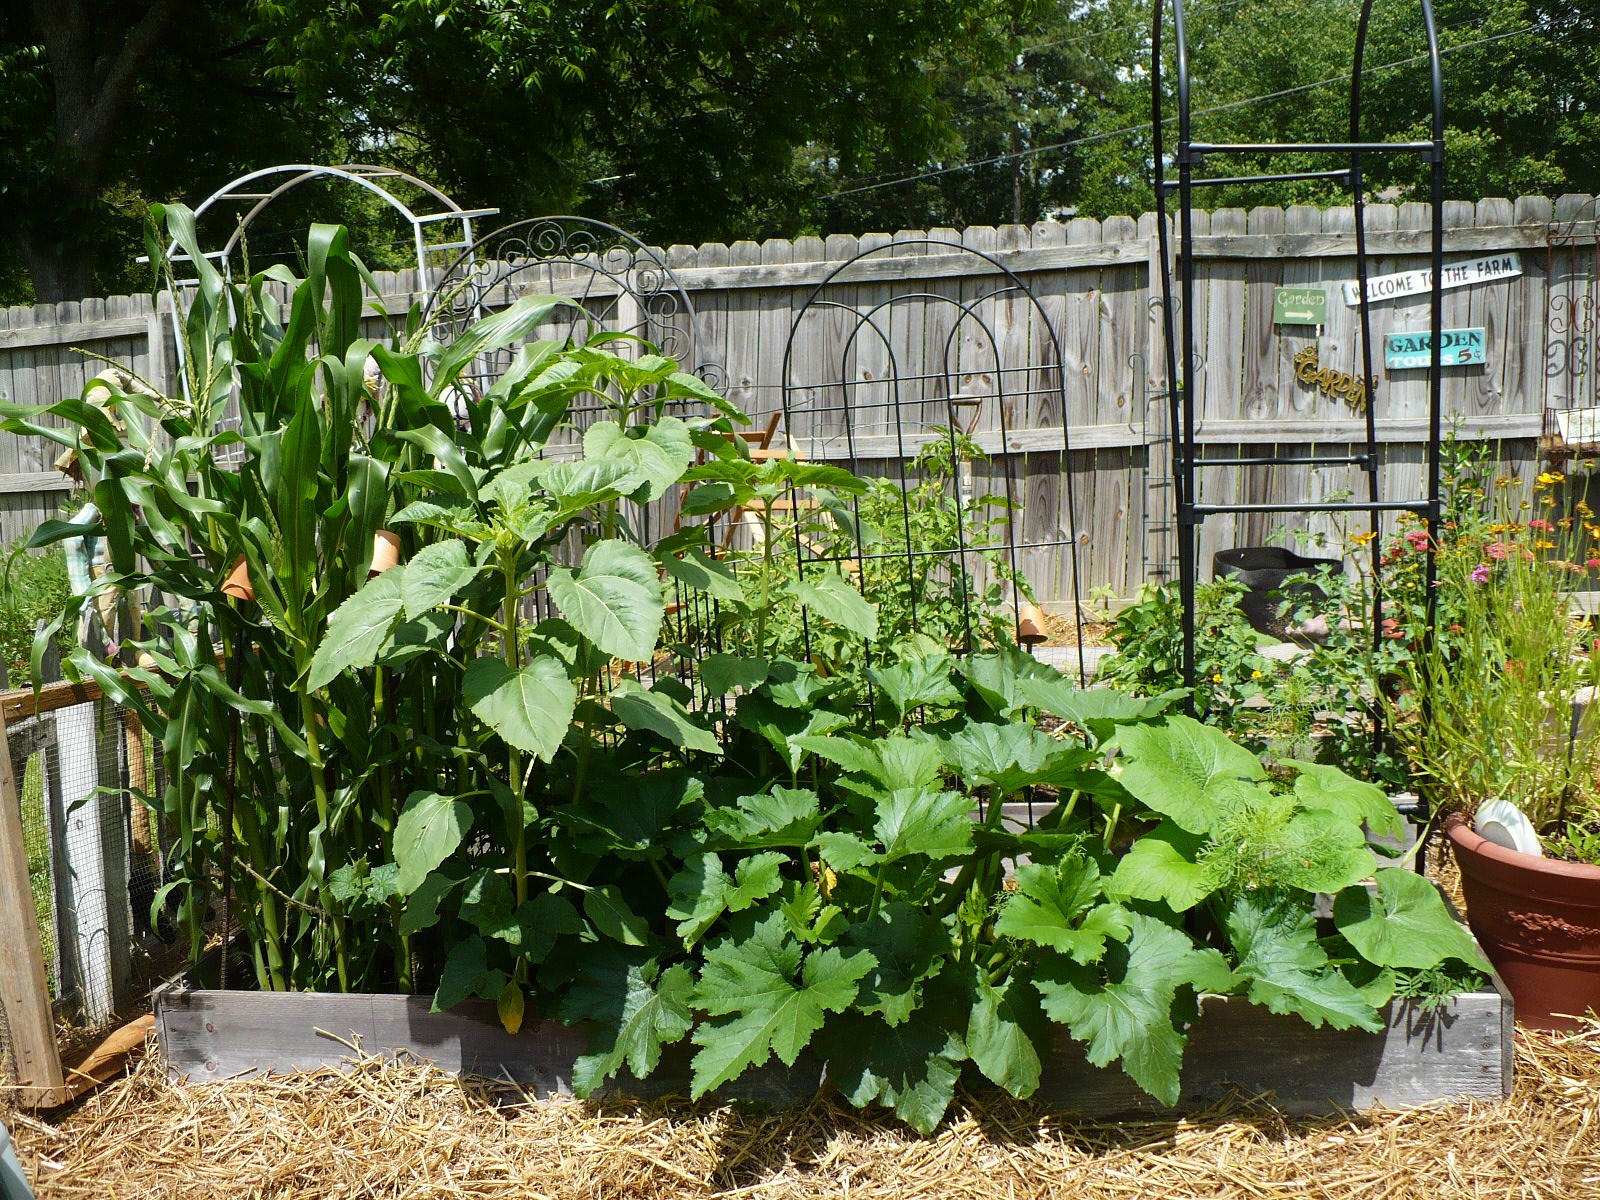
Decide what you'd like to grow and eat, considering the space requirements and growth habit for each.  Vine veggies like cucumbers and squash can be planted on the periphery to spill out onto a lawn and not crowd the other plants; or they can also be trellised.

Give tomatoes at least 3 square feet, eggplant and peppers 2 square feet.   Also, consider rate of maturity; plant lettuce in one area, then after harvesting, plant beets or herbs. Planting a few edible flowers, such as nasturtium or gem marigold gives the raised bed a flower planter look. For ease of maintenance, make sure space or a path is made to reach all of the plantings.

Plants in a raised bed tend to yield more than plants in the ground because their roots are in lighter soil that is easier to grow in. It is important to only use good quality top soil and compost in the raised bed. The bottom layer can be filled with some rotted horse manure and yard waste like leaves and grass clipping.

Choose varieties that do well in smaller spaces and keep re-using the space once you harvest something.  Small patches of green beans can be replanted multiple times, a small trellis with a few snap peas can be a nice addition that leaves room for summer lettuce or fall broccoli. Just keep in mind that a few plants that are well cared for will yield as much as many plants that are poorly cared for!

FAQ #6: How do I grow asparagus?

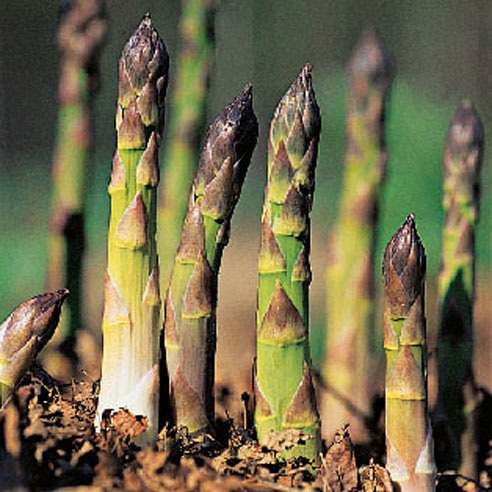
The ideal method for growing asparagus is to prepare the area at least one season in advance by tilling and planting a cover crop to suppress weeds. This will help reduce stress on the asparagus plants during their first few years, ensuring a healthier and more vigorous crop. A cover crop turned into the bed also increases the organic matter in the soil which is good for the plants. Since asparagus is a perennial that can last for many years, choose a well-drained site that can be dedicated to asparagus for the foreseeable future.

Asparagus is usually grown by tilling an area and then digging trenches 6-8” deep and 3-5’ apart. The crowns (roots) are placed in the trenches 8” apart for narrow spears and 14” apart for thick spears. Cover the crowns with 1-2” of soil and fertilize heavily with compost or other phosphate-rich fertilizer. Add soil to the trenches three times during the next few weeks until the soil is mounded somewhat to avoid water pooling around the plants. Keep the plants hand-weeded and fertilized until midsummer, then mulch heavily with straw or leaves to suppress weeds. The asparagus “ferns” should be allowed to grow, since they feed the plants, then cut back after they die in the fall. A moderate harvest is usually possible the first year after planting, followed by full harvests every spring thereafter.

Red and black asparagus beetles are nearly always present in summer and can be treated with organic pesticides but are better removed by hand to minimize harm to the plants. Just drop the beetles and larvae into a can of soapy water to kill them. Larvae can also be killed by gently brushing the ferns with a soft broom - they die quickly after falling to the ground.

Although asparagus is not quite as simple to grow as annual crops, it is well worth the effort! Fresh, juicy asparagus spears are unrivaled in texture and flavor.

FAQ #5: Is “days to maturity” on veggie plants from when the seed germinated or transplant date and what may affect the rate of growth?

Days to maturity is from seed germination for direct seeded crops and from transplant time for crops that traditionally transplanted. However,  this determined by seed companies from  averaged seed trials under controlled (and somewhat ideal) conditions.  Normally, there is some variation from the stated maturity date.  As long as plants are healthy, have not been shocked at transplant and have received the right amount of light, temperature, moisture and fertility, plants will grow to maturity  within our growing season. On the plant signs at Red Wagon “days to maturity” indicates the number of days from transplanting to maturity. Seed catalogues also use the days from transplanting if it is a crop that is normally transplanted, such as tomatoes, peppers, or eggplants.

FAQ #4: How do I keep pests (rabbits, deer, slugs, woodchucks, etc.) out of my garden?

Physical and chemical barriers and pesticides are used to control or kill garden pests. The following are some physical methods of control: Rabbits hop, but do not jump, so a 3' chicken wire or hardware cloth fence will work to keep them out. However, woodchucks, moles and voles burrow, so one needs to bury fencing at least 1 1/2 feet underground. Another deterrent to above-ground critters is electrified wire running above ground across gate openings.  There are chemical repellents used on stakes or fencing to keep deer away.  For slugs, use diatomaceous earth around plantings, or trap with beer in pie plates or place a wide wooden plank on the garden surface, and next morning, remove slugs that congregate beneath it.

Try not to locate bird feeders too close to your veggie garden as they attract rodents such as voles, chipmunks and squirrels. Consider a cat as a pet!

FAQ #2: How do I know if a tomato is determinate or indeterminate? How do I support my tomatoes? Can I grow them in containers?

A determinate tomato is a type of tomato that has all of its fruit ripen at once. They usually grow to about 4 to 5 feet tall, and then stop growing while they spend all of their energy on fruit production. They are great for canning since they ensure you have a large harvest all at once. They can be grown without staking, but the fruit quality will be better if cages, stakes or a small trellis are used.  Indeterminate tomatoes keep growing until they succumb to frost or a disease. In a warm climate, they are actually perennials and can grow into trees. Indeterminates ripen all season long and give you a more sequential harvest with one or two tomatoes ripening a day during peak harvest.

In general, space tomato plants at least 2' apart, preferably 3' or more apart.  Support both kinds; pea fences or hardwood stakes work nicely on determinates; indeterminates keep growing up and out and need more support, such as hardwood stakes positioned so that as the tomatoes grow, trellising can be added with hemp twine.

Check out this video to see a method we like for trellising tomatoes:

Weaving Tomatoes

Round tomato cages are great for peppers and eggplants.  One of our customers designed a portable one-tomato planter with a five gallon bucket, drilled 3 holes about 2 inches from the bottom for a water reservoir, and screwed two hardwood stakes to opposite sides of the bucket for plant support.