Focus on Allison!

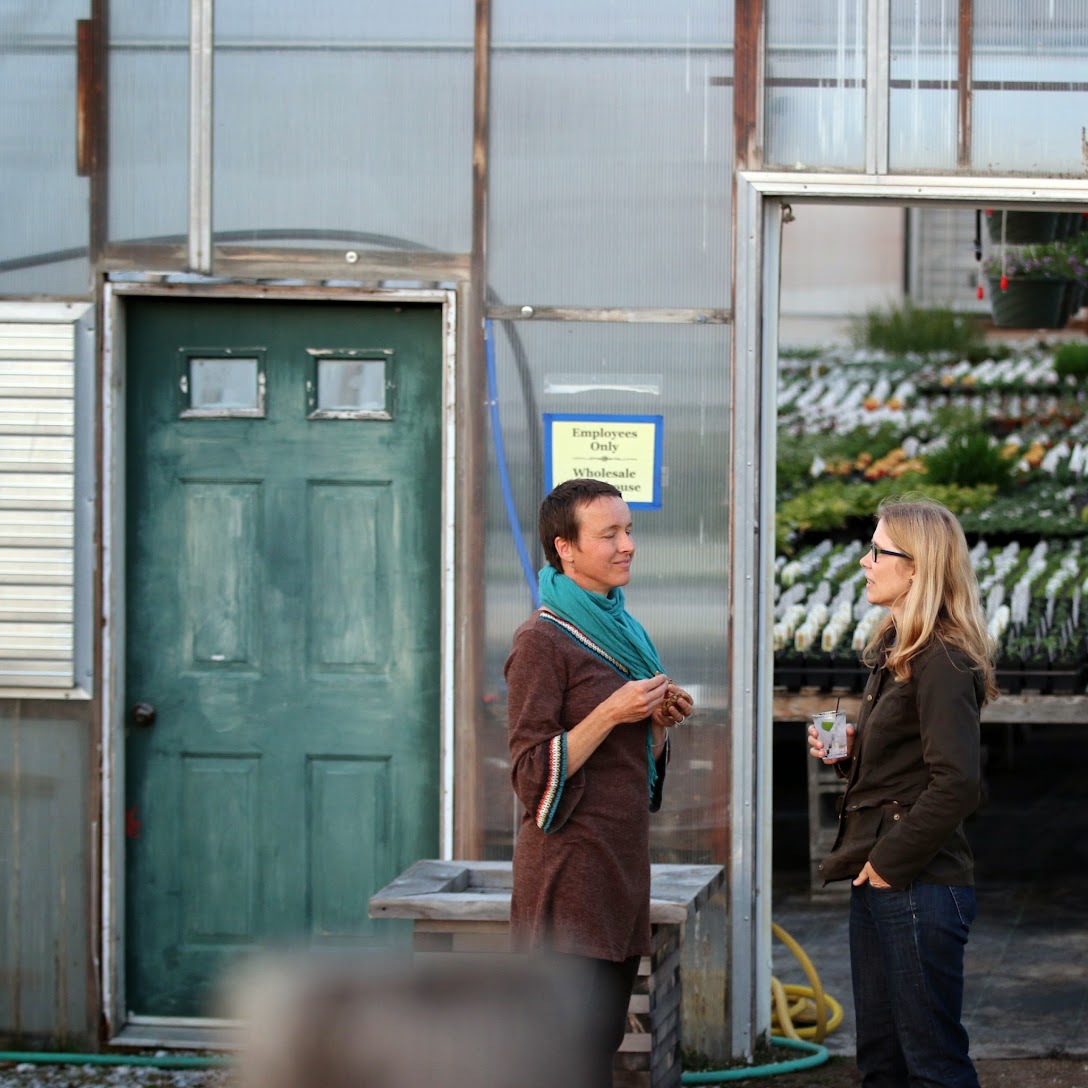
Allison scouting the greenhouses for pests

Allison scouting the greenhouses for pests

During our 10th anniversary season, we'll feature profiles of members of our amazing Red Wagon team. This week we interviewed Allison Lea, who manages our Integrated Pest Management (IPM) program. 

You’re one of the longest term Red Wagon employees. How did you end up here? What keeps you here?

I started working for Julie when she was farming in Starksboro, and when she started Red Wagon I came along. I love working for Julie. She’s basically family at this point. I watched her daughter get on the  bus to kindergarten, and now she’s in her second year of college!

What keeps me at Red Wagon is that I love plants and I love what I do. I taught myself about integrated pest management (IPM) and have continued to develop that role. It’s an interesting job; I’m very much behind the scenes. It’s looking for very small pests and/or the small signs that the creatures are there, and that they might be getting out of balance. I’m tuning into a different sort of sight. I spend a lot of time by myself, looking through the plants and walking around examining things.

It’s a bit surprising because I’m an English major, not a science person. Well, I say that I’m not a science person, but when I started learning about IPM, I got interested. It’s fun to geek out on pests and their life cycles and their predators and their life cycles. The learning process is never-ending. That surprised me because I’m the kind of person who’d rather lie on the couch and read a novel than study science.

Tell us more about IPM. What is it, and why is it important?

Greenhouses are ideal habitat for pests: you don’t change location from year to year, you’re providing the ideal climate and growing all these succulent little plants. All of Red Wagon’s greenhouses are certified organic, which means that we don’t spray chemicals to keep pests in check. There are OMRI-approved sprays [meaning they are acceptable for certified organic production], but not using sprays is better for plants and everybody, even the organic sprays. 

Instead, every week I scout the greenhouses for pests, mainly aphids and thrips. These pests suck the plants’ sap, so I’m looking out for plants with puckered or shriveled leaves, or that look yellowed and droopy – really, any plants that just don’t look happy. It’s kind of a second sight.

I want to make sure that things aren’t getting out of a control. My goal is to strike a balance, so I’ll order beneficial insects like parasites that lay eggs inside of an aphid or predators that will eat an aphid entirely.

Is IPM applicable to home gardens or more relevant to commercial growers?

I’m not out to eradicate pests; I think you need balance. When you garden outside, there is just more natural balance. A greenhouse is an environment that creates potential imbalances. Outdoors, aphids kind of take care of themselves. In my own garden, I know that there are certain plants every year that are going to get aphids – I just notice it, I don’t necessarily manage it. My yarrow, my heliopsis inevitably get covered with aphids. I wipe them off and move on. 

What are your favorite Red Wagon plants?

I love our herbs! I love how aromatic they are. And I love the vegetables – for example, brassicas are hearty, perky, and they always look good, especially this time of year when the more sensitive plants aren’t quite as happy. The brassicas are strong, almost utilitarian. I like them for their strength.

What's your home garden like?

I like growing herbs. Things like sage, thyme and oregano smell and look good. I really like lavender and rosemary, which I bring inside in the winter. I also like growing herbs that attract bees. I have motherwort in my yard, which a lot of people might not like because it spreads, but the bees like it. I also grow medicinal herbs: elecampane, calendula, angelica. I have a lot of fruit trees, thanks to my partner. I’m not that meticulous. I’m not a Martha Stewart gardener by any means!

 Interview has been edited and condensed.  

The wings that feed

Much like our plants at Red Wagon, us humans need nourishing food and water to stay healthy and alive.  That’s why we love selling plants to gardeners; so they can grow their own food and cultivate their own nourishment.  Too often, though, we forget about one of the most important keys to our nourishment:  pollination. Pollination is what allows us to grow fruits and vegetables. And, while it seems hyperbolic to say, it is true that a world without pollinators is a world without food.  Many of us are learning more about the issues pesticides create for pollinators, but it is less known just how precisely important pollinators are to our food system.  An article published by the Pollinator Stewardship Council titled, “Ecosystem Service of Pollinators” pointed out that one study assigned “an economic value to the ‘ecosystem services’ provided by pollinators at approximately $167 billion”.  The study also pointed out that pollinators not only affect the quantities of food produced, but they “may also have a beneficial impact on nutritional security-the availability of essential macro-and micronutrients in the human diet”. One study focusing on the nutritional benefits pollinators have on produce found that cross-pollinated almonds had a higher ratio of oleic to linoleic acids-a desirable “cardioprotective” quality for consumers.  Another study sited showed that “bee-pollinated strawberries were more red, were heavier and firmer and had reduced sugar-acid ratios,” which proved to have higher market value and were healthier for consumers". So, while these studies are new and we still need more information, it is unarguable that pollinators are the lifeblood of our food system.  And, we should take care of them as they take such good care of us.  

A few new varieties for 2016

We are very eager to get going in the greenhouse. We will be planting the first seeds the week of February 29th, and until then have to satisfy our gardening urge by looking at some of the new varieties we are adding to our plant list in 2016. Please check back here often to get updates on new varieties for the 2016 season. Linger over plant descriptions, plan the garden, and tell us your garden dreams. 

Lemon Drop Hot Pepper

Lemon Drop Hot Pepper

Lemon Drop Hot Pepper was a new entry in our trial garden in 2015 at Lily's request. It was a great suggestion and we fell in love with these adorable plants that are completely covered in cheery yellow peppers. They look like little ornaments, or plant jewels dangling from perfectly formed, well branched plants. The flavor is hot, but complex and not at all overwhelming. 

Coeur di Bue Heirloom Tomato (aka 'Ox Heart')

Coeur di Bue Heirloom Tomato (aka 'Ox Heart')

These beautiful tomatoes first came to us as seeds from very enthusiastic customers who wanted us to grow them out and share with the Red Wagon community. We were thrilled to try them and have added them to our extensive tomato offerings. While we were not able to save seeds from the original batch given to us by our friends, we did find this Italian heirloom that closely matches the one they have been growing out for years. We hope you like its meaty flesh and hefty flavor as much as we do. 

St Johnswort 'Topas'

St Johnswort 'Topas'

This year, we are adding quite a few medicinal and tea herbs to our diverse herb line up. This St. Johnswort is particularly high in hypercin, the compound that gives this plant its healing properties. It is a plant used for anxiety, insomnia, depression. This is a prolific bloomer that tolerates drought conditions. Easy to naturalize. Other new medicinal herbs we will be growing include milk thistle (Sylibum marianum), motherwort (Leonorus cardiaca), and feverfew (Tanacetum parthenium). 


Giving Thanks with Braised Thyme and Turnips

A few years ago, I worked for the Intervale Center as a farming consultant for the New Farms for New Americans program run by the Association of Africans Living in Vermont. My job was to help new Americans, primarily refugees from Bhutan, Somalia, and Burundi, in finding markets for their beautiful produce and to help them understand and navigate the vagaries of our cold climate, on-line seed purchases, calendar planning, etc. Most of the time, probably all of the time, I was the one doing the learning. It is an experience I look back on fondly and feel thankful that I was able to get to know these smart gardeners and farmers. Every time I walk into Stone Soup in Burlington and see braised Hakueri turnips at the hot bar, I think of Michel and François who established a long term relationship with the restaurant by growing these perfect and tender roots. They still grow and sell them for Avery and Tim at Stone Soup, and it all started with a face to face meeting, in 3 languages, a seed catalog, and a warm feeling or two.

A fitting Thanksgiving side dish, don't you think?

Braised Hakurei Turnips with Thyme

Serves 6 as a side dish

1.5 pounds Hakurei turnips, the small white ones. About 2 bunches

6 healthy sprigs of thyme (about 1/2 a clamshell package or 1/3 of a bunch)

1/2 cup water

1/4 tsp salt

2 tablespoons butter

1 tablespoon honey

Salt and pepper to taste

Cut off the greens, but save them for another use. They are delicious!

Wash and scrub the turnips and cut into halves or quarters, depending on size. If very small (1 to 1.5 inch in diameter, leave whole). Each piece should be about 2 bites worth.

Add turnips to a medium saucepan with water and salt and thyme.

Bring to a boil, and immediately lower the heat to medium-low. A strong simmer, low boil. Leave the pot covered for 6 to 10 minutes. When the turnips are tender but not mushy, uncover the pot, add the butter and honey, and gently shake the pan to mix. Cook another 5 or so minutes until the water is mostly evaporated and the turnips are cooked through but not falling apart. Remove the thyme sprigs.

Taste for salt and pepper and season accordingly.

Want to grow your own? 

If you haven't grown your own white turnips, consider it for next year. They are easy to grow, last long into the fall, and are sweet and delicious. While rutabaga and traditional purple-topped turnips have their own charms, these white "salad" turnips are delicate, sweet, and can be eaten raw or cooked.

For a fall crop, sow seeds of Hakurei turnips directly into a shallow furrow in the garden in mid-August. They prefer loose, deep soil that drains well. A little compost is always a good idea, but not too much as it can stain them or create crooked  growth. When the plants are a couple of inches tall, thin to 1 plant every 2 to 3 inches. Keep well watered. That's it.  They are a perfect crop to follow an earlier planting of peas or beans or lettuces or greens.

Sage Brown Butter and Ricotta Gnocchi

Here is a quick dinner that sounds difficult to make. But it is really easy. Sage is still looking great in our garden with the long, warm fall we have had and it pairs beautifully with butter in about 5 minutes of gentle cooking. The ricotta gnocchi is a little more involved but not much, and if you have ever tried to make potato gnocchi and felt discouraged, redemption is at hand. These are super simple to make.  We first ate these when our friends Marjorie and Marian of Orb Weaver Farm made them for us, and we have been hooked ever since.

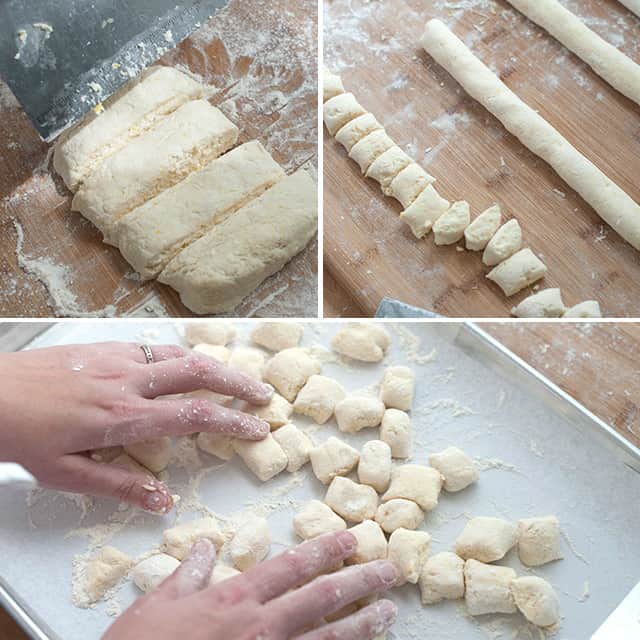
Ricotta Gnocchi with Sage Brown Butter

Ingredients:

  • 2 cups whole-milk ricotta (1 pound) Have you had the yummy one from Mountain Home Farm?
  • 2 large eggs, lightly beaten
  • 1 1/2 cups grated Parmigiano-Reggiano (3 ounces), divided
  • 1/4 teaspoon grated nutmeg
  • 1 1/4 cups all-purpose flour
  • 1/2 stick unsalted butter
  • 10 to 15 whole sage leaves, depending on size. About 1/4 cup.
  1. Stir together ricotta, eggs, 1 cup cheese, nutmeg, and 1/4 teaspoon each of salt and pepper. Add flour, stirring to form a soft, wet dough.
  2. Shape dough on a well-floured surface with lightly floured hands into 2 ropes that are about 1 inch thick. Cut crosswise into 1-inch pieces with a lightly floured knife. Place in 1 layer on a lightly floured parchment-lined baking sheet while you work.
  3. Cook gnocchi in 2 batches in a pasta pot of boiling salted water (3 tablespoons salt for 6 quarts water), adding a few at a time to pot and stirring occasionally, until cooked through (cut one in half to check), 3 to 4 minutes per batch. Lift out with a slotted spoon and drain in colander.
  4. Meanwhile, cook butter with sage in a 12-inch heavy skillet over medium-low heat until golden brown, about 5 minutes.
  5. Gently toss gnocchi with brown butter in skillet and sprinkle with remaining 1/2 cup cheese. Season with salt.

For a great photo explanation of this, click on any of these pictures for a link to the "Inspired Taste" website. They do a great job of explaining the simple process. 

Garlic Ritual

Planting garlic in Vermont is a great way to extend the gardening season and gives you a crop that is perfect in so many dishes, stores well all winter long and even generates its own seed. It is a perfect way to tune into the cycles of the gardening season and feel like you are growing an important part of your diet. Garlic is expensive to purchase so there are savings to be had with your own garlic crop. Please follow this guide for easy, step-by-step instructions that will give you a garlic patch for life. I have been growing out my own garlic for 18 years and usually do not need to ever buy seed stock or garlic in the grocery store. The pleasures of garlic growing are abundant and I encourage you to get familiar with this wonderful and simple crop.

When to start the cycle?

Planting dates in Vermont are anytime between mid October and late October. It is best to wait until then, because if you plant too early, the bulbs will break out of dormancy too soon and this weakens the plant going into our harsh winters. If you plant the cloves during those last two weeks of October, it gives them just the right amount of time to take root and hunker down until spring, but not send out any top growth.

To plant garlic, you need to follow a few easy steps.

1. Bed preparation.

This is the act of making your garden soil ready for garlic planting. You want a nice patch of garden, that is worked deeply so that the soil is loose about a foot down in depth. If your garden is very compacted and hard, the garlic will not be able to grow well and you will be sure to end up with small heads of garlic that are tedious to peel and not all that satisfying. You can prepare the bed with a 3 prong fork by digging in straight down, tilting the handle of the fork back and forth, and loosening the hard pan. This is a good work out! Don’t hesitate to get dirty here by kneeling in the earth and breaking up the clods of soil with your hands so they are not chunky at all. Add a bit of well rotted manure or compost at this time. Not too much. For a 5 by 10 bed, maybe a 5 gallon bucket’s worth. You don’t want to over feed the garlic roots in the fall, but a little compost will add organic matter and that will help the structure of the soil, keeping it loose, able to retain some moisture without staying too wet.

Take your time and your garden will reward you. I always look at garlic planting as a soulful moment in the gardening cycle. It is saying goodbye to summer and embracing the dormancy of winter, when seeds deep below the surface slowly get ready for their spring emergence. Living in a climate with such long winters, I need these small, but important, rituals to remind me that spring will come and the cold barren winter is a necessary part of it all. The seed garlic is planted in the fall because it needs to send roots far into the earth in order to feed itself the following year. I take this as a metaphor for my own winter activities that feed me all year long - catching up on sleep, feeding my mind with more reading time, eating great, nourishing foods, and spending more time with friends and family.  I digress here, but these are the thoughts I have as I plant garlic, and after many years of doing it, I find that it is a necessary part of my mental preparation for winter.

2. Mark the rows with a hoe, or hand tool. I usually keep the rows about 12 inches apart and since my beds are about 4 feet wide, I keep 3 rows per bed and can easily reach the center. Just drag your tool - the sharp tip of a hoe or the narrow edge of a hard rake works well - through the soil to delineate the rows. You can use string and stakes if it is important to be straight, but I don’t bother with that at all.

3. Break up the garlic heads into individual cloves. Do not peel! And notice that one end is the root end and one end is the stem end. This will be important for planting right side up with the root end pointing straight down and the stem end pointing straight up.

4. Space out the cloves. Lay the cloves on the top of the soil, following the line you have just drawn in the soil.  Allow about 6 inches between all the cloves.

5. Planting, spacing, and yields

Now you can start to plant. I always kneel down and take my time to feel the earth under me at this point. It just feels good and is a way to say goodbye to the garden before winter! Then, take a bulb planting tool, or a sturdy,  sharp pointed stick, or your hand if your soil is soft and pliable, and poke a hole about 4 to 6 inches down. Shove the clove of garlic deep down, root end down, and cover up with the soil. Continue down the row and repeat until all is planted. Three  heads of garlic will turn into about 24 heads next spring - assuming your garlic has about 8 cloves per head. . And with 6” by 12” spacing, a 5’ x 10’ patch of garlic will yield about 60 heads of garlic. That is enough to enjoy one head of garlic per week, all year long, and still have some left over for planting. To plant a patch this big, you will need to plant the equivalent of 7 to 10 heads of garlic.

6. Compost and mulch. I usually add another 4” of compost or well rotted horse manure to the bed. I then leave it like that for about 6 weeks. Then in mid to late December, I cover the bed with a thick layer of straw. You can also use leaves here, but straw is the best insulator with hollow stems that trap air and keep everybody warm down below. Another advantage of straw is that it usually does not have weed seeds in it; mulch hay, straw’s poor cousin,  should be avoided since it is laden with all sorts of perennial grass and weed seeds. The straw moderates the winter soil temperature and prevents buckling and heaving which could push those garlic cloves up and out of the ground.

Let winter pass you by now, and next......

7. Spring time chores with garlic. Once the snow melts and the soil warms up a bit, your garlic will break dormancy and magically pop up out of the earth. It is important to pull back the straw to let the garlic see sunlight. If you wait a bit too long, and pull back the straw only to see a bunch of yellowing stems, don’t worry! The garlic shoots will green up in no time and will look fabulously sturdy after a week or so of direct sunlight. I usually pull the straw into the garden path, let it pile up there and then replace it around the growing garlic to block out weeds once the garlic plants are about 8 inches high. I often will add a little granular fertilizer at this time, before putting the mulch back in place. For a 5 by 10 garlic patch about 3 cups of Pro-Gro from North Country organics or one bag of Compost Plus from Vermont Compost Company is just about right. This will insure you get large, easy to peel cloves that taste great.

8. Garlic scapes will appear on stiff neck garlic around late May. These look like green curly cues with a pointy end that gracefully swoops down and around, waving in the breeze. This is the budding and flowering portion of the garlic plant. It should be removed to help the plant spend its energy on sizing up the goods below ground. If it is allowed to flower, the plants’ strength will go towards the flower and the garlic forming below ground will be the weaker for it. The good news here is that the “scapes” as they are called, are good to eat. I usually cut off the pointy tip - it is rubbery and inedible, and then slice up the round stem and use it in stir fries, stews, pasta dishes, or pickles. When cooked, it has the texture of a nice green bean and the flavor of mild garlic. It is absolutely delicious and a once a year treat that marks the beginning of summer - a harbinger of good things to come.

9. When to harvest? Garlic is ready to harvest when about 70% of its leaves have turned yellow. This is somewhat subjective, and should be taken as not a hard and fast rule, but rather a guide. You can dig up one head of garlic and look for signs of well formed skin, plump cloves, and individuation (cloves that are individually formed, and not one big mass). This is usually some time in late July. In very wet and rainy years, sometimes it makes more sense to take the garlic our of the ground a little early so that the skin does not rot in the damp earth.

10. How to harvest? Take out your three prong fork again and use it to loosen the soil around the outside edges of each garlic row. This will break up the soil enough to allow you to pull out each plant with a firm yank. (If the stems break off, it is likely you waited too long and the skin and stems are starting to rot. At that point, just dig up the cloves with a spade and they will be okay in taste; they just won’t store well. ) Lay the plants on the surface of the soil so that they start to dry off. Once all the garlic is pulled up, wipe it with a towel or rag, and get ready to tie it into bundles. I usually take about 8 plants, hold them together in one hand, and with the other hand, wrap twine around the whole bundle. Tie off the twine and then hang the bundle in a dark airy space. The rafters of a garage, shed or barn work well. If you don’t have that type of space, just find a place out of the rain, out of direct sunlight and with good air circulation - a covered porch? a dry basement with a fan running? a spare bedroom that can get a little dirty? (no shag rugs please!).

11. Curing the garlic Curing is the process of letting the garlic dry which makes the papery skin that allows the garlic to keep all winter. The stems will turn brown and brittle and the exterior of the bulbs will become dry and paper-like, just like garlic in the store. At this point, it is okay to cut off those dry stems, wipe off any remaining dirt, cut off the roots, and place your garlic in a crate to store it. This can be done anytime from 3 to 6 weeks after you initially hang up the garlic to dry.

12. Storing the garlic Once the garlic is cured, cleaned and trimmed, you are ready to store it for eating all winter long. Garlic is best stored in the dark. In an airy, dry, cool place. I use milk crates, covered with a piece of burlap, and keep the crate in a very cool part of the basement. Ideal garlic storing temperatures are between 35 and 45 degrees, but a refrigerator is too humid, so please don’t be tempted to use that as a storage method. Other good places to store garlic (and onions for that matter) are unheated attics, attached garages that don’t freeze, but are not heated, or 3 season porches that do not freeze. Root cellars are great, but most of us don’t have one. If well stored, garlic will last until April or May - almost right in time for the garlic scape harvest!

13. Finding seed stock.

Until you build up your own supplies, you will have to purchase seed garlic. There are many great resources for garlic and for finding garlic seed, I recommend Johnny’s Selected Seeds, or locally, Last Resort Farm in Monkton, Hudak Farm in Saint Albans, or any farmer at your local farmers market who has nice looking seed stock. Seed stock is basically sorted out of the garlic harvest and selected for the following the following traits:

      • good size
      • evenly formed cloves
      • strong stem
      • well formed skin
      • great flavor
      • ability to store for a long time

If you have been growing out your garlic in your garden, you can pick out the best cloves at cleaning and storing time. Set these aside in a safe place where they will not be eaten and come October, experience the joy of planting your own seed garlic.

14. Plant garlic. Repeat Step 1. above and the cycle starts all over again!

Mid-August - the perfect time to start a garden.

It took four hands to trellis the tomatoes this weekend. Out of the 18 or so tomatoes planted at my house, I had only caged or trellised a lucky 12. The remaining 6 have laid on the ground without protest all summer, sending useless shoots and suckers straight to the sun, begging for light, and promising no fruit. I walked past them for weeks promising them a trellis, tomorrow, next Wednesday, tonight if I get home early. Poor things. Well, tomorrow finally came in the form of last Sunday. My first real and complete day off since June, and I gathered them up, shouted for help and strung them up. I am one of those people who loves to garden, but has so little time to do it. Maybe I should say I love to garden, but also love to swim, hike and read with the little free time in my possession. I have a feeling many of you are like this too. True confessions. But gardening is the hobby headquarters of second chances. You get a do-over every year, and within every season sits cycles of opportunity. Many crops take just a few weeks to mature, and redemption can be had that easily. Here is how I have been approaching the mid-August gardening rush....as a time to prepare the fall garden of my dreams. We have harvested garlic, cabbages, lettuces, escaroles, beans, and now there are wide swaths of blanks slate for fall crops. Or redemption, depending on how you look at it.

I am putting scallions in the nooks and crannys. Bulb Fennel too. These grow upright and vertical and do not take up too much space.

I experimented with planting arugula, cilantro, and dill in between my tomatoes this year, and the shade the caged tomatoes give has prolonged the life of these cool loving crops. I have been able to cut and cut again where normally, in the heat of summer, these quick lived herbs and greens would have gone to seed in a hurry. This is definitely something I will try again. I have added some lettuces to the understory as well, and they are doing well, although a little leggy from the lack of light.

I am planting another generation of beets this week. Right where the cabbages were - just adding a bit of compost, working the soil to loosen it, and transplanting. We grow them as clusters in 4-packs for easy planting - just water well and separate each plant gently and give it 2 to 3 inches of space. You can fill up a 2 foot x 2 foot square with one 4-pack - it is about 16 to 20 beets. And they will have plenty of time to size up before the ground freezes while taking advantage of cold temperatures that make them sweeter.

I am also adding another generation of spinach where some earlier lettuces and escarole had lived. It is important to keep summer planted spinach well watered since it hates the heat, but once well established it will grow quite nicely. This is another crop that is best to transplant in the heat of summer....it likes to germinate in cooler soil with constantly even moisture. Our 4-packs have about 16 plants per pack, and I gently separate them (like the beets) and plant each one about 4" to 5" apart. One 4 pack will give you a thickly planted 6' row that you can pick from repeatedly mid-September to mid-November.

Arugula and Broccoli Raab are going into a spot between the kale and chard in one of my raised beds. Here they will have a little shade from the taller plants, but they will also get plenty of sun since the taller plants are just on the outside edges.

There is still time to put in broccoli, cabbage, boc choi, Napa cabbage (kimchi!), cauliflower, romanesco cauliflower, broccoli raab, lettuces, arugula, cilantro, dill, parsley, and other herbs that can stay in pots to come inside for the winter when the temperatures start to drop. In a really long time, right?

Mothers' Day

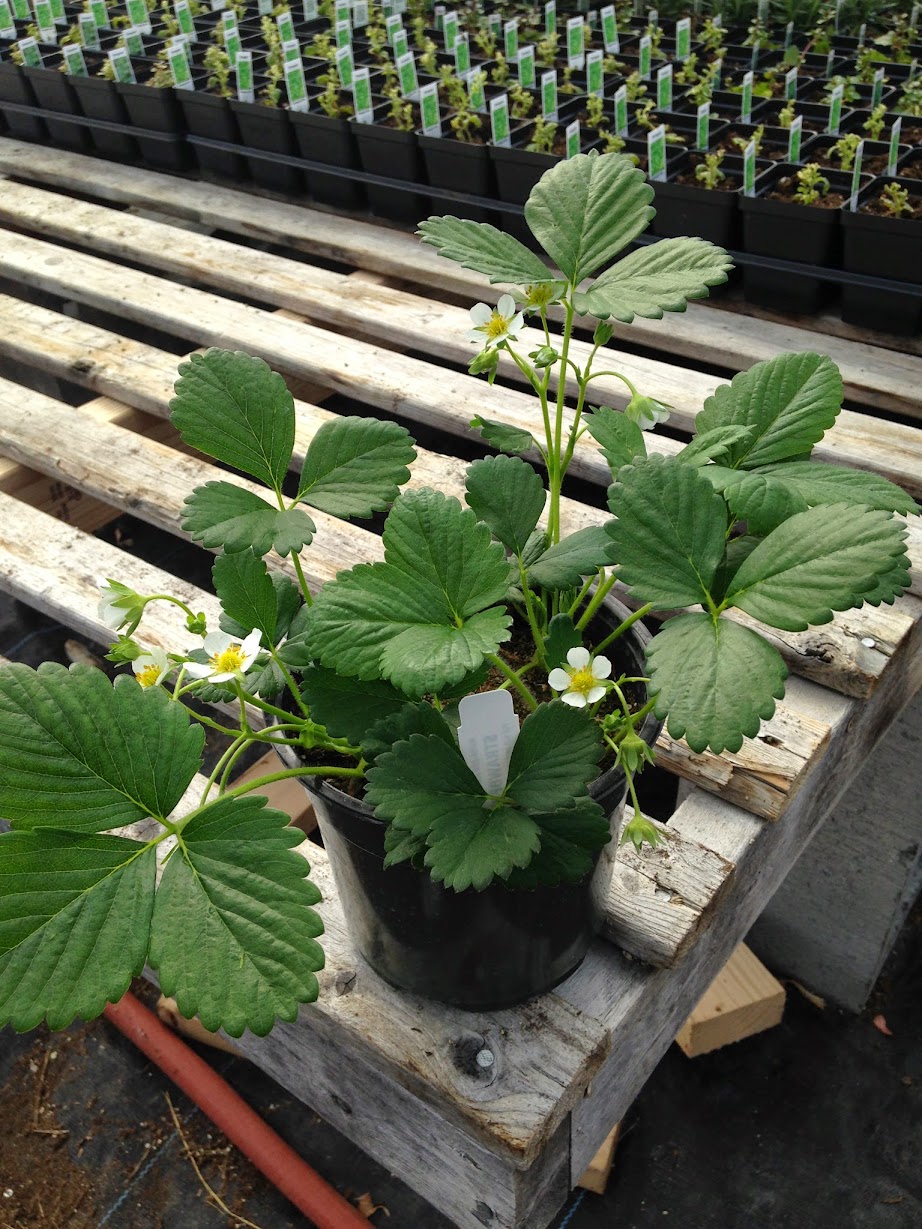
We are loaded with great gift ideas for Mothers' Day this year. We have added so many new succulents, sempervivum and sedums that make great planters, houseplants or can be added to the landscape. Succulents are generally grown in containers in our climate, and come in many textures, colors and forms. They can make great houseplants in the winter and love spending the summer outside in a pot. Sempervivum are also known as hens and chicks....they are those cute rosette shaped plants that grow in rock gardens or along stone paths and in patios. We have about 7 kinds of those and it is fun to pick and choose for funky designs. And we have about 12 kinds of sedums this year. These come in a vast array of sizes and shapes from little 2 inch tall rock garden plants to huge 3 foot tall perennials that make a statement in the garden May through November. For the mom who wants to homestead or grow more of the family's food, we have berry patches and fruit orchards waiting to happen - peach, pear, plum trees; raspberry plants that produce in summer and fall; 8 kinds of blueberries; blackberries; hazelnuts; hops; grapes; currants; and gooseberries. And strawberries too, including a really nice French one called 'Mara des Bois' - it has been bred in France for the past 30 years or so to have extraordinarily sweet and fragrant strawberry flavor. It produces fruit all summer long, and can be grown in a big pot on the deck or in a strawberry patch. We also have strawberries growing in hanging baskets for a fun surprise snack all summer long.

For the mom who likes to be adventurous in the kitchen, we can help put together a delicious selection of herbs that will make cooking easier and full of flavor. We can even recommend a variety of mints (we grow 8 kinds) for making interesting cocktails, teas, or using in desserts.

For the traditional mom, we have lots and lots of lovely hanging baskets that will brighten the entryway and bring a splash of color to the home all summer long. We also have the right fertilizer and plant care tips to keep the plants looking good in the heat and straight through fall.

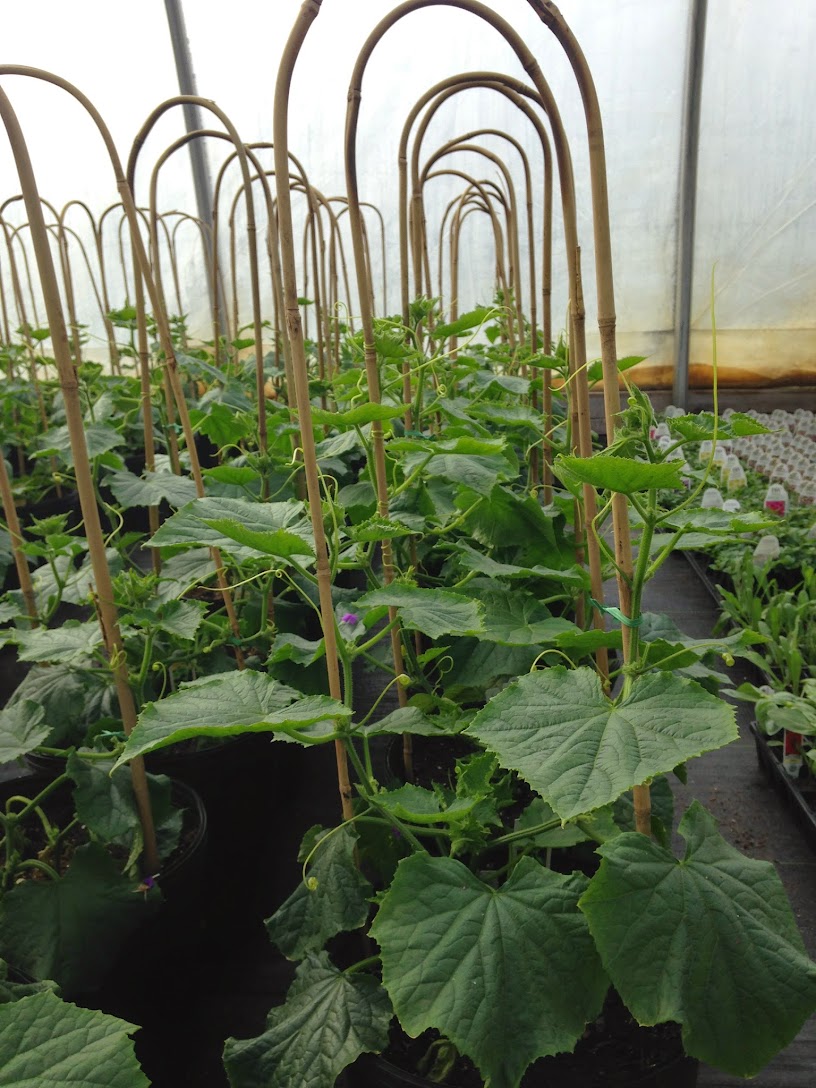
For the mom without much gardening space, we have really nice cucumbers, zucchini, and tomatoes that are in big 3 gallon pots with a bamboo trellis. With the right compost based fertilizer, they can keep growing and producing all summer long right in their pots on the deck or balcony.

For the choosy mom, we can always provide you with a gift card that will make her happy every time she comes in.

April 26th Photo Gallery

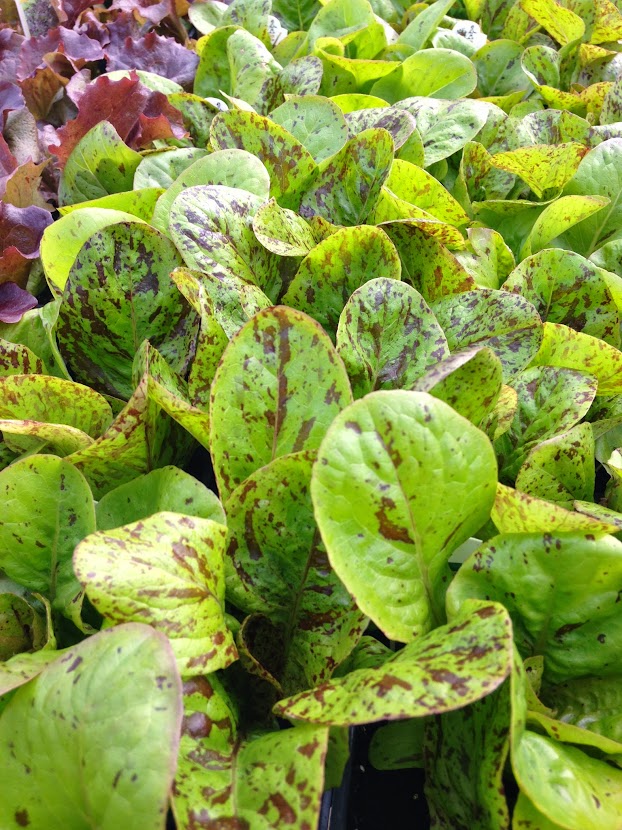
Lettuce 'Forellenschluss' 

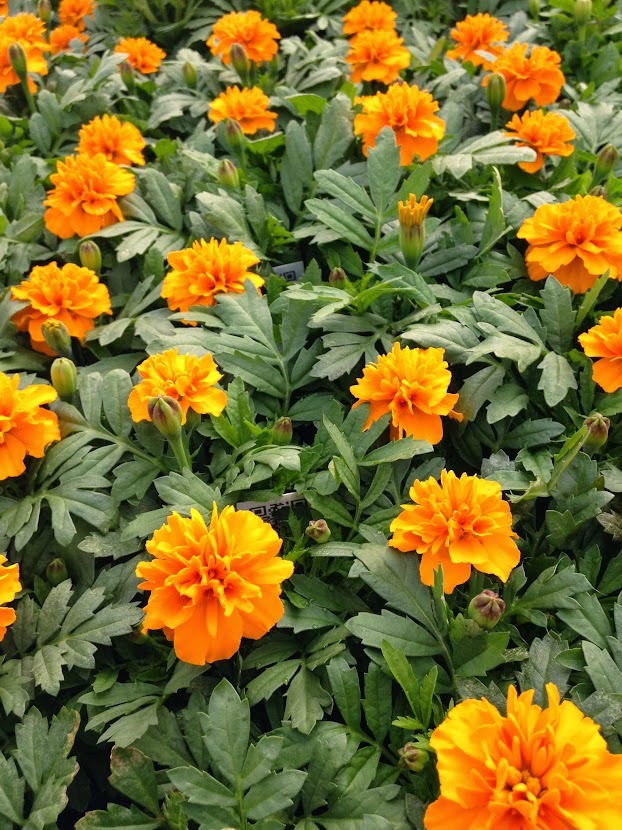
Marigold, French Bonanza

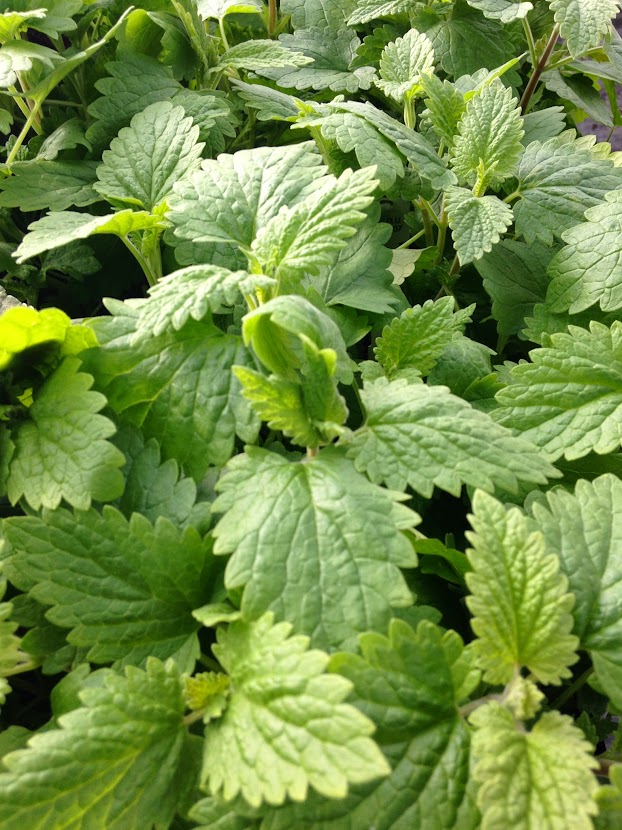
Catnip 4" Pots

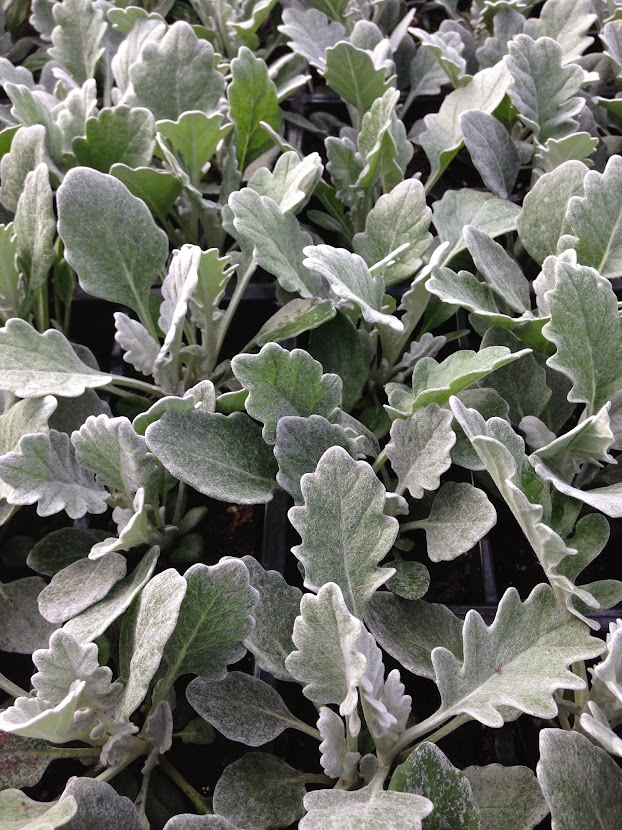
Dusty Miller 'Silver'

Snapdragon Rocket 4-Packs- Pink, Red, and Yellow

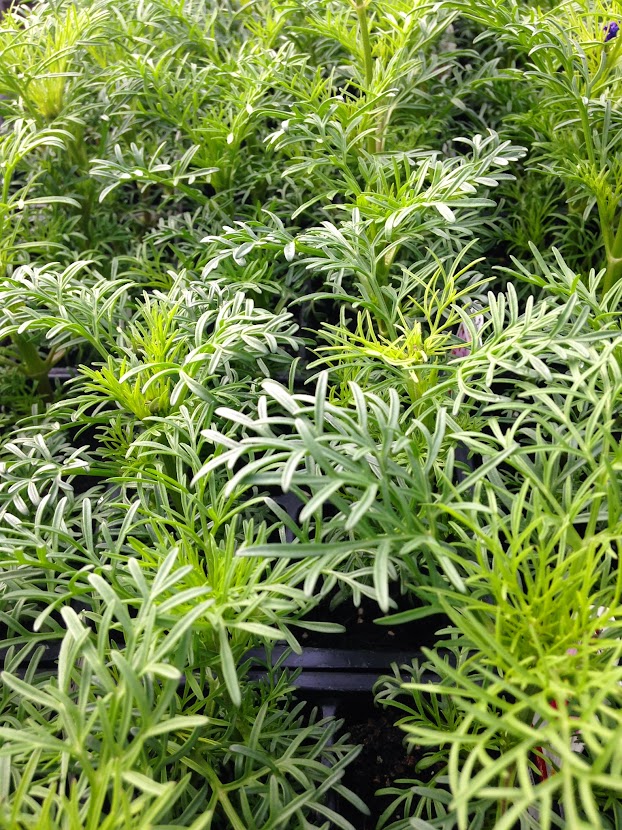
Cosmos 'Sensation Mix' 4 packs

Mara des Bois Strawberry - everbearing French variety that is prized for its outstanding flavor. 

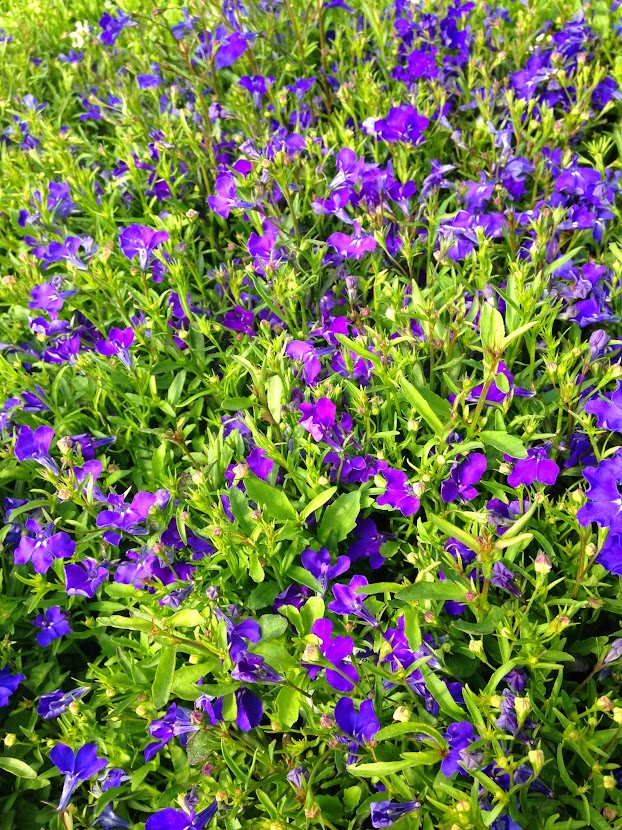
Lobelia Regatta Midnight Blue

Bidens 'Namid'

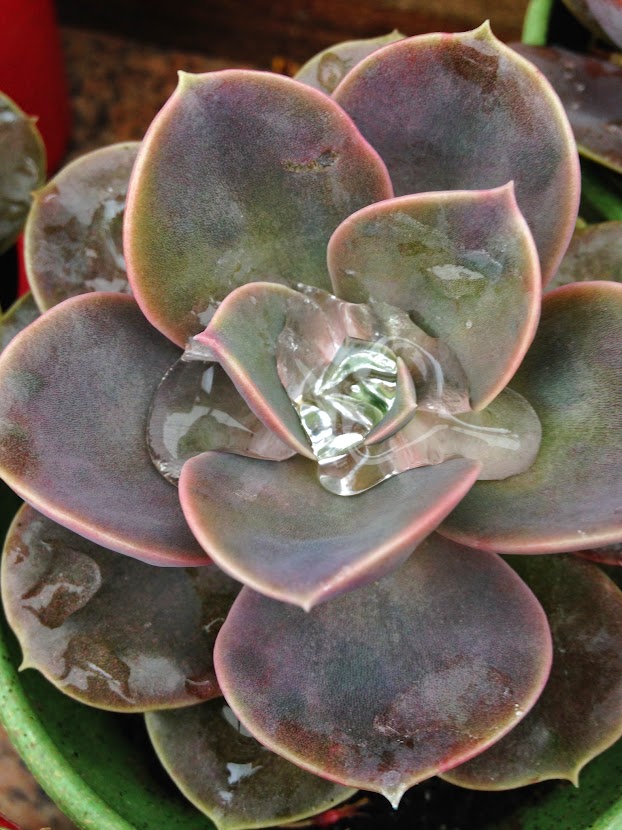
Echeveria Holy Gate

Rose Cascade Ivy Geranium

Thai Basil

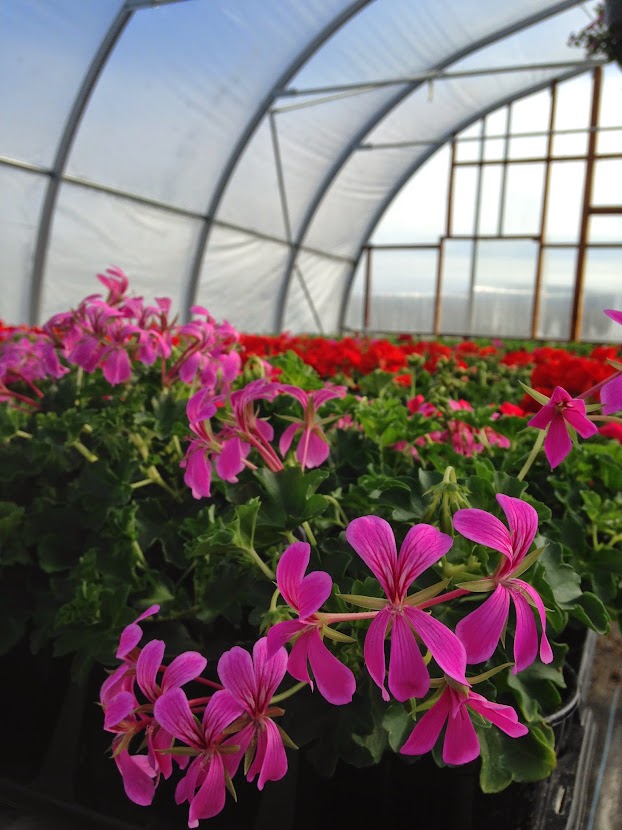
Patriot Bright Red Zonal Geranium - Blurry picture, but lots of our geraniums are breaking into color like this. 

Arugula

Cold Frame with lettuce, chard, onions, kale - everything is hardening off nicely.

Spinach and most of our leafy greens are seeded fresh every week, so they are never old and root bound.

Another cold frame with chard and onions.

Penny Yellow Viola

Lilac Ice Viola

Sweet Genovese Basil, Nufar.

Mara des Bois Strawberry. This is a French variety that has been bred for maximum flavor. It came out of breenders' greenhouses in the late 90's and came on the market in the USA only in the past few years. It has the most incredibly intense strawberry flavor and is day-neutral, which means it will bear fruit this year, and will continue to do so all summer long. Very hard to find and expensive root stock. We are lucky to be able to grow it out for our customers. 

Onions, leeks, shallots, scallions on the cold frame.

Provence Lavender. Hardy to Zone 5 reliably, but have gotten a few years out of it in Zone 4. Faster to grow then Munstead Lavdender with bigger plants and flowers. 

Penny Orange Viola

Earth Day Children's Concert and Celebration

With vacation week just around the corner, we're excited to invite children to the greenhouses on Earth Day, April 22, for a free children's concert and fun activities from 9 AM to 1 PM.

At 11 AM, beloved local musician Mister Chris will perform, debuting songs from his newly-released album Family Archive, and featuring old favorites, too.

Check out his music at www.musicforsprouts.com and https://soundcloud.com/musicforsprouts.

Other activities include: make-your-own herb butter at 9:30, a greenhouse tour at 10:00 and a tour of Family Cow Farmstand at noon to meet the newly born calves.  And children can paint-and-plant a pot throughout the event. We have lots of adorable pansies for them to pick out.

 For more information, visit

redwagonplants.com

or email heather@redwagonplants.com.

  We're looking forward to this fun-filled event! The sandbox is filled and the greenhouses are full of color.....come explore.

Cold Season Gardening

As soon as the ground thaws, and dries out, I will be ready to plant. After chomping at the bit through this long, never ending winter, I long to get my hands in cool dirt and ceremoniously plant the first seedlings. A cold frame helps to rush the job along, and I can't wait to open ours up, fluff up the tired soil, add some compost and amendments, and dig in. My cold season garden is pretty predictable each year. I crave certain things, stick to those, eat only that the entire period of time it is ready, and then usually it is out of mind the rest of the year. Asparagus for example. It is pretty much a part of every meal during asparagus season, and then I never think about it the other 47 weeks of the year.  And it is ready before many other things, so why not give it the star treatment it deserves?  It takes up a good chunk of my garden for a reason....homegrown asparagus absolutely cannot compare to what you buy in the store.  There are so many delicate flavors in asparagus that are lost after any period of refrigeration, and I greedily await that first harvest each year.

And then there is bok choi. For some reason, I don't think about this vegetable too much 11 months out of the year,  but it is so cold hardy and so quick to grow, that earliest spring is the only logical time to insert it into the garden and into our kitchen. We grow 4 kinds of boc choi to give our gardens a real array of size, color, and harvest time. Violetta is quick to grow to baby size, and has shiny, dark purple leaves with pale purple and white stems. It is gorgeous and delicate and ready in just 3 weeks from the time I stick it in the ground.  Shanghai Baby Bok Choi is another quick and tiny one, but the palest green, with the most tender flesh. Red Choi is a medium sized boc choi with a more mustard like flavor, and the regular boc choi we grow, Joi Choi, grows up to be huge, heavy, and gorgeous (see below). These are all delicious chopped up and stir fried with ginger, hot pepper flakes, and garlic;  or thinly slivered and eaten raw as a salad or slaw or dropped into a warm bowl of broth.

Scallions are another cold hardy, quick to grow vegetable that makes it into all my early gardens. They can be planted in little clumps in tight spaces and harvested over a long period of time. I harvest them three or four at a time and leave the rest to grow for a later picking or two.

Next up are the salad greens, bitter greens and mustards. All of these can take multiple frosts and are happy to go into the garden long before the others.

In this picture from last year, we have Tokyo Bekana mustard in the bottom left corner. It is a light green, tender mustard delicious steamed or eaten raw. I especially like it in soups and broths with soba noodles and tofu. In the center is my favorite bitter green, Frisée ('Tres Fine Maraîchère") which I love to eat with a mustardy, garlicky vinaigrette. Behind that is some arugula which really should be planted multiple times throughout the season (just rip out the old plants and sow new seeds or seedlings). In the top right corner is a little bit of bulb fennel Zefa Fino poking into the frame. This is another great option for for those of us needing cold hardy and interesting garden plants. In the kitchen, I simply slice up the bulbs into long, thick wedges and roast in a 400F oven with olive oil, herbs and seas salt. And the bottom right corner is the soldier of the spring garden: Natacha escarole. This chicory relative is huge, easy to grow, and equally perfect cooked in a braise or sautéed or eaten raw in a salad, again with that garlicky Dijon vinaigrette. Escarole withstands multiple hard frosts, grows quickly to a 3 pound head, and is frankly one of the better values in the garden. A small to medium escarole in the grocery store can cost close to $4. And from one 4 pack, you can easily have twelve times the yield for about the same amount of money.

Here we have Lily sampling a bit of Lacinato kale. also known as dinosaur kale, Tuscan kale, or cavolo negro. We love it for its nutty flavor and the fact that a few plants stuck in the ground in April will produce until December. Again, a pretty good value! In front of the kale is more boc choi, Red Choi. And in front of that is ruby red chard. Chard is the least cold tolerant of all these greens, but it can take a few light frosts. The others can survive a few dips even into the 20's and come out fine.

From seed, I like to start radishes and spinach and peas, because really, who can resist this sight:

Get ready, set, go. Spring is coming, and we want to help you get ready. And soon, we will be looking at this:

Herb Thoughts

Herb garden planning is not a lot of work, but here are some thoughts I have put together on the topic. Herbs are easy to grow for the most part, but they are a big category of plants (we grow 100 varieties of herbs) and it helps to break them down and organize them into categories. This will help any gardener plant the right plant in the right place and give it the preferred amount of water, sunlight, food, and water.

Why grow herbs? For flavor, fragrance, and beauty - it is the easiest way to improve the flavor of what you cook. It is also one of the easiest ways to have a container garden on your porch or deck.  Herb gardening is intimate - you get close to the plants, smell them, taste them, see them respond to regular clippings. They are a perfect way to better understand plant physiology and the best short cut to great food made with little effort.

Propagation: Plants vs. Seeds

All herbs can be planted from plants, and some can be planted directly into the ground as seeds. The herbs that you can seed directly in the ground and expect great results are: cilantro, dill,  and chamomile. Everything else will do much better if you start the seeds in containers in a sheltered environment. You can start your own herb transplants easily if you have grow lights and a heat mat. Many herbs take a long time to germinate and many herbs are propagated only from cuttings. Making your own rooted cuttings is possible too, but that takes a little more of a sophisticated set up with misters, rooting hormone of some sort, and humidity domes. For those herbs, it is generally easier to purchase the plants.

Herbs from Seed:

  • Parsley
  • Chives
  • Cilantro
  • Dill
  • Chamomile
  • Savory (winter and summer)
  • Marjoram
  • Basil (all kinds)
  • Common Mint
  • Sage
  • Catnip
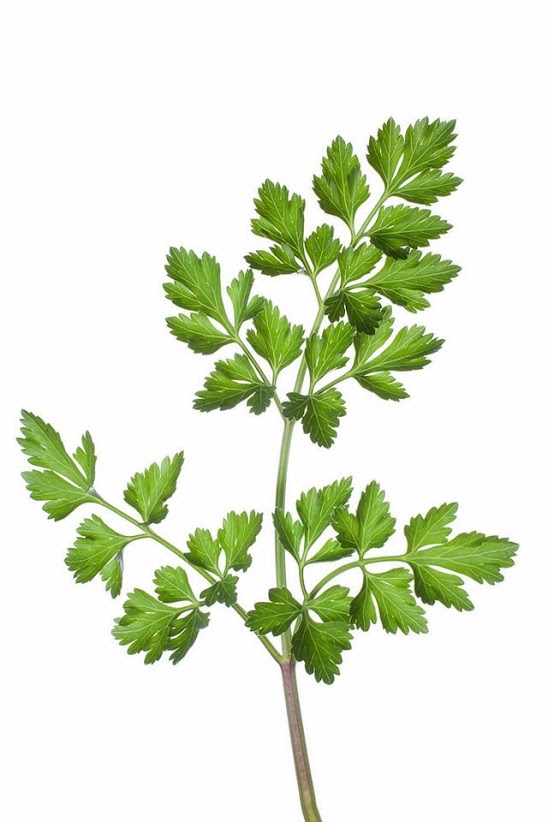
  • Chervil
  • Oregano (basic varieties)
  • Thyme (basic varieties)
  • Shiso
  • Sorrel
  • Lovage
  • Lemon Balm
  • Fennel
  • Salad Burnet

Herbs from Cuttings:

  • Rosemary
  • Lavender
  • Mints that are true to type (spearmint, peppermint, pineapple mint, etc)
  • Tarragon
  • Specialty Thymes (lemon, variegated, silver, etc)
  • Specialty Oregano (golden, ‘Hot and Spicy’, variegated, etc)
  • Specialty Sage (purple, tricolor, golden, etc)

Containers vs. in the Ground

Some plants love to be planted in the ground and others would prefer to be in pots.  Generally speaking, the herbs that like it dry and warm will prefer to be in a clay pot that breathes like Italian terra cotta. Plants that like it wet and cool might prefer to be in the ground, but they can also be grown in pots if the right conditions are given (more watering, a glazed or plastic pot, heavier potting soil, a little shade).

Herbs that like to grow easily in the ground in Vermont:

Cilantro, Dill, Parsley, Rosemary, Savory, and Chervil

Herbs that prefer to be in containers in Vermont: EVERYTHING ELSE!

This does not mean that you cannot grow herbs in the ground, it just means that in containers, it can be a little easier.

Some herbs do really well as tiny shoots for micro-greens: chervil, dill, cilantro, basil, fennel are our favorites.  And they are easy to grow indoors year round – just pat down some moist potting soil in a shallow container (only need 2” or so of soil) with holes in the bottom, press in the seeds, cover very lightly with a thin layer of soil, and keep moist. When the first set of true leaves begin to emerge, they are ready to eat. You can also grow pea shoots and sunflower sprouts this way. A south facing, sunny window is sufficient.

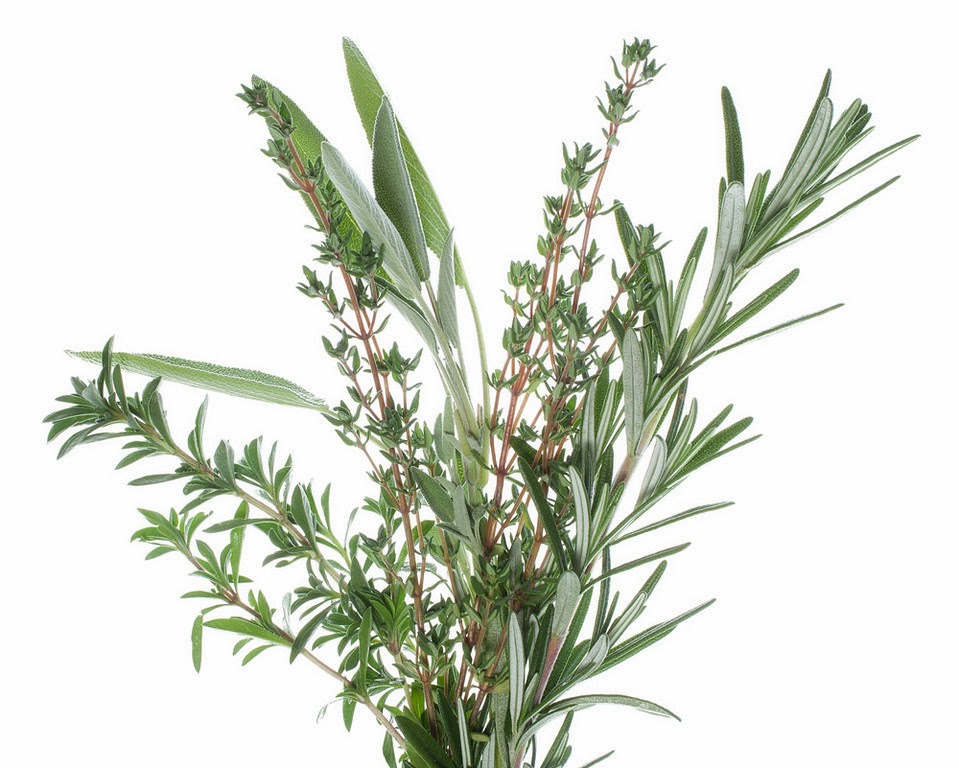
You can bring in potted herbs in the fall and keep them in a sunny window for use during the winter. The herbs that do best with this treatment: sage, parsley, rosemary, thyme, and savory. Basil can be brought in as well, but it won’t be terribly happy unless you have grow lights for it.  If you had some of these herbs planted in the ground, you can dig them up and slowly acclimate them to being in a pot and being indoors.

Herbs can be dried or frozen or infused in vinegar or simple syrup for year round use. Pesto or herb pastes made with oil or water can be frozen in small containers.  Drying is very simple or very elaborate – you choose! A dehydrator can be used, and the leaves can be stripped off of the stems once dried and stored in jars in a dark place. Or you can go the simple route and just harvest whole branches of the woody herbs such as thyme, oregano, rosemary, sage, and winter savory. Place the branches in woven baskets and keep in a dark, well-ventilated space. They will dry just fine on their own, and you can keep them covered with paper bags or kitchen linens and use as needed.

Related Upcoming Events

Cooking with Herbs with Molly Stevens and Julie Rubaud – a class and dinner.

South End Kitchen, Burlington, Vermont

March 19th.,  6pm

Red Wagon Plants pre-season Open House

April 4th 10 am to 3 pm. Tour the greenhouses and see behind the scenes.

Herbal Cocktail Party with Caledonia Spirits

April 17th, Red Wagon Plants 6 pm to 9 pm

Help us kick off our season with a bang!

Potatoes


All of our potato seed stock is grown by the Chapelle Family Farm, and this is our fourth year providing you with this high quality, Vermont grown, potato seed. Barbara and Robert Chappelle have been growing potatoes in Vermont for over 30 years and they are one of the quiet heroes of the vegetable farming world in Vermont. You don't hear a lot about them in the media, but they are incredibly respected for all of their hard work, and the quality of their potatoes. It is from Barbara and Robert that all the best vegetable growers in this area purchase their potato seed. And at Red Wagon, you can too! This is one of the few places home gardeners can purchase Chappelle potato seed. Here are the varieties we have chosen for you this year. 

Adirondack Blue

Adirondack Red

La Ratte Fingerling

Amarosa Fingerling

Red Norland

Chieftain

Yukon Gold

Yukon Nugget

Carola

Kennebec

Green Mountain

Russet Burbank

German Butterball