About Us

Plants are still growing.

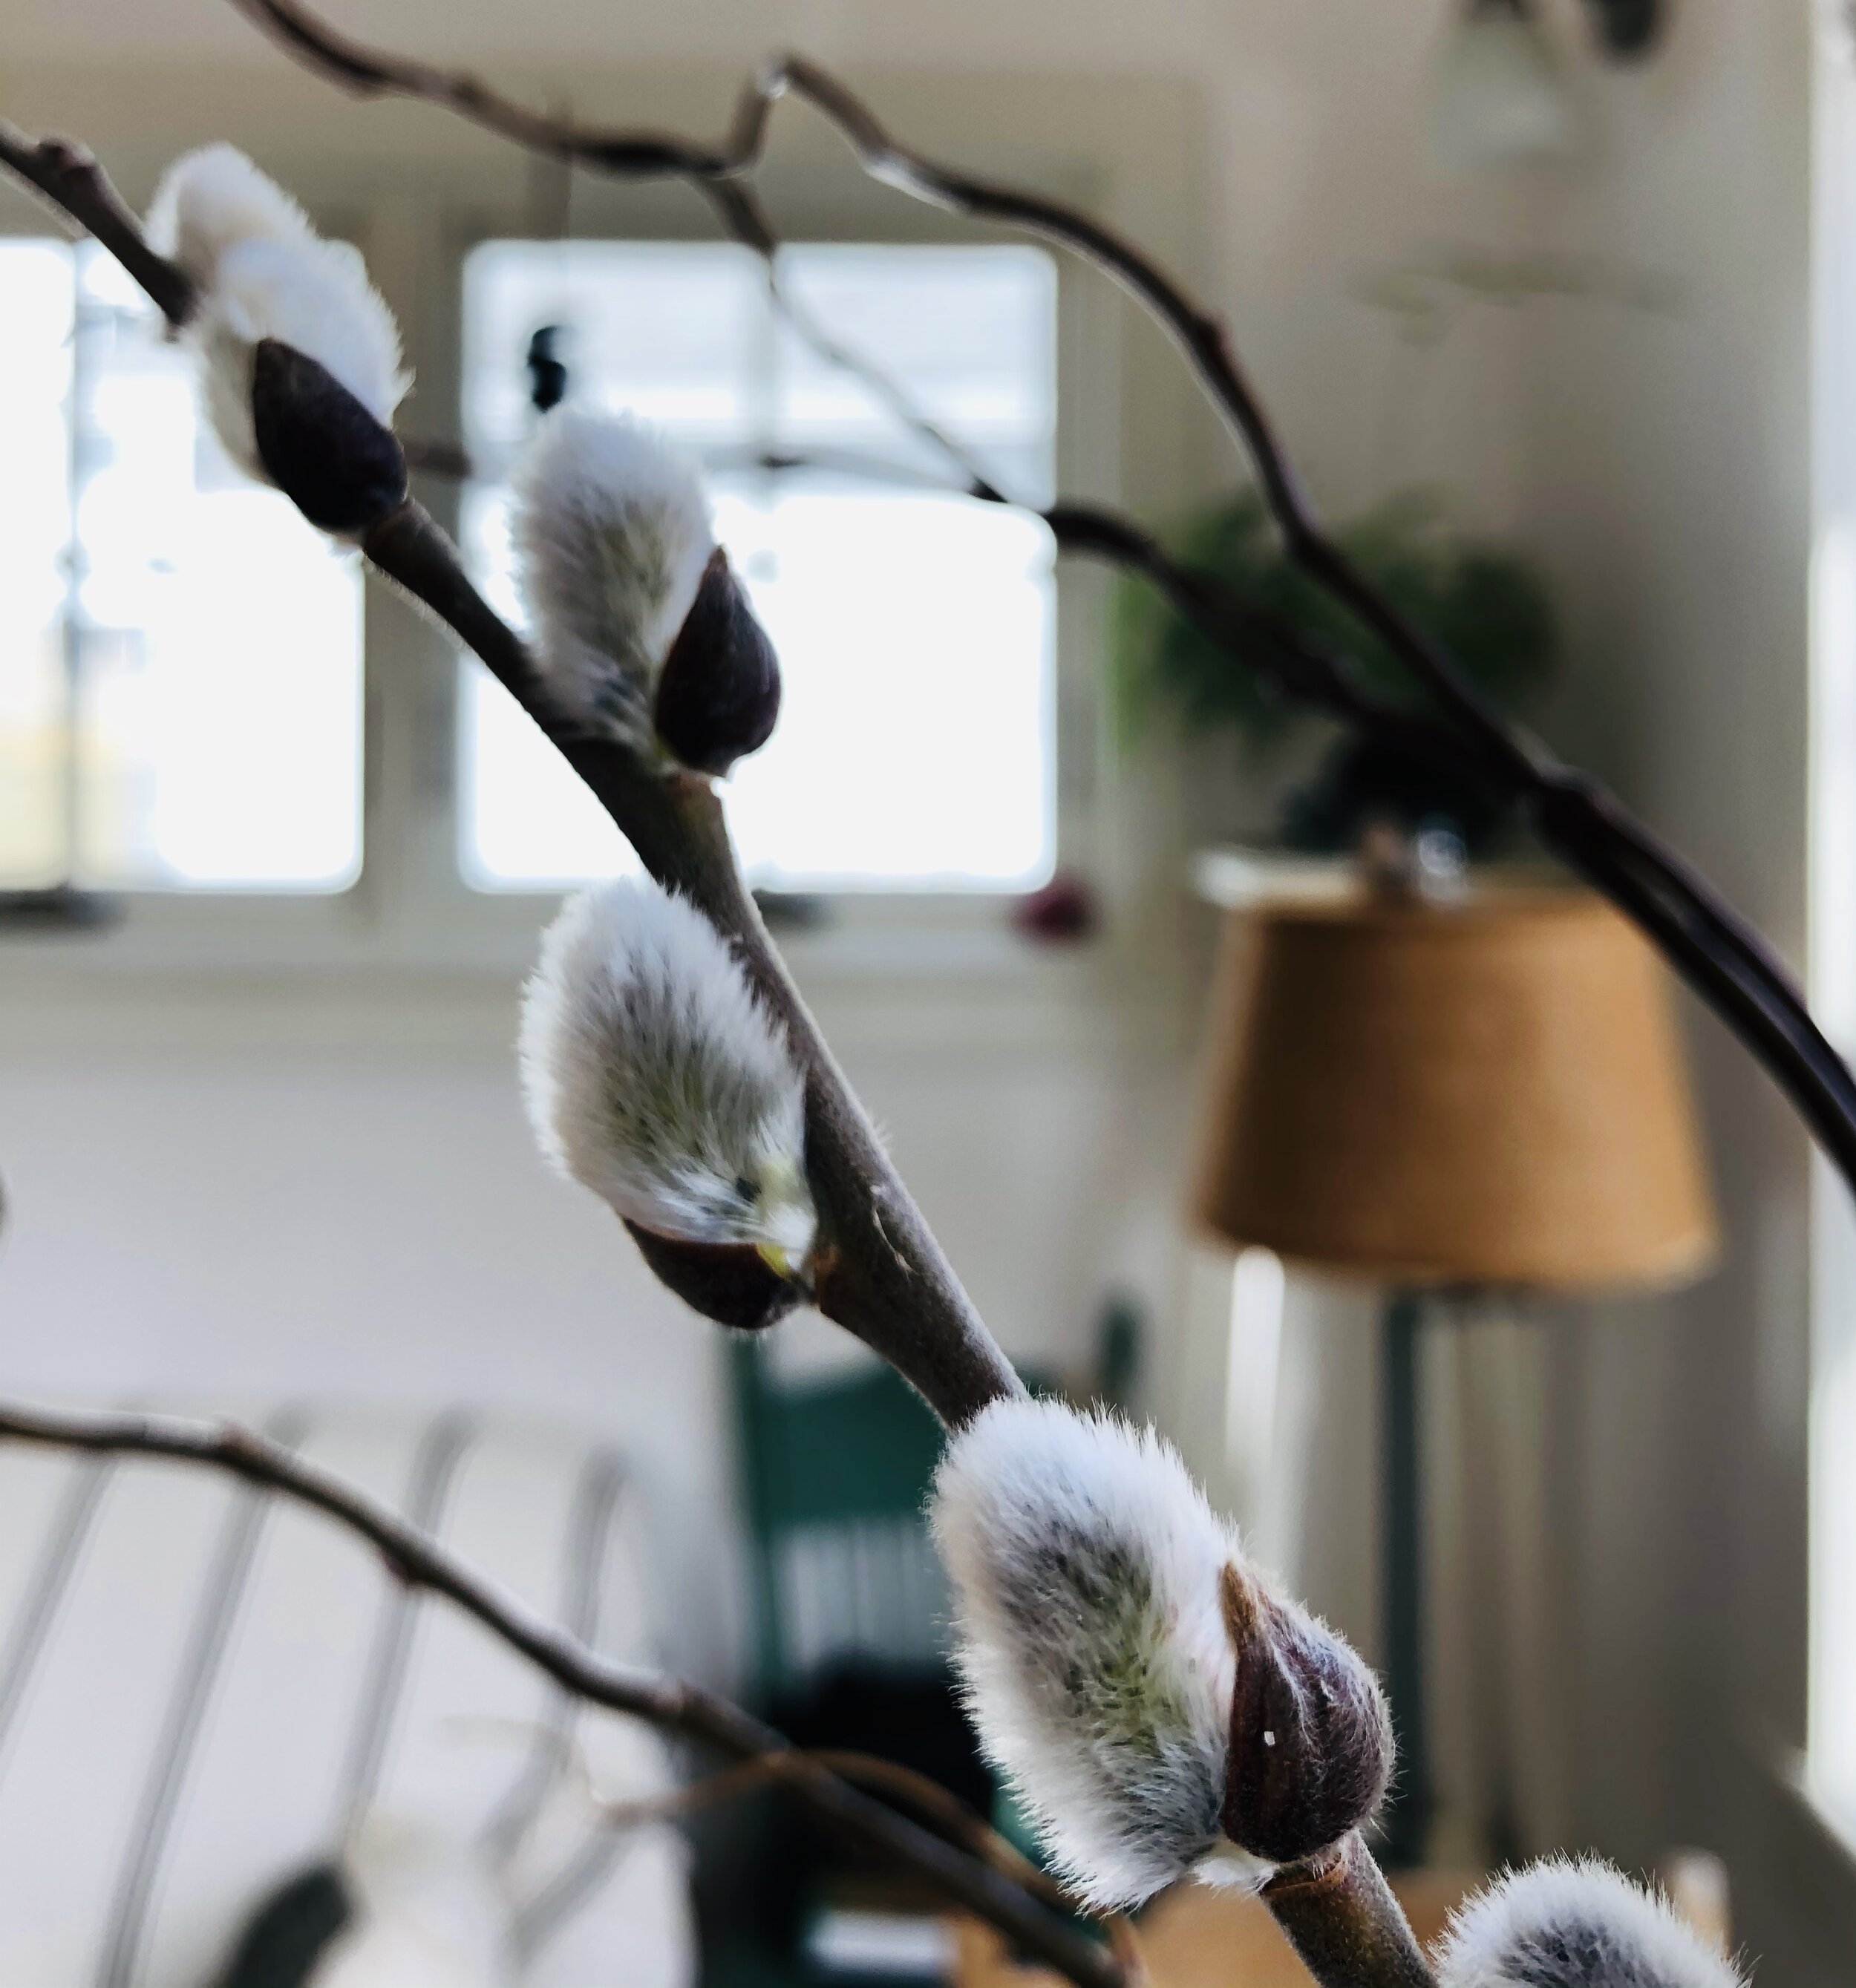
willow in living room.jpg

The willows stopped me in my tracks as I was leaving the greenhouses on Friday. I was on my way home, and looked up just in time to see them just bursting with life, reminding me to pause and catch my breath. I had forgotten about spring. I snipped a few stems to bring home. There is a lot more there, and I welcome you to stop by and clip a stem or two for your own house. It feels good to share. Always having clippers in the car is a handy thing.

There are so many unknowns right now about what a small business like ours is supposed to do. I am a list maker, I love a well organized drawer, I own stacks of graph paper notebooks and I love logic. These are my coping mechanisms so our house has never been so clean, nor our weeks so organized as lately, but of course that does nothing for the looming unknowns.

Here are a few things we are doing at Red Wagon right now:

  • We are growing plants as if all the same gardens will grow that grew in years past. The plant world is not adjusting or stopping. I have heard from a few of you that you would like to know if you can plan your garden as usual, and yes, you can. That is one thing I feel secure about.

  • We are adjusting our calendar of events on a week by week, day by day basis. If you are signed up for a class or seminar, you will receive an email with updates. Video conferencing, very small in person groups with lots of distance, one on one consults on the phone, cancellations and full refunds are the options we are considering.

  • We plan to open on April 17th with normal retail hours. But of course, this might change as we get closer. That evening’s cocktail party will likely be postponed. Again, we will keep you updated.

  • We will offer home delivery of plants once the weather warms up. More details coming soon.

  • We will also offer pre-picked plant orders that can be paid for online or over the phone and picked up in the parking lot. .

  • We will continue to deliver plants to our wholesale partners as long as they are open.

  • As of now, we still hope to hold our April 4th Open House. Since this is a small group, dispersed amongst 4 greenhouses and the outdoors, it seems possible to provide some much needed activity in an airy and clean space full of growing plants. Again, we will adjust as needed as we get closer.

Our amazing crew is taking all of the precautions possible to work safely - more distance, more gloves, tons of hand washing. Because we are in large open spaces, this feels doable, and frankly there is no other place any of us would rather be outside of home. We are offering paid leave should anyone need it, and because of this, I am sending out this little plea: please continue to support small businesses in any way you can. We must rely on each other.

In the meantime, please send us your gardening questions and stories, share photos of your garden, engage with us on social media, and help your neighbors as best you can. In my more fantastical, utopian moments, I dream of us as a current day, virtual land army, with plants, flowers and home grown food helping us get through anything together.

With love,

Julie

P.S. At the top of the driveway, please check out all of Family Cow Farmstand’s offerings. Their store is well stocked with gorgeous local foods in addition to their stellar raw milk. The store is self-serve and open every day. And they will be raising chickens again - shares available for sale now. These are the most delicious chickens I have ever eaten, raised in the nicest way possible by two very smart and wonderful people.

Rainy Weather Gardening

The weather lately is really putting a damper on my gardening aspirations. I am gong to make the best of it, and focus on what can actually be done in the cool and wet spring we are having, rather than on what cannot be done.

Paths are newly mulched with cardboard and bark mulch. The row cover tunnel just yielded our first harvest of mache and arugula and was just replanted with chard and broccoli raab. The row cover with hoops is one of the best ways to keep bunnies out…

Paths are newly mulched with cardboard and bark mulch. The row cover tunnel just yielded our first harvest of mache and arugula and was just replanted with chard and broccoli raab. The row cover with hoops is one of the best ways to keep bunnies out without a fence. This is the year of the bunny. We even have a bunny statue to beg off the bunnies and ask them to spare us, but it is not really working. Chamomile and stone edging is looking cute and a new patch of self seeding Marble Arch Mix Salvia will provide us with edible flowers, cut flowers, and dried flowers for a few years.

Here is what I am doing in the garden this week:

Clean up and mulch the path ways.

The weeds come out easily when the ground is wet. It is ok to walk on the pathways to clean them up and mulch them, but I avoid walking on the growing beds or doing much to the soil in the growing beds when the ground is really wet. Doing so would compact the soil and adversely affect the tilth. So, the paths are getting a little extra attention this year and I am mulching with a thick layer of cardboard and some rough bark mulch from Clifford’s lumber. This is not the regular bark mulch from a garden center - it is a byproduct of a local, family owned sawmill just down the road. I would not use it in all applications where mulch is needed, but it is perfect for paths and under trees and shrubs. It is a little too coarse for perennial beds (but that is a whole other topic, because really I don’t think bark mulch belongs in most perennial beds). Once the paths are clearly defined and mulched, the rest of the season will be so much less labor intensive in the garden. Some other mulch ideas for paths are burlap coffee bags (which you can find this Saturday at our New North End Plant Sale at Bibens Ace Hardware on North Ave in Burlington). straw (I recommend the organic straw from Aurora Farms in Charlotte), or a combination of newspapper and leaves. These are all pretty heavy duty recommendations for paths. I would not use a heavy mulch like this right under smaller growing plants because the decomposing organic matter uses up the nitrogen in the soil and starves the plants of the food they need for healthy growth. Mulching paths is satisfying and really pays off in the long run. Plus, you can do it in the rain.

Plant more salad greens and try out some new varieties of cool hardy vegetables, flowers and herbs

I just added two kinds of kohlrabi to the garden, green Swiss chard, some Italian bulb fennel, broccoli raab, dandelion greens and frisée. This weather is perfect for transplanting a few plants here and there into corners of the garden. Again, you want to avoid working your soil when it is wet, but it is entirely all right to loosen up small corners of beds and tuck in a few plants here and there. I just harvested my first planting or arugula and of mache and re-planted right into those spaces. I did not disturb the wet soil too much, and I think they will all be fine.

Make containers

Picking out colorful annuals and cool foliage plants is the perfect antidote to the grey and the wet days we seem to be stuck in lately. I am covering my mom’s balcony with pots of geraniums, agastache, salvia, herbs, petunias, argyranthemum, canna, millet, banana, and heuchera. Heurchera, or coral bells, is an under-used plant in containers, and adds broad texture, interesting contrasting color (so many to choose from), and looks good all season long. We have a dwarf red banana we are growing this year that has a beautiful glossy red tinged leaf and looks really striking with the wispy orange of the Kudos mandarin Agastache and the red veined caramel heuchera. Tuck in a red oak lettuce here and there, and you will have a gorgeous container with edibles, perennial and season long interest that holds up well in rain, cold, heat, and dry. I love helping people make containers and have two more Make and Take classes coming up in June for shade loving containers. There is still room to sign up in both.

Wistfully choose heat loving crops

This weekend, I plan to select the tomatoes, eggplants, peppers, melons, cucumbers I want to grow, but I am just hardening them off for now. I am not planting them in the ground. This means that they will come inside at night if it is below 45F and they will go back out in the day time to feel the sun (wishful thinking?), wind, and rain and get used to real life outside. What I am not doing is planting them in the cold ground. That would just stress them out. They need soil that is 50F or warmer in order to grow well, and stressing them at a young age will weaken them when they are older and diseases start to settle in. Planting heat loving crops in cool weather is just asking for trouble down the road.

Move perennials

They love this weather. If you have an area that once was sun but now is shade, it is a great time of year to move those sun loving plants to a brighter spot, away from the encroaching shadow of shrub and tree. I took advantage of the dry and warm day on Wednesday to clean up a perennial bed and replant with shade loving plants under the shrubs that now cast shade. I used tiarella, pulmonaria, variegated Solomon’s Seal, Jacob’s ladder, and hostas. I love that sun to shade switch that inevitably takes place in a garden, the moving art of it all.

Hopefully, this gives you a good amount to do and scratches the gardening itch just enough. Happy gardening!


2018 Plant List Preview: Cut Flowers

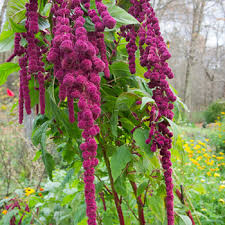
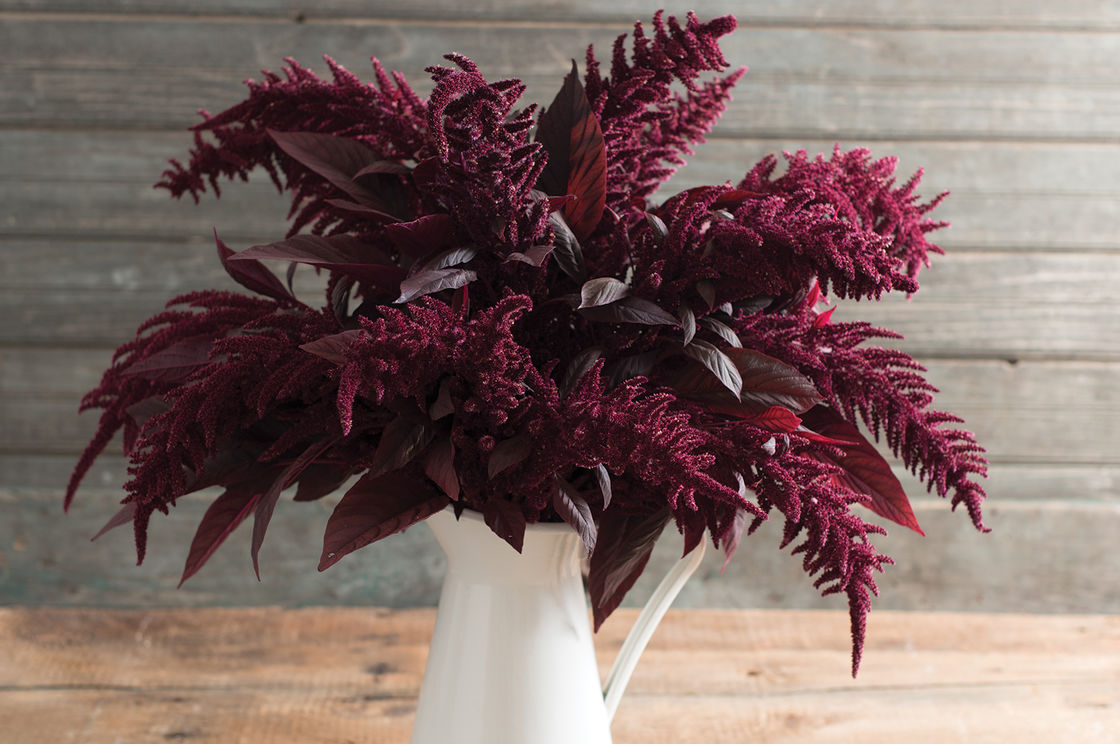
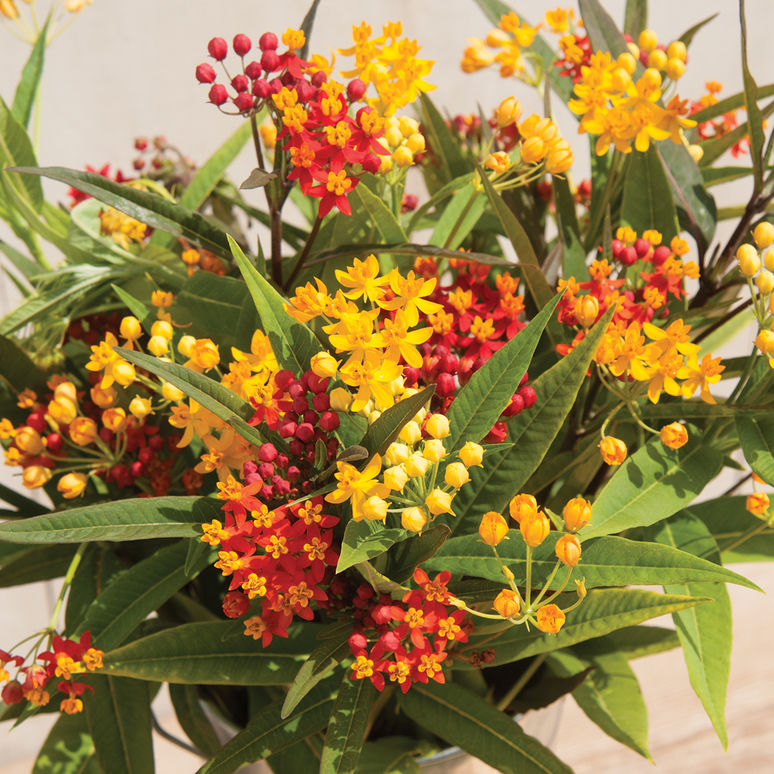
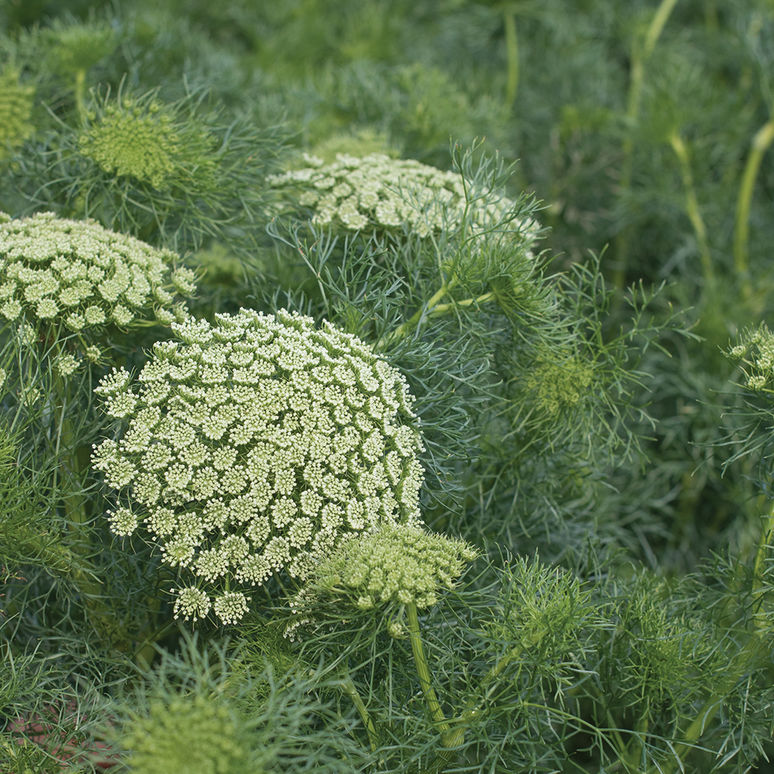
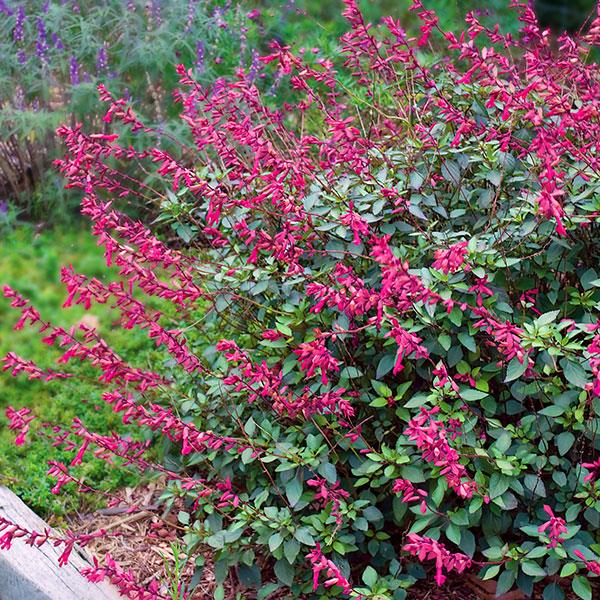
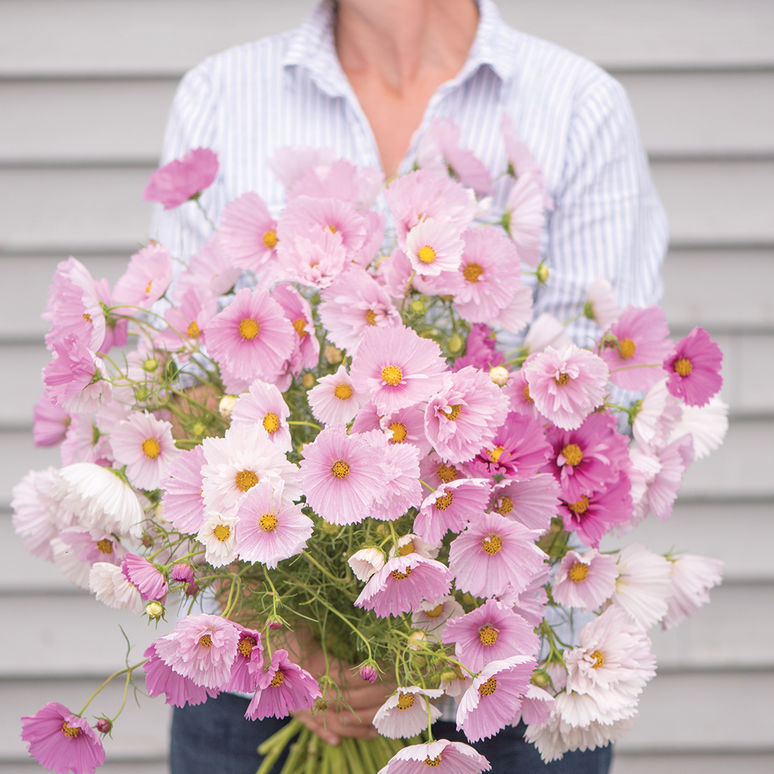
Last year was the year of the cut flower program at Red Wagon. Not only did we grow and sell more cut flower varieties than ever before, but we also hosted a 3 part floral design workshop series with flower farmer / florist Nina Foster and had a chance to meet flower growers from Vermont, New Hampshire and Massachusetts. The fun and beauty continue into 2018 with an expanded offering of varieties that work well for cutting and arranging and crafting. Here is the list. If you are a home gardener, you can make a wish list now for summer dreaming and planning. If you are a commercial grower, feel free to contact us about purchase plants in larger quantities for your commercial operation. The photos below represent only about 1/3 of the plants we grow that are suitable for cut flower use. Most of our perennials and many more annuals and some herbs are also suitable for floral use. And please note that vegetables and berries can make unique and eye catching additions to those sprawling, romantic bouquets that are so in style right now. If you need any suggestions or want to make a special request,  please don't hesitate to let us know. 

Photo gratefully used with permission from Ball Horticultural and Johnny's Selected Seeds. 


Peek into the Plants, Week of April 10th, 2017

We have lots of lovely plants to show off this week! Here is a little show and tell.

Ramblings and a shout out to our neighbors....Late June, Early July 2016

As we transition into summer, the pace changes at the greenhouses and in the garden. The focus is on plant maintenance, fertility, pruning, culling and weeding. We are also busy transplanting at the herb farm and harvesting and selling herbs to local grocery stores and food hubs. We added the herb farm to Red Wagon Plants 3 years ago as a way to keep a few key people hired year round and to bring in revenue and activity during the months when people generally don't do any plant shopping. 

Sam weeding rosemary

Sam weeding rosemary

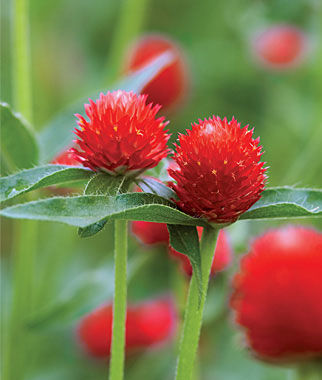
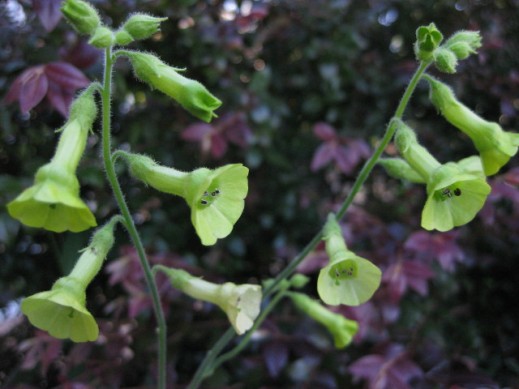
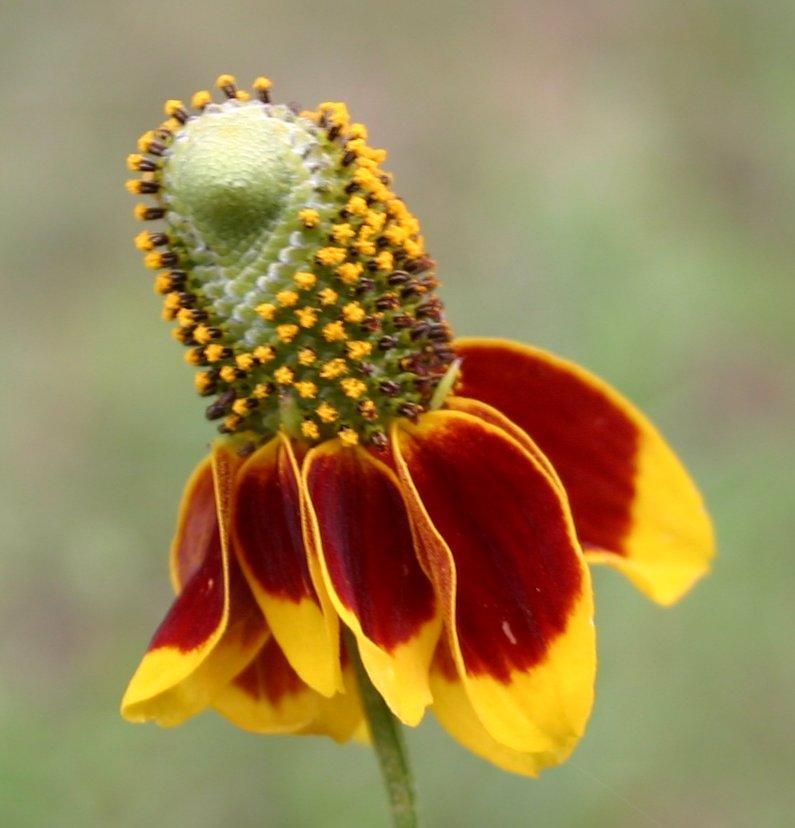
In the home garden, I have been busy looking for gaps in the perennials and filling in with some colorful annuals wherever I get the chance. I have learned ornamental gardening entirely by trial and error,  approaching it all as a vegetable grower, and some things work and some things don't! But one thing I have really appreciated is that garden mistakes easily turn into opportunities. As one plant gets pulled out for various reasons - not the right amount of light, planted too close to its neighbor, or any other number of oopsies- a gap is created for a new plant. For me this is often an annual flower - something that will give color all season long, will give me time to figure out what perennial to put in, and will be a good friend to its neighbors. Right now, a combination I am loving is Nicotiana langsdorfii with Gomphrena 'Strawberry Fields' and Ratbida columnifera. The Ratbida is a perennial (we have it in 4" pots so it is possible to plant en masse without breaking the bank) and the other two are annuals. I just love how the rust and green and yellow play off of each other and catch the light. 

In the vegetable garden, we are harvesting snap peas, lettuces, escarole, frisée, beets, cucumbers (out of the greenhouse), swiss chard, and lots of herbs. The early plantings of mache, napa cabbage, boc choi, and lettuce have come and gone leaving spaces to fill. In go more beets, spinach, lettuce, and green beans.

In the kitchen, I keep making the same salad dressing over and over again - a crushed clove of garlic in a one pint mason jar, 1/2 cup of red wine vinegar, a hefty teaspoon of dijon mustard, 1/4 tsp salt, a good 2-3 grinds of the pepper mill, and 1/2 cup of sunflower oil. Close tightly, shake like mad. It is perfect for everything. If you like it more or less acidic, just adjust the proportions of oil to vinegar. Olive oil is good here too, but sometimes a more neutral oil like sunflower highlights the flavor of the greens a little more.  See my rave below about the sunflower oil at Family Cow Farmstand, our neighbors on the farm. 

Garden Chores this week:

  • fertilize with Pro-Gro all of the annual flowers to give them a little boost during the heat. Sprinkle a bit around shrubs and perennials that are finished blooming too. 
  • water everything religiously in the mornings
  • weed the vegetable garden and replant as needed
  • throw a handful of Compost Plus in the flowering hanging baskets and other potted plants
  • bring (finally) all the poor and neglected house plants outside for a good shower and leave them on the screened in porch.
  • fertilize the garlic with Pro-Gro (should have been done a few weeks ago, whoops). 
  • hill the potatoes 
  • plant a row of beans
  • transplant beets, spinach, and more lettuce

Public Service Announcement! 

And finally,  I have been meaning to let you all know about our new neighbors! Family Cow Farmstand was purchased in April by Scott Hoffman and Aubrey Schatz. You may have noticed the cows sweetly grazing next to the greenhouses this spring. Please go visit Scott and Aubrey's farm stand! They are selling the cows' delicious raw milk (they do sell out, so consider signing up for a weekly membership), pork from previous Family Cow owners Lindsay and Evan (best pork chops and chorizo ever), veggies and strawberries from Shaky Ground Farm, their own eggs (the hens are pastured out with the cows), sheep's cheese from their friends in Marathon, NY, and their own pastured, organic chicken. And lots of other goodies like sunflower oil, yarn, maple syrup, caramels, etc. Some of you know me personally, and you will know that I can be a little particular about how food is produced and how it tastes (okay, not a little .... a lot). So please hear me clearly when I say that you should absolutely try everything at the Farmstand! The chicken is the best I have EVER had. Yes, EVER. It is huge, with plump, juicy meat and that iconic chicken flavor that is often masked by  poor feed or improper processing. Scott and Aubrey move the birds onto fresh grass every day and use the birds and cows together as a way to manage the grass. The sunflower oil is velvety and perfect for any dressing. The sheep's cheese is some of the best cheese I have had in the this country (the French person in me is being extra emphatic here, my hands are waving around, and I am really begging you to listen)...a blue cheese like a mild Roquefort and a sheep's Tomme that is perfectly aged and has that nutty, sparkly taste and texture unique to the best alpine cheeses. The chickens are available fresh every other Friday or in the freezer anytime. To get a fresh chicken, you have to sign up - just email Aubrey and Scott (familycows@gmail.com) or stop in and talk to them....they are often around and do their evening milking between 5:30 and 7:30.

Pardon the horrible picture, but I just wanted you to see how plump and huge these chickens are from Family Cow Farmstand. Before putting it in the oven, I took out the backbone (just slice down either side of the spine with a sharp knife) and …

Pardon the horrible picture, but I just wanted you to see how plump and huge these chickens are from Family Cow Farmstand. Before putting it in the oven, I took out the backbone (just slice down either side of the spine with a sharp knife) and split the chicken open so that it would cook faster (about 1 hour and 15 minutes) and so that the skin would be super puffed and crispy (it was, yum). I also slathered it in softened butter mixed with finely chopped fresh oregano, salt, pepper, and a little lemon zest. The whole thing got laid on a bed of sweet potatoes and sweet onions.  I roasted it in a super hot oven (450F) for 15 minutes then turned it down to 375F.  Prep time - 10 minutes. While it cooked, I ran some errands, weeded a raised bed and planted a whole tray of annuals. How easy is that? 

One more bit of business: We are starting our summer hours this week.

We will be open every Tuesday through Saturday 8 am to 6 pm. Closed Sundays and Mondays.

It has been a great season, and I hope you have enjoyed your spring and early summer with us. We certainly have loved seeing all of you. We are staying open through August this year with lots of fantastic perennials, veggie and herb plants to replenish the garden, annuals for pops of color, and houseplants and succulents for gift giving and adding to your personal collection. Come visit! 

Focus on Allison!

Allison scouting the greenhouses for pests

Allison scouting the greenhouses for pests

During our 10th anniversary season, we'll feature profiles of members of our amazing Red Wagon team. This week we interviewed Allison Lea, who manages our Integrated Pest Management (IPM) program. 

You’re one of the longest term Red Wagon employees. How did you end up here? What keeps you here?

I started working for Julie when she was farming in Starksboro, and when she started Red Wagon I came along. I love working for Julie. She’s basically family at this point. I watched her daughter get on the  bus to kindergarten, and now she’s in her second year of college!

What keeps me at Red Wagon is that I love plants and I love what I do. I taught myself about integrated pest management (IPM) and have continued to develop that role. It’s an interesting job; I’m very much behind the scenes. It’s looking for very small pests and/or the small signs that the creatures are there, and that they might be getting out of balance. I’m tuning into a different sort of sight. I spend a lot of time by myself, looking through the plants and walking around examining things.

It’s a bit surprising because I’m an English major, not a science person. Well, I say that I’m not a science person, but when I started learning about IPM, I got interested. It’s fun to geek out on pests and their life cycles and their predators and their life cycles. The learning process is never-ending. That surprised me because I’m the kind of person who’d rather lie on the couch and read a novel than study science.

Tell us more about IPM. What is it, and why is it important?

Greenhouses are ideal habitat for pests: you don’t change location from year to year, you’re providing the ideal climate and growing all these succulent little plants. All of Red Wagon’s greenhouses are certified organic, which means that we don’t spray chemicals to keep pests in check. There are OMRI-approved sprays [meaning they are acceptable for certified organic production], but not using sprays is better for plants and everybody, even the organic sprays. 

Instead, every week I scout the greenhouses for pests, mainly aphids and thrips. These pests suck the plants’ sap, so I’m looking out for plants with puckered or shriveled leaves, or that look yellowed and droopy – really, any plants that just don’t look happy. It’s kind of a second sight.

I want to make sure that things aren’t getting out of a control. My goal is to strike a balance, so I’ll order beneficial insects like parasites that lay eggs inside of an aphid or predators that will eat an aphid entirely.

Is IPM applicable to home gardens or more relevant to commercial growers?

I’m not out to eradicate pests; I think you need balance. When you garden outside, there is just more natural balance. A greenhouse is an environment that creates potential imbalances. Outdoors, aphids kind of take care of themselves. In my own garden, I know that there are certain plants every year that are going to get aphids – I just notice it, I don’t necessarily manage it. My yarrow, my heliopsis inevitably get covered with aphids. I wipe them off and move on. 

What are your favorite Red Wagon plants?

I love our herbs! I love how aromatic they are. And I love the vegetables – for example, brassicas are hearty, perky, and they always look good, especially this time of year when the more sensitive plants aren’t quite as happy. The brassicas are strong, almost utilitarian. I like them for their strength.

What's your home garden like?

I like growing herbs. Things like sage, thyme and oregano smell and look good. I really like lavender and rosemary, which I bring inside in the winter. I also like growing herbs that attract bees. I have motherwort in my yard, which a lot of people might not like because it spreads, but the bees like it. I also grow medicinal herbs: elecampane, calendula, angelica. I have a lot of fruit trees, thanks to my partner. I’m not that meticulous. I’m not a Martha Stewart gardener by any means!

 Interview has been edited and condensed.  

Cold Season Gardening

As soon as the ground thaws, and dries out, I will be ready to plant. After chomping at the bit through this long, never ending winter, I long to get my hands in cool dirt and ceremoniously plant the first seedlings. A cold frame helps to rush the job along, and I can't wait to open ours up, fluff up the tired soil, add some compost and amendments, and dig in. My cold season garden is pretty predictable each year. I crave certain things, stick to those, eat only that the entire period of time it is ready, and then usually it is out of mind the rest of the year. Asparagus for example. It is pretty much a part of every meal during asparagus season, and then I never think about it the other 47 weeks of the year.  And it is ready before many other things, so why not give it the star treatment it deserves?  It takes up a good chunk of my garden for a reason....homegrown asparagus absolutely cannot compare to what you buy in the store.  There are so many delicate flavors in asparagus that are lost after any period of refrigeration, and I greedily await that first harvest each year.

And then there is bok choi. For some reason, I don't think about this vegetable too much 11 months out of the year,  but it is so cold hardy and so quick to grow, that earliest spring is the only logical time to insert it into the garden and into our kitchen. We grow 4 kinds of boc choi to give our gardens a real array of size, color, and harvest time. Violetta is quick to grow to baby size, and has shiny, dark purple leaves with pale purple and white stems. It is gorgeous and delicate and ready in just 3 weeks from the time I stick it in the ground.  Shanghai Baby Bok Choi is another quick and tiny one, but the palest green, with the most tender flesh. Red Choi is a medium sized boc choi with a more mustard like flavor, and the regular boc choi we grow, Joi Choi, grows up to be huge, heavy, and gorgeous (see below). These are all delicious chopped up and stir fried with ginger, hot pepper flakes, and garlic;  or thinly slivered and eaten raw as a salad or slaw or dropped into a warm bowl of broth.

Scallions are another cold hardy, quick to grow vegetable that makes it into all my early gardens. They can be planted in little clumps in tight spaces and harvested over a long period of time. I harvest them three or four at a time and leave the rest to grow for a later picking or two.

Next up are the salad greens, bitter greens and mustards. All of these can take multiple frosts and are happy to go into the garden long before the others.

In this picture from last year, we have Tokyo Bekana mustard in the bottom left corner. It is a light green, tender mustard delicious steamed or eaten raw. I especially like it in soups and broths with soba noodles and tofu. In the center is my favorite bitter green, Frisée ('Tres Fine Maraîchère") which I love to eat with a mustardy, garlicky vinaigrette. Behind that is some arugula which really should be planted multiple times throughout the season (just rip out the old plants and sow new seeds or seedlings). In the top right corner is a little bit of bulb fennel Zefa Fino poking into the frame. This is another great option for for those of us needing cold hardy and interesting garden plants. In the kitchen, I simply slice up the bulbs into long, thick wedges and roast in a 400F oven with olive oil, herbs and seas salt. And the bottom right corner is the soldier of the spring garden: Natacha escarole. This chicory relative is huge, easy to grow, and equally perfect cooked in a braise or sautéed or eaten raw in a salad, again with that garlicky Dijon vinaigrette. Escarole withstands multiple hard frosts, grows quickly to a 3 pound head, and is frankly one of the better values in the garden. A small to medium escarole in the grocery store can cost close to $4. And from one 4 pack, you can easily have twelve times the yield for about the same amount of money.
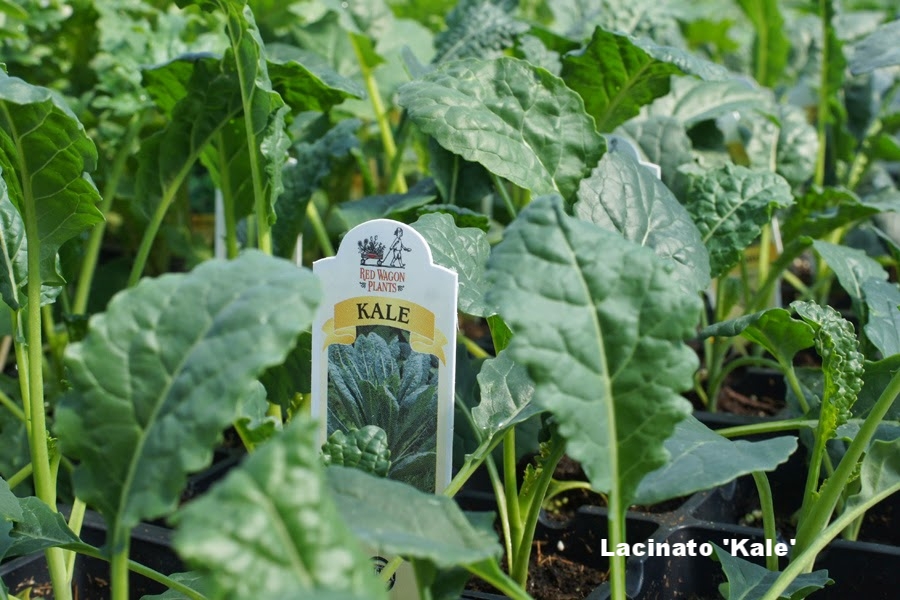
Here we have Lily sampling a bit of Lacinato kale. also known as dinosaur kale, Tuscan kale, or cavolo negro. We love it for its nutty flavor and the fact that a few plants stuck in the ground in April will produce until December. Again, a pretty good value! In front of the kale is more boc choi, Red Choi. And in front of that is ruby red chard. Chard is the least cold tolerant of all these greens, but it can take a few light frosts. The others can survive a few dips even into the 20's and come out fine.

From seed, I like to start radishes and spinach and peas, because really, who can resist this sight:

Get ready, set, go. Spring is coming, and we want to help you get ready. And soon, we will be looking at this:

Herb Thoughts

Herb garden planning is not a lot of work, but here are some thoughts I have put together on the topic. Herbs are easy to grow for the most part, but they are a big category of plants (we grow 100 varieties of herbs) and it helps to break them down and organize them into categories. This will help any gardener plant the right plant in the right place and give it the preferred amount of water, sunlight, food, and water.

Why grow herbs? For flavor, fragrance, and beauty - it is the easiest way to improve the flavor of what you cook. It is also one of the easiest ways to have a container garden on your porch or deck.  Herb gardening is intimate - you get close to the plants, smell them, taste them, see them respond to regular clippings. They are a perfect way to better understand plant physiology and the best short cut to great food made with little effort.

Propagation: Plants vs. Seeds

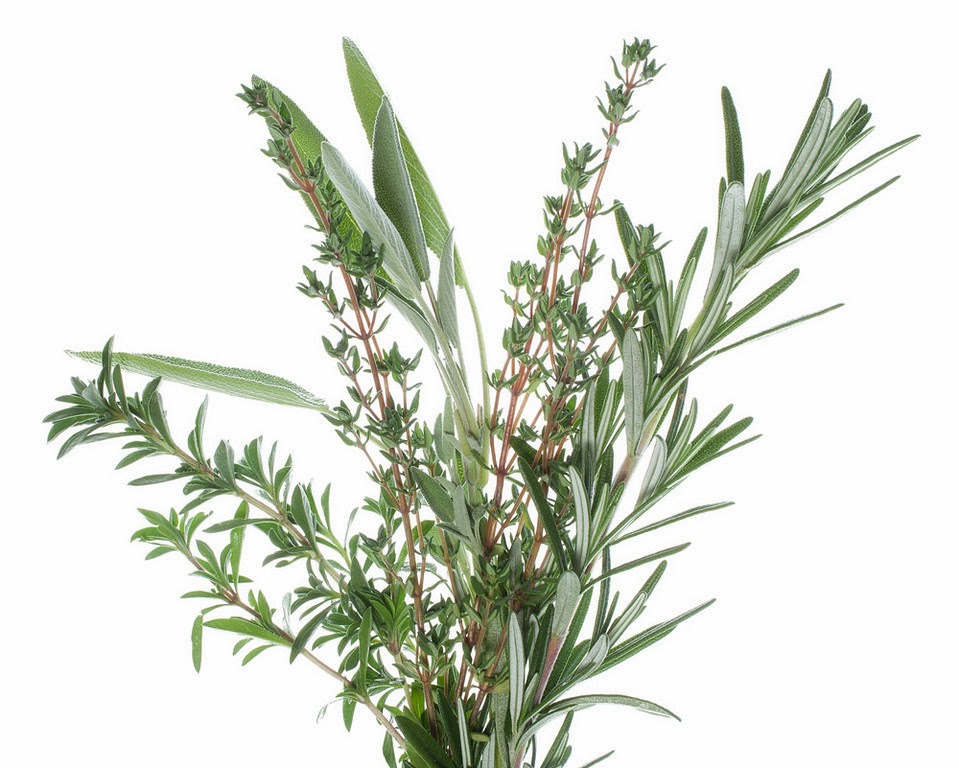
All herbs can be planted from plants, and some can be planted directly into the ground as seeds. The herbs that you can seed directly in the ground and expect great results are: cilantro, dill,  and chamomile. Everything else will do much better if you start the seeds in containers in a sheltered environment. You can start your own herb transplants easily if you have grow lights and a heat mat. Many herbs take a long time to germinate and many herbs are propagated only from cuttings. Making your own rooted cuttings is possible too, but that takes a little more of a sophisticated set up with misters, rooting hormone of some sort, and humidity domes. For those herbs, it is generally easier to purchase the plants.

Herbs from Seed:

  • Parsley
  • Chives
  • Cilantro
  • Dill
  • Chamomile
  • Savory (winter and summer)
  • Marjoram
  • Basil (all kinds)
  • Common Mint
  • Sage
  • Catnip
  • Chervil
  • Oregano (basic varieties)
  • Thyme (basic varieties)
  • Shiso
  • Sorrel
  • Lovage
  • Lemon Balm
  • Fennel
  • Salad Burnet

Herbs from Cuttings:

  • Rosemary
  • Lavender
  • Mints that are true to type (spearmint, peppermint, pineapple mint, etc)
  • Tarragon
  • Specialty Thymes (lemon, variegated, silver, etc)
  • Specialty Oregano (golden, ‘Hot and Spicy’, variegated, etc)
  • Specialty Sage (purple, tricolor, golden, etc)

Containers vs. in the Ground

Some plants love to be planted in the ground and others would prefer to be in pots.  Generally speaking, the herbs that like it dry and warm will prefer to be in a clay pot that breathes like Italian terra cotta. Plants that like it wet and cool might prefer to be in the ground, but they can also be grown in pots if the right conditions are given (more watering, a glazed or plastic pot, heavier potting soil, a little shade).

Herbs that like to grow easily in the ground in Vermont:

Cilantro, Dill, Parsley, Rosemary, Savory, and Chervil

Herbs that prefer to be in containers in Vermont: EVERYTHING ELSE!

This does not mean that you cannot grow herbs in the ground, it just means that in containers, it can be a little easier.

Some herbs do really well as tiny shoots for micro-greens: chervil, dill, cilantro, basil, fennel are our favorites.  And they are easy to grow indoors year round – just pat down some moist potting soil in a shallow container (only need 2” or so of soil) with holes in the bottom, press in the seeds, cover very lightly with a thin layer of soil, and keep moist. When the first set of true leaves begin to emerge, they are ready to eat. You can also grow pea shoots and sunflower sprouts this way. A south facing, sunny window is sufficient.

You can bring in potted herbs in the fall and keep them in a sunny window for use during the winter. The herbs that do best with this treatment: sage, parsley, rosemary, thyme, and savory. Basil can be brought in as well, but it won’t be terribly happy unless you have grow lights for it.  If you had some of these herbs planted in the ground, you can dig them up and slowly acclimate them to being in a pot and being indoors.

Herbs can be dried or frozen or infused in vinegar or simple syrup for year round use. Pesto or herb pastes made with oil or water can be frozen in small containers.  Drying is very simple or very elaborate – you choose! A dehydrator can be used, and the leaves can be stripped off of the stems once dried and stored in jars in a dark place. Or you can go the simple route and just harvest whole branches of the woody herbs such as thyme, oregano, rosemary, sage, and winter savory. Place the branches in woven baskets and keep in a dark, well-ventilated space. They will dry just fine on their own, and you can keep them covered with paper bags or kitchen linens and use as needed.

Related Upcoming Events

Cooking with Herbs with Molly Stevens and Julie Rubaud – a class and dinner.

South End Kitchen, Burlington, Vermont

March 19th.,  6pm

Red Wagon Plants pre-season Open House

April 4th 10 am to 3 pm. Tour the greenhouses and see behind the scenes.

Herbal Cocktail Party with Caledonia Spirits

April 17th, Red Wagon Plants 6 pm to 9 pm

Help us kick off our season with a bang!

Heat of Summer Garden Watering Tips

2014 has been a fabulous garden season, don't you think? Once we got over that initial cold period - a.k.a. November through April - it seems like we have had abundant sunshine and weekly rains. Moving towards August, we are seeing some drier weather in the Champlain Valley and needing to take a few precautions to make sure that plants stay healthy.  Whenever customers ask me a question about watering, I always have to stop myself from giving them a 45 minute lecture! Watering is something I do for hours a day, every day. I think about watering probably more than any other single task in our greenhouse business. It is a meditative and lovely way to spend part of each morning, and it is the best way I know to commune with plants, to get to know them, to check on them and see what else they might need in order to thrive. I will spare you the 45 minute lecture, and instead give you a few tips that will make your plants healthy and will save you time every time you water.

1. Mulch - whenever you can, lay down some old hay, straw, burlap bags, wet cardboard, newspapers or bark mulch around your plants. This will not only help keep weeds down, but it will also help keep moisture near the root zone.

2. When you water, aim the stream of water under the plant's foliage. Getting leaves wet is not the goal of watering...getting the roots drenched is what you are going for. I know this seems obvious, but so many people just water the top part of the plants and don't actually get the soil wet. It takes a lot of water right at the base of the plants to actually soak the soil. If you waste all the water on the leafy part of the plant, it sheds off, with the leaves acting like an umbrella and keeping the root zone dry. Not exactly efficient. Get the hose nozzle or tip of the watering can under all that foliage and you will be giving the plants what they want and where they want it.

3. Use a good nozzle on the end of your hose. We recommend this style:

They are made by Dramm and can be found locally at garden centers and on-line here. These nozzles are great for pots, window boxes, raised beds and small gardens. They are gentle enough so that soil doesn't wash away, but allow enough volume of water to flow out so that you don't have to wait too long for the ground to be saturated.  If you have a larger garden, consider investing in soaker hoses or even an over head sprinkler to save time. Overhead sprinklers do get the leaves wet, but they are cheap, can be moved easily, and can water a large area in a relatively small amount of time. If you have long rows and a garden that is organized in straight lines, you can invest in drip irrigation, like what professional growers use. You will need a pressure regulator and a filter with it, but most supplier are happy to help you put together a simple system. We recommend Drip Works - they do a great job at explaining drip irrigation systems and are committed to helping gardeners save water and time.

4. Ideally, keep the foliage dry and water in the mornings. This will allow the foliage to dry out before evening falls. Wet foliage on warm nights is an invitation to fungal diseases. Powdery mildew and other assorted pathogens love those conditions. It is an old wives tale that watering mid-day will burn the plants. In 20 years of farming and owning a greenhouse business, I have never seen a plant burned by water. I am not sure what that would even look like! I have seen all kinds of diseases sprout up literally over night from damp leaves in warm, dark, humid conditions.

5. If you water with a watering can, take that rosette off! The stream of water, uninterrupted by all those little holes, will make watering the base of the plant much easier. The only time you need that rosette is when you are germinating seeds and don't want a stream of water to wash away all those seeds.

6. If you have plants in containers, water them every single day in hot, dry weather. If they dry out too much, it is very hard to re-hydrate them. Also, keep them deadheaded and fertilized and they will cope much more easily with the heat. If you are going away for a few days, place each container in a pan or dish and add an inch or two of water so that they do not dry out (but only for a couple of days - they will drown if watered like that every day).  And please don't be stingy with the water - the averaage 10" to 12" hanging basket needs about 1/2 to 1 gallon of water per day during these hot dry days. That is a lot of water!

Overall, I love this time in the gardening season. The hot weather crops like tomatoes, peppers, cucumbers and corn are ready but we still have some nice spring crops like peas, scallions, and lettuces.  Watering can be relaxing, and it can provide you with some nice bonding time with your plants. Let us know if you have any questions.

A Note on the Art of Making Signs

I have made hundreds of signs. Signs for plants, called benchcards, that tell you how to care for the plants and the myriad special characteristics they have. Attributes signs, directional signs, open and closed signs, A-frame signs, hand-painted and computer generated. Together they make up a jumble of information, but individually they are meaningful, making each species or cultivar stand out from its neighbors. Each benchcard is like a glimpse into the world of that variety...you walk up, peer in, and for a moment your imagination builds a picture of how that plant will look or smell or taste in your own world. The signs turn a greenhouse full of plants into a sort of museum, where each variety is given its own little spotlight in which to shine. Whenever I make signs I think of my Grandfather. He was a skilled painter, mainly watercolors; an interpreter of landscapes and streetscapes from vibrant African villages to the curve of a beach in the Bahamas. He could convey the essence of a place with such minimalism, a tiny brush mark here, a bit of white left showing somewhere else. When he died we held an art show in lieu of a memorial, which entailed going through all of his work and deciding what to display. To our amazement, we found that many pieces had a painting on both sides of the paper! So little was his regard for his own work that he could not be bothered with finding a fresh sheet. And, not surprisingly, he never sold many of his paintings. On the other hand, he was commissioned for many pieces - illustrations for children's books, advertisements, and - you guessed it - signs. It is easy to take commercial artwork for granted, but I don't think his ever was, such was the level of cleverness, creativity, and precision apparent in each of his pieces. While his signs had the clear mark of a trained and talented artist, mine have only a shadow of that mark. But they are made with love, with his memory cherished in my mind, and I hope they bring you closer to the plants in the same way they keep me close to him.

~ Sophia


Coming Home

Earlier this week, I went away for a total of 48 hours. This is astounding for a couple of reasons. Not only because it is May, and who do I think I am going away for a whole two days while trying to manage a greenhouse business. No, it's astounding because of the way that I came home.  I landed. I arrived. No stress, no jumping into a chaos of activity, no guilt at being gone, no extra work piled up. I came home to a busy crew doing everything well and calmly. I came home to happy customers loading up on plants while wearing big smiles. I came home to a feeling that all is right in my little world.  Two days off in May is hard to pull off in this line of work, but what helped me so much was that everyone who works here knew what to do, they made smart decisions and I am sure they handled problems with grace.  So, thank you, crew.

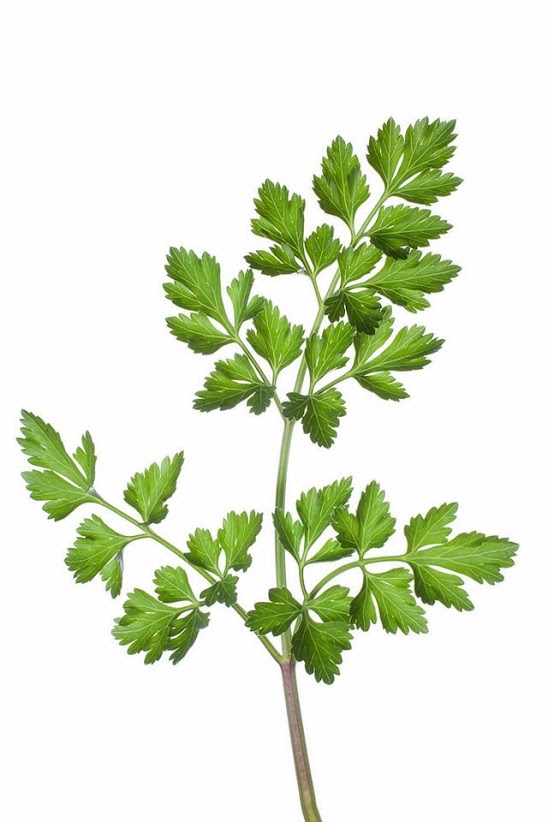
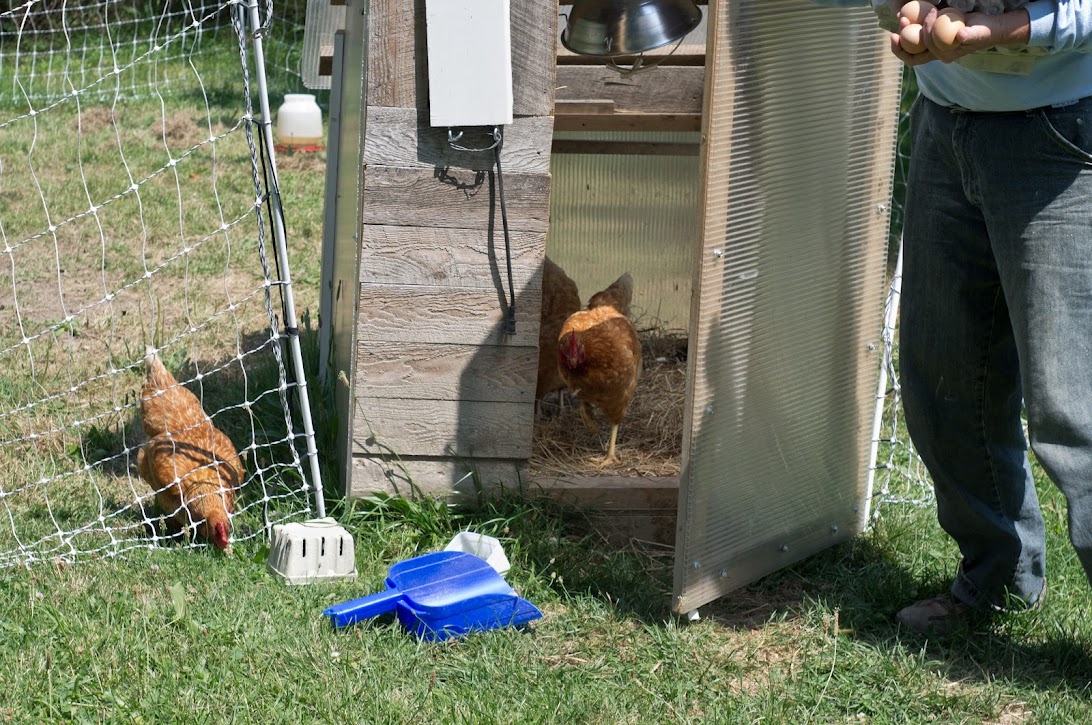
I also came home to a garden. I love my garden. The moments in the garden are rare and precious for me in May, but the first thing I did when I got out of the car, was go up to the large garden above the barn and finished planting a bed of strawberries. I harvested an armful of asparagus, collected the 4 eggs the hens had laid, picked a handful of chervil and flat full of mache, and I got to work making  dinner. I looked at my haul, as the sun was setting and felt embraced by the bounty.

We ate late. We ate well.

Egg Salad in Spring

Makes enough for dinner for 3 and leftovers for everyone's lunches. 

  • Hard boil 8 to 10 eggs.  (My method is to put cold eggs and cold water in a sauce pan. Bring to a boil, covered with a lid. Let it boil one minute. Turn off the heat, but leave the pan on the burner. Set the timer for 8 minutes. Drain and run under cold water for 5 minutes.)
  • Finely chop a handful of herbs - I used chervil and chives.
  • Finely chop a rib or two of celery - I would have used lovage had it been big enough.
  • Finely chop half a shallot or 3 scallions
  • Peel the eggs and place in a shallow bowl. Cut them up with a couple of knives or a pastry cutter.
  • Add all the other ingredients.
  • Add enough home made mayo to moisten the whole thing.
  • Stir gently.
  • Season with salt and pepper to taste.

Homemade Mayonnaise

Add to the blender:

  • 1 egg yolk
  • 2 tablespoons lemon juice
  • a dash of cayenne
  • 1/4 tsp of salt
  • 1 tsp of Dijon mustard or 1/2 tsp dry English mustard
  • Blend for a few seconds and then very slowly drizzle in 1/2 cup of olive oil, grape seed oil, or a blend of the two.  Drizzle it in a very thin stream while the blender is whirring around though the top of the blender cover. Or you can use a food processor and drizzle it in through the feeder tube. Or you can do it by hand in a bowl, with a whisk. If you do that, try to anchor the bowl by wrapping a damp towel around the base. Or get someone to help you with another set of hands to hold the bowl, or beat the eggs, or do the drizzling. Beat or blend or process until it starts to thicken up.
  • Taste for salt and add a little pepper. If it is too thin, you can add more oil, still adding it in very slowly while blending.
  • You can add fresh herbs to the mayo, a little crushed raw garlic, a little chopped poached or roasted garlic (mellower flavor), anchovies, spices, roasted peppers etc. (for cleanest flavors add just one of these other ingredients, not a combination.)

We ate this lovely egg salad with toasted Pain de Mie (or Pullman Bread) from Scratch Baking Company in South Portland, ME and the asparagus was steamed and cooled, served on the side, splashed with some lemon juice.

Mache Salad

Mache is also know as corn lettuce. It is a cold hardy green that germinates only in cool temperatures. We grow it in flats in the greenhouse in the winter and gorge on it from late March to late May. It is a sturdy green with a nutty flavor, and it is eaten as a whole plant, washed well under running water, and dressed lightly with hazelnut or walnut oil and a good sea salt - fleur de sel, Maldon, or sel gris. The small plants have a really interesting texture and a rich flavor that is perfect this time of year when one craves green and fresh.

To the garden, the hens, and the amazing crew at Red Wagon Plants, thanks. You make life pretty, tasty, and lovely.

-Julie


This Week in Photos: Open House 2013

We are so grateful to everyone who came out last weekend to enjoy the flowers, sunshine and fresh air inside our greenhouses. It was one of those glorious days that gave us confidence in the return of spring and reminded us how much everyone (not just us) is looking forward to it! In case you missed it, here are a few glimpses from our moment in the sun...

There's more to come! Opening day (April 19th) is right around the corner....

~ Sophia

January Dreaming Photo Contest

It's time to think spring and what better way than to share pictures of our gardens? We think all garden photos deserve to win, so this is not a contest in the traditional sense since we will select the winner randomly on Monday, January 31. The prize? A $20 gift certificate to be redeemed at our Hinesburg greenhouses. Send your pics to us via email (julieATredwagonplants.com) or post to our facebook page. We will publish all the photos on our website and create an album on Facebook. What could be more inspiring than thinking about what is under the snow, patiently waiting to push through. Keep warm and dream on!

Please try this at home.

Does your counter look like this during tomato season? Do you feel pressed for time, don't want to be indoors too much with the canning pot, yet hate to see a single precious tomato go unused? Well, I can relate. I love to eat tomatoes in winter, the ones from our garden at least, but I don't love spending all that time indoors, canning and fussing. I have been trying something new this year, and I want to share it with you just because I think you will really like it.

I have been roasting the tomatoes in a hot oven, peeling them, and then throwing them in ziploc bags for the freezer. This gives maximum taste for minimal work. I know you can just throw raw tomatoes in bags and throw those in the freezer, but then you are left with watery, ice shattered, flavorless blobs. I prefer to let the oven do a little work to concentrate the flavors and then have an item to pull out of the freezer that tastes special, an item that has some flavor layers already built in. I used to make this with olive oil and garlic and herbs, but realized that I can do a simpler version with naked tomatoes that is quick, easy, and lends itself well to the preserving process.

Roasting tomatoes is super easy.

You just lay out some paste tomatoes (it works with other tomatoes too, but the cooking time will be longer since they are more watery) in a single layer on a cookie sheet. Pre heat the oven to 400F.  Don't add anything - no oil, salt or anything else. We are just going for tomato flavor here. This will allow you to really customize your dish the way you want it when it is time to use the tomatoes in winter. Slide them into the hot oven. Wait 30 minutes.

After 30 minutes, take them out of the oven and flip them over. Tongs are handy for this process. If they have released a lot of water, you can drain off some of it, carefully, in the sink at this point.

Then they go back in the oven for another 30 minutes. The beauty of this recipe is that you don't have to watch over them. There is alot of what is called "passive time" in cooking and this method is chock full of passive time- I love that I can be doing other things while this is going on.

When they are done roasting, I turn off the oven, walk away and ignore them for a while until they have cooled down or I am done whatever project I started or wait until even later that night, when it is dark and the late summer sunshine is no longer tempting me out of doors. Then it is time to peel them. Just cut the tops of with a small serrated knife, and the skins just slip off in one or two quick motions. It is super simple. The fleshy, juicy, thick tomatoes have been reduced to a lovely consistency and can just go into freezer bags at this point.  I usually get two quart bags out of one cookie sheet;s worth of tomatoes.

So then what do you do with all those frozen tomatoes? Sauces, soups, stews,vegetable sautees, pizza, lasagna, and more will all benefit from these. Anytime a recipe calls for whole canned tomatoes, you can substitute these. I will be posting recipes using these tomatoes throughout the winter, so if you find yourself with a good supply and a lack of ideas of how to use them, check bag for some tips. Enjoy!


Jo Ann Gardner comes for a visit

From Julie.... There are a few garden and farm writers out there that move me to no end. I have had a fascination with homesteading literature since I was a little girl and still to this day I love to pour over books, catalogs, websites and blogs that have to do with growing food, living off the land, making do with things that are around the house, etc. Within this genre, one of my absolute favorite writers is Jo Ann Gardner.

She has written eloquently about the plants she loves for decades and I have poured over some of these books countless times. She and her husband were once back to the landers in Nova Scotia, far off the beaten path, and were able to make a livelihood for themselves in a very short growing season and on very challenging soils. Her writing reads like a series of love letters to a set of handsome, rugged plants that got them through tough times. I am absolutely honored to have Jo Ann visit our greenhouses this Saturday and to share some of her plant knowledge with us. She now lives across the lake, in Essex, NY and is active in gardening efforts at home and at a local senior center. Her talk on Saturday will focus on how to use herbs in pots and containers around the home. I am sure she will bring along her wit, thrift, and cleverness and we will all be a little richer for it.

Brown Dog Books  in Hinesburg is carrying her books, and they will set up a table at our greenhouses on Saturday for those of you who may wish to purchase one or two. But be warned - Jo Ann's writing will fuel the fires of any gardening addiction. Also present on Saturday will be Jess Bongard, of Sweet Lime Cooking Studio. She will be bringing us some herb treats to sip and snack post-workshop. Coincidentally, Jess is teaching an herb class in her home kitchen on Sunday. You can read about it here. A group of us are going from Red Wagon, making it a party, I am sure.

I like June. The bulk of the spring planting is done. The porch is swept off, and it is just the right time to sip a lemon verbena iced tea, make a lovage and butter sandwich, and gaze lovingly at all the herb pots surrounding the patio. I hope to see some of you this Saturday. Psst...there are only a few slots left, so please call or email to register.

New North End Plant Sale

Come to the

3rd Annual New North End Plant Sale

at Bibens Ace Hardware

Ethan Allen Shopping Center, North Ave.

Burlington

IMG_0545
IMG_0545

Saturday, May 19th, 2012

9 am to 2 pm

The proceeds from this sale help scholarship applicants of the Burlington Area Community Gardens secure a garden plot for the season. Come and help out your neighborhood gardeners!

For more information, please call Dan Cahill at Burlington Parks and Recreation, 802-863-0420

The sale is a partnership of Red Wagon Plants, Bibens Ace Hardware, and Burlington Parks and Recreation

Home orchard, here I come.

Last Saturday, we were lucky to have a visit from Charlie Nardozzi, garden educator, author, TV and radio personality, and garden coach. He provided us with two hours of entertaining and information packed advice on growing fruit at home - a project which can feel like a daunting commitment, but which he explained so clearly, that it felt like a task we must all embrace...right now. I have to admit, I have been living in the same house for 6 years and have yet to plant much in terms of fruit trees. I keep studying my property and imagining where the trees would go, but every year, another chance passes and my trepidation leaves me fruitless yet again. I have planted a few blueberry bushes and raspberries and currants far from the house, but no trees save for one orphaned plum tree a couple of years ago. Growing fruit trees always seemed like more work and maintenance than I have time for, but after learning some of Charlie's simple strategies, I feel armed and prepared. Here are a few of the general tips Charlie shared with us.....

  • Trees are grafted, unless you dig them up out of the woods. Which is not a good idea, since you would be getting something not bred for fruit production and possibly disease laden. Trees are grafted in order to provide strong root stock in combination with a "top" that is bred primarily for eating quality. In addition, apple trees are often grafted onto a "dwarfing" root stock which will keep the tree from towering above you, fruit out of reach.  When planting, look for what is called the "graft union" - it is a slight bulge at the base of the trunk where the root stock and the top meet. This union should be about 1" above the soil line once planted. If you plant it too deeply, you may trigger the root stock to take over the top growth and this would not provide you with the best eating fruit.
  • At planting time, use only the native soil in the planting hole. Dig the hole so that it is 2 to 3 times wider than the tree's container or root ball. Do not go deeper than the container or you risk planting the tree too deeply.  If you add compost to the planting hole, the roots will never have to reach out and search for food in the native soil and the tree's root system will never develop fully.
  • When purchasing a tree, look for even lateral branching (called "scaffolding").
  • The first two years of a fruit tree's life are the non-bearing years. It is important that the tree puts its energy into being strong and vigorous, not into making fruit. So, sadly enough, you must pick off the blossoms so that fruit does not form.  This difficult task will reward you with bigger and better fruit on a healthy tree in years to come. After Charlie's talk, I dutifully went home and stripped my plum tree of its recently formed flowers.
  • Spacing of trees is equal to their height. In other words, if a tree is going to be 15' tall, you need to plant it 15' from its closest neighbor.
  • Pitted fruits like plums, cherries, peaches, and apricots do not do as well on clay as apples and pears do.  If you are like me, and live in a clay pit, look for the best drained site and consider digging some trenches to direct the water away from the orchard.
  • Amend the soil by layering in compost and other nutrients on the soil surface (not right up against the trunk though) after planting. This should include compost, some additional nutrients based on soil test results, woodchips from hard woods (which promote beneficial fungal activity), and a little woodash (only about 1 cup per tree).  Vermont Compost Company's Perennial Blend is a perfect material for mulching around the base of the fruit trees. It includes compost, micro-nutrients, macro-nutrients (NPK), and an extra shot of bark, which is high in lignans and which promote the beneficial fungal activity trees love.
  • A north facing slope is the best spot for a home orchard - it heats up a little later in the spring and keeps the trees a dormant a little longer. This delays bud formation which lowers the risk of a frost zapping those early flowers.  A north facing slope also has good air circulation and frost tends to blow away before settling into a valley or dip.
  • Fruit trees are best planted in pairs, and their planting partner should be a different variety or cultivar. This diversity leads to better pollination which equals more fruit formation.  For example, a Liberty apple, should be planted near a Honeycrisp, or a  Parker pear should be planted with a Summercrisp pear.

I think I will try a few cherry trees and  pears  this year. I have a spot picked out, on the north facing slope outside our kitchen window. And maybe once those are in, I will start to imagine some blueberries and raspberries nearby....closer to the house than the ones I planted when we first moved here.  One thing I am glad about....my years of procrastination with the back yard means that I have a blank slate and the home orchard can be very close to the house; it will be landscape and larder, all in one.